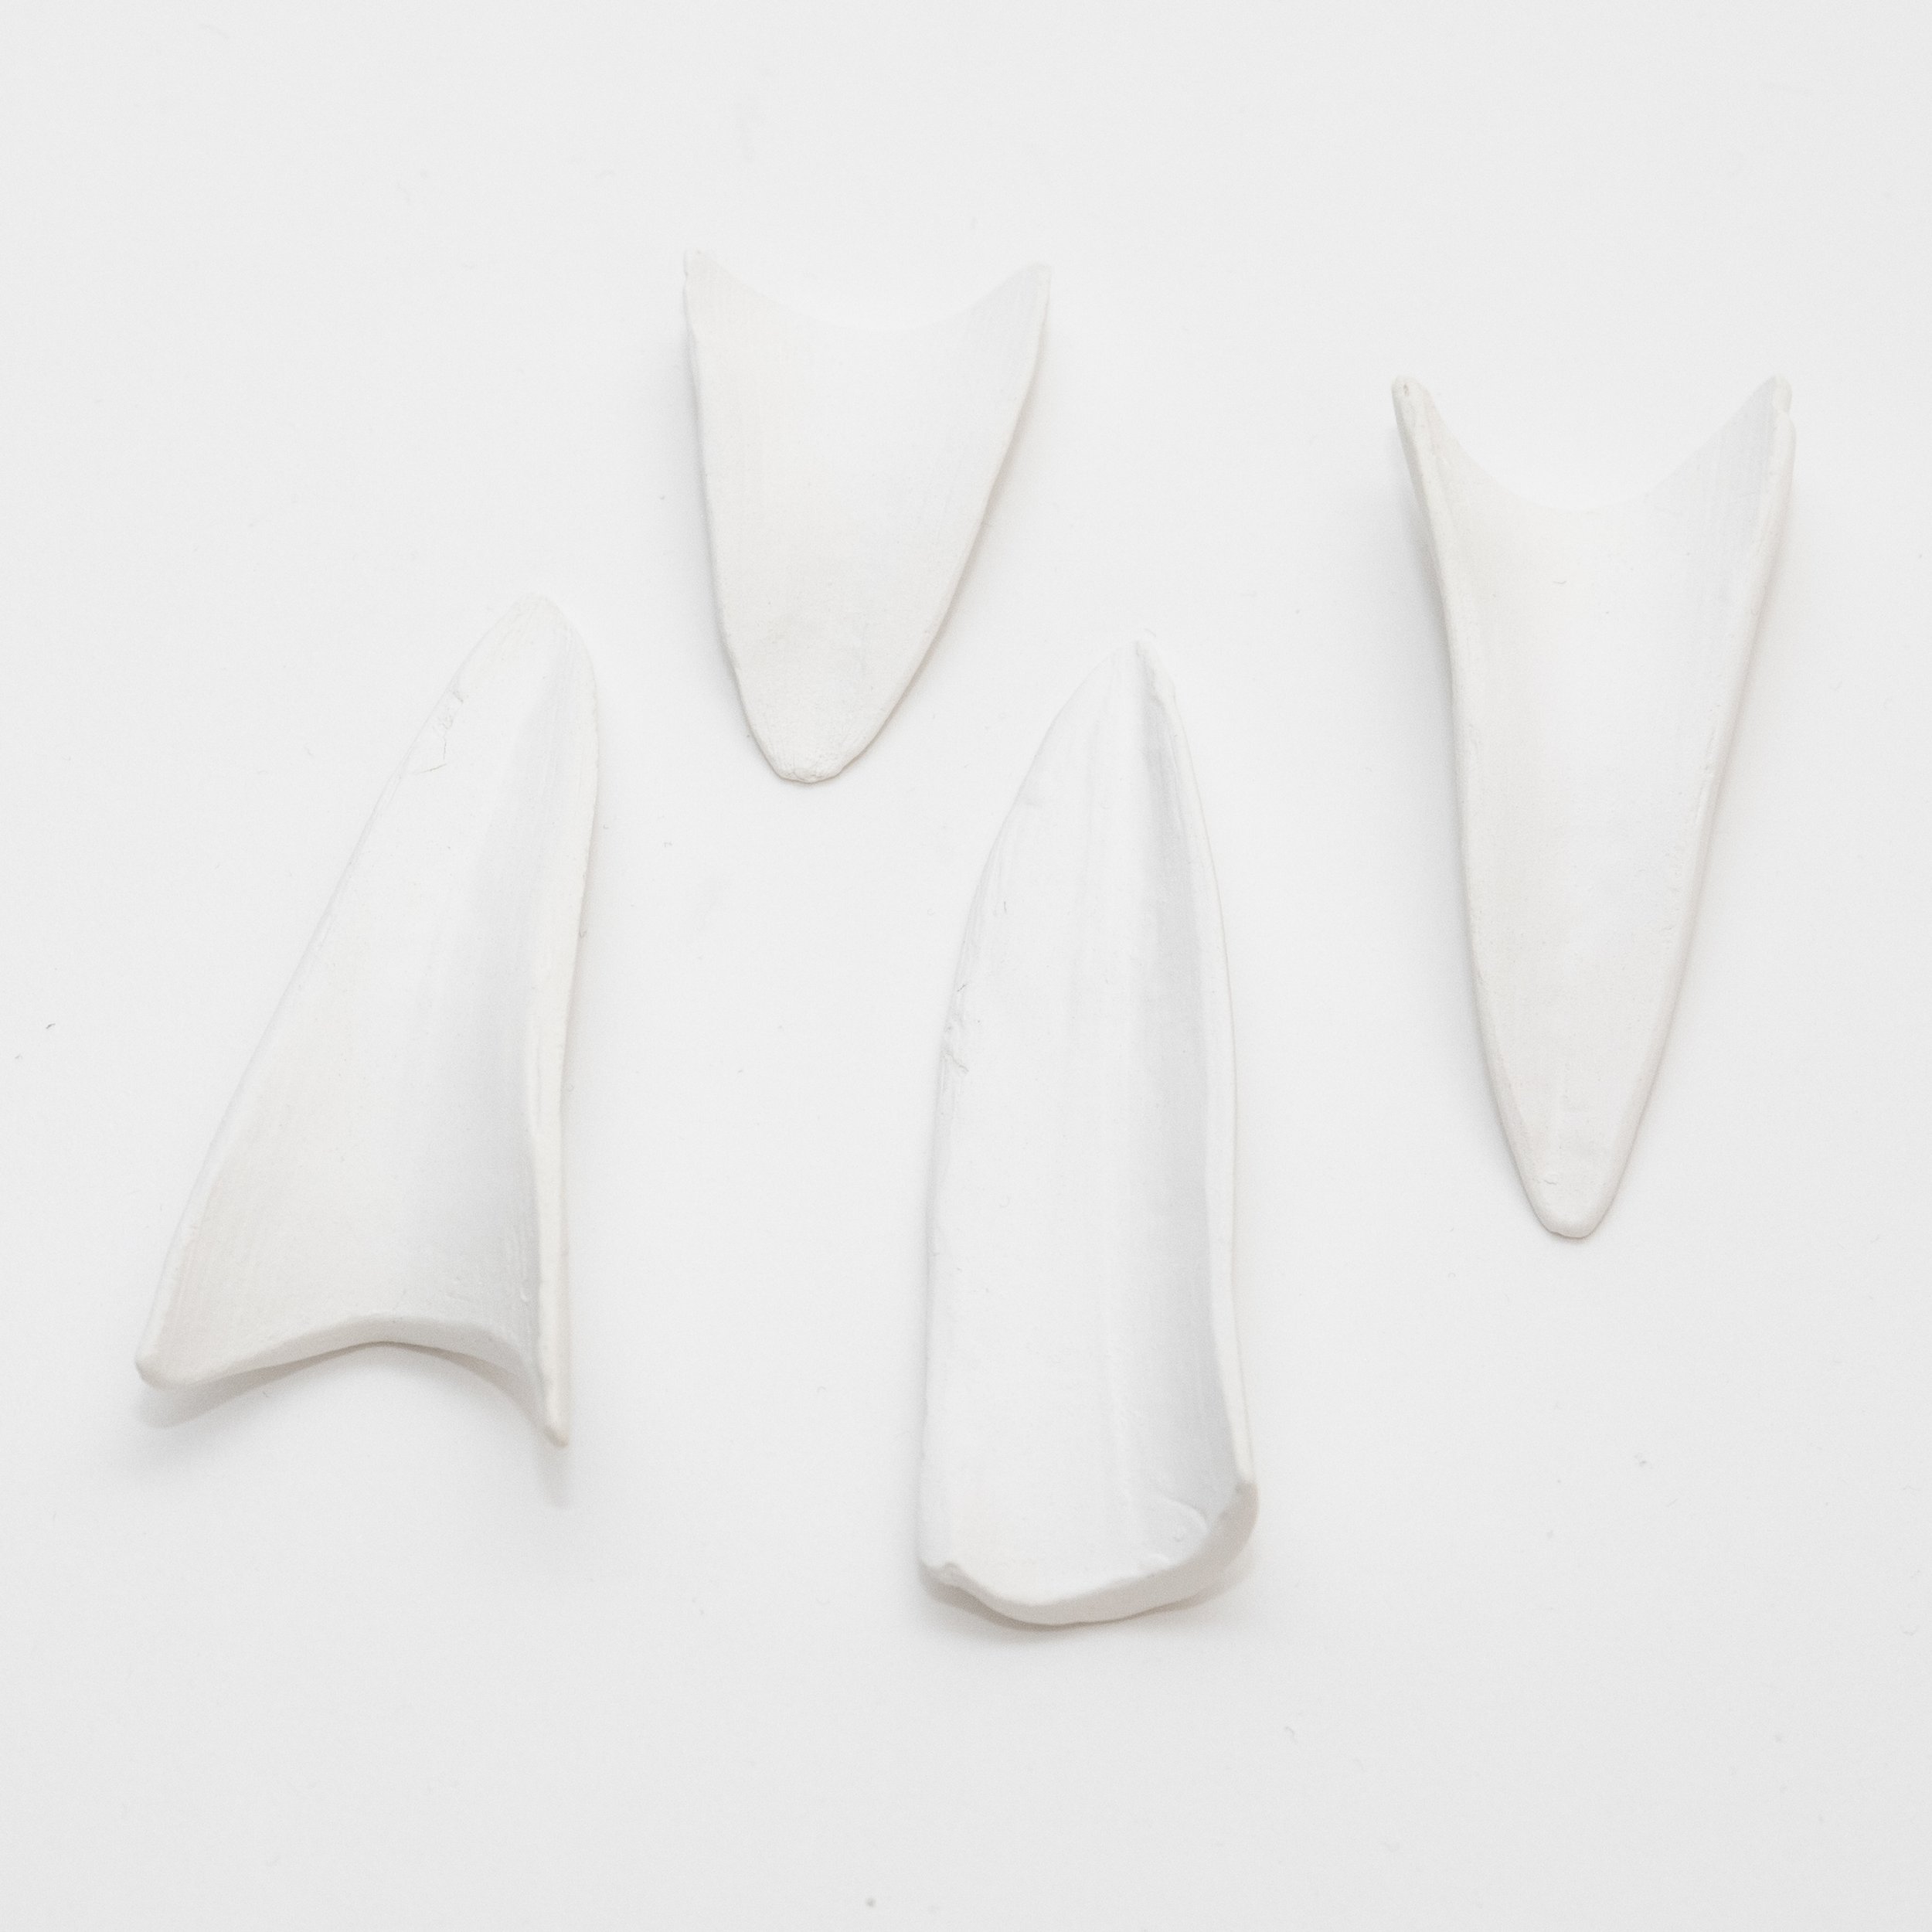
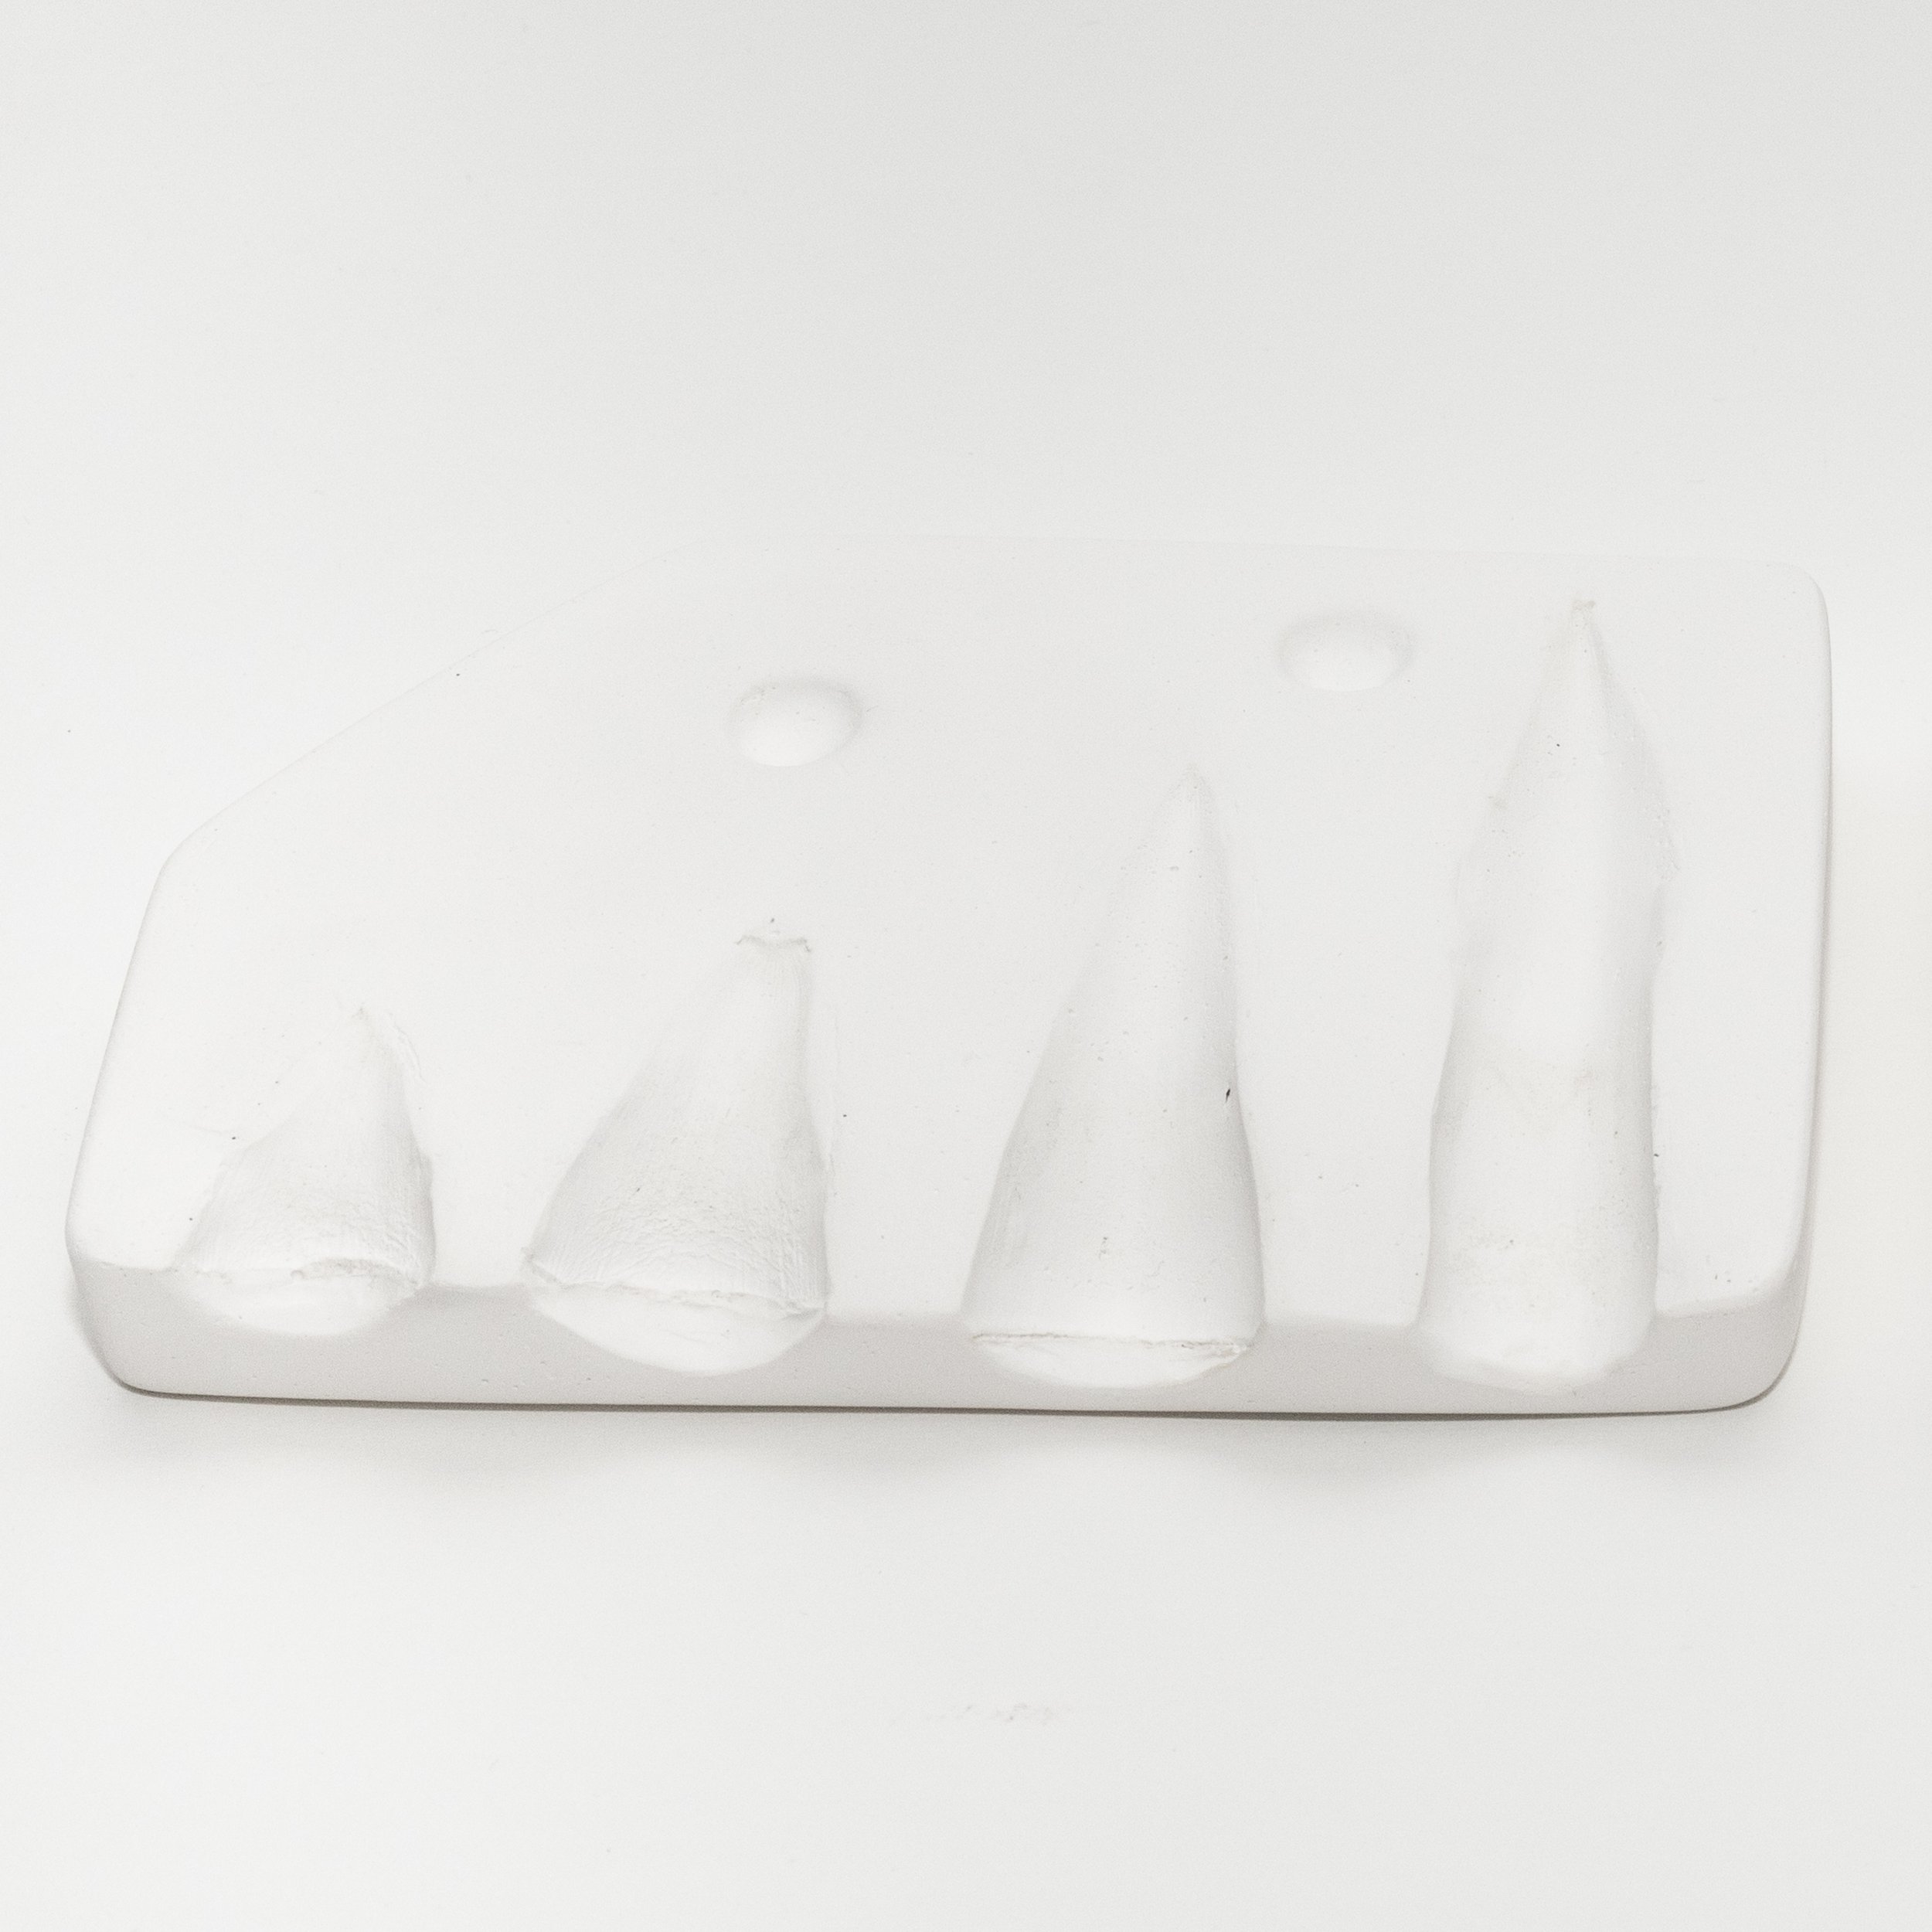
Plaster Mold making
for slipcasting and press molding
Making plaster molds for slip casting or press molding can be a very tedious process, but that is why I absolutely love doing it. Depending on resources at hand, it can involve a lot of creative thinking and problem solving. You have to study the form’s every angle, while keeping in mind where and how the final ceramic piece will be used in order to figure out the best approach for creating a new mold.
Over the last few years I have received a wide range of commissions for plaster molds. Creating molds from found objects, 3D prints, or even sketches where I then modeled the clay form by hand to make the mold. Below are some of the completed plaster mold commissions, casting test, and glimpses into the process I went through.
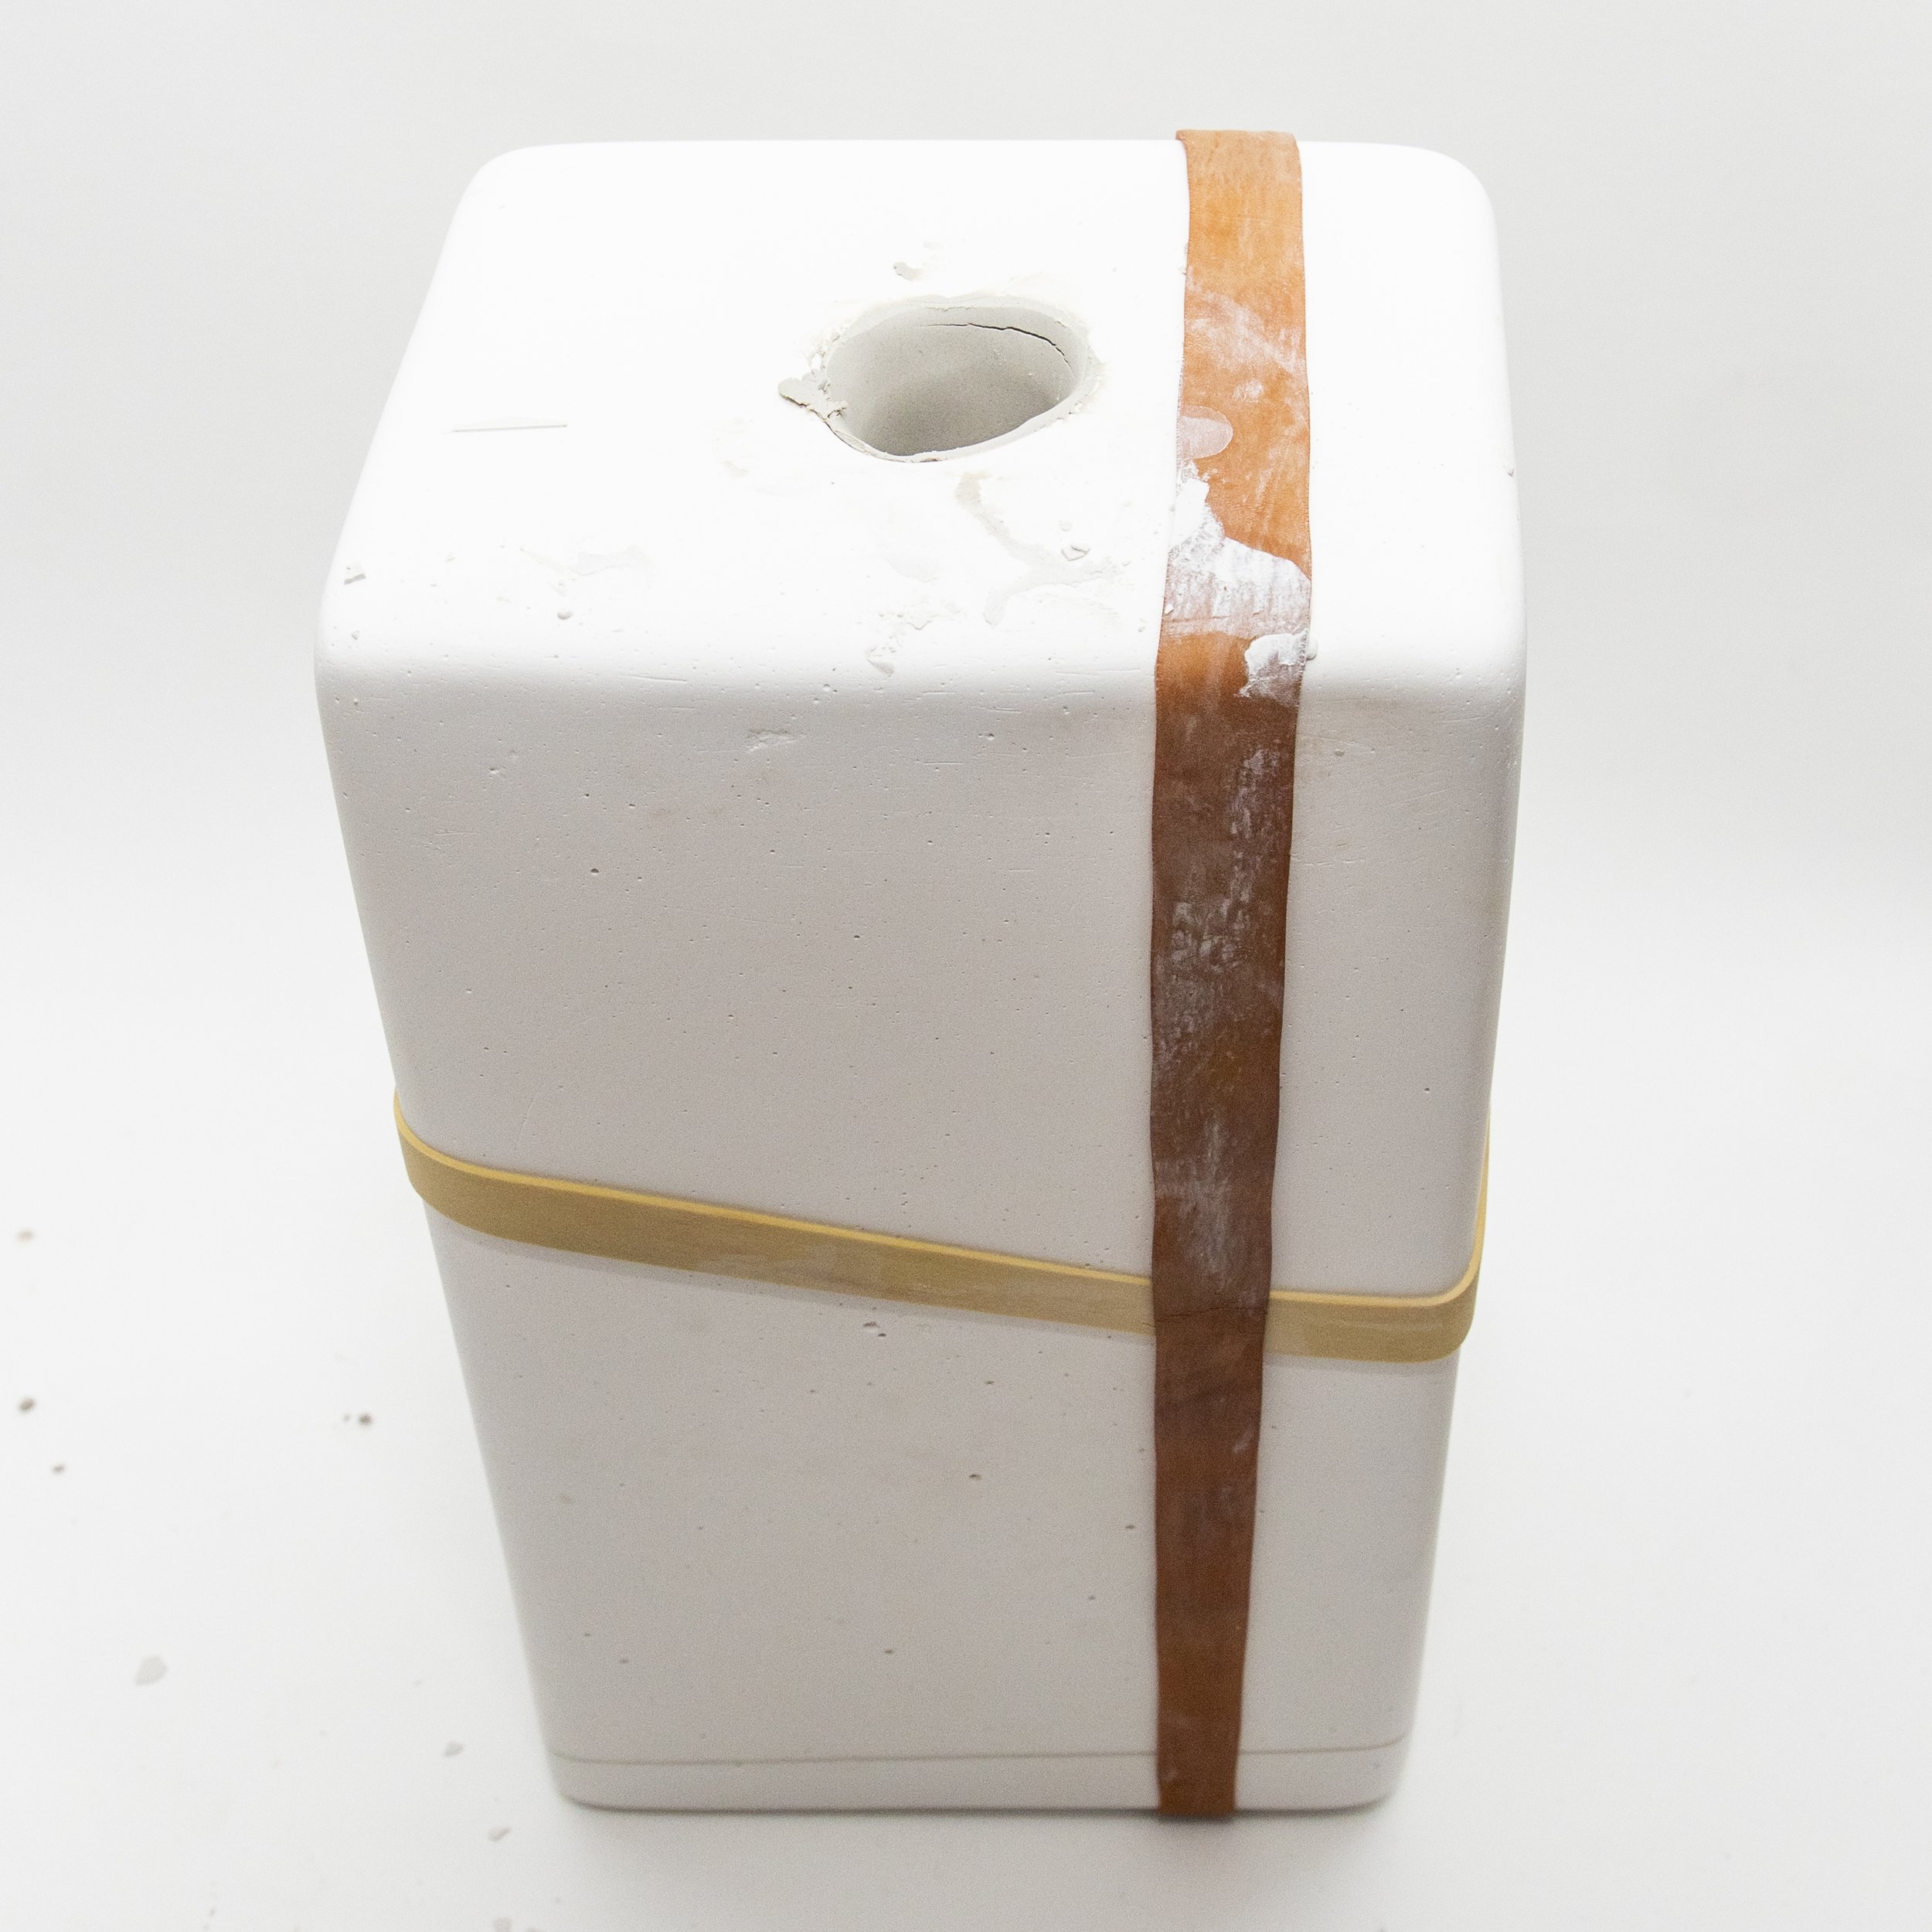
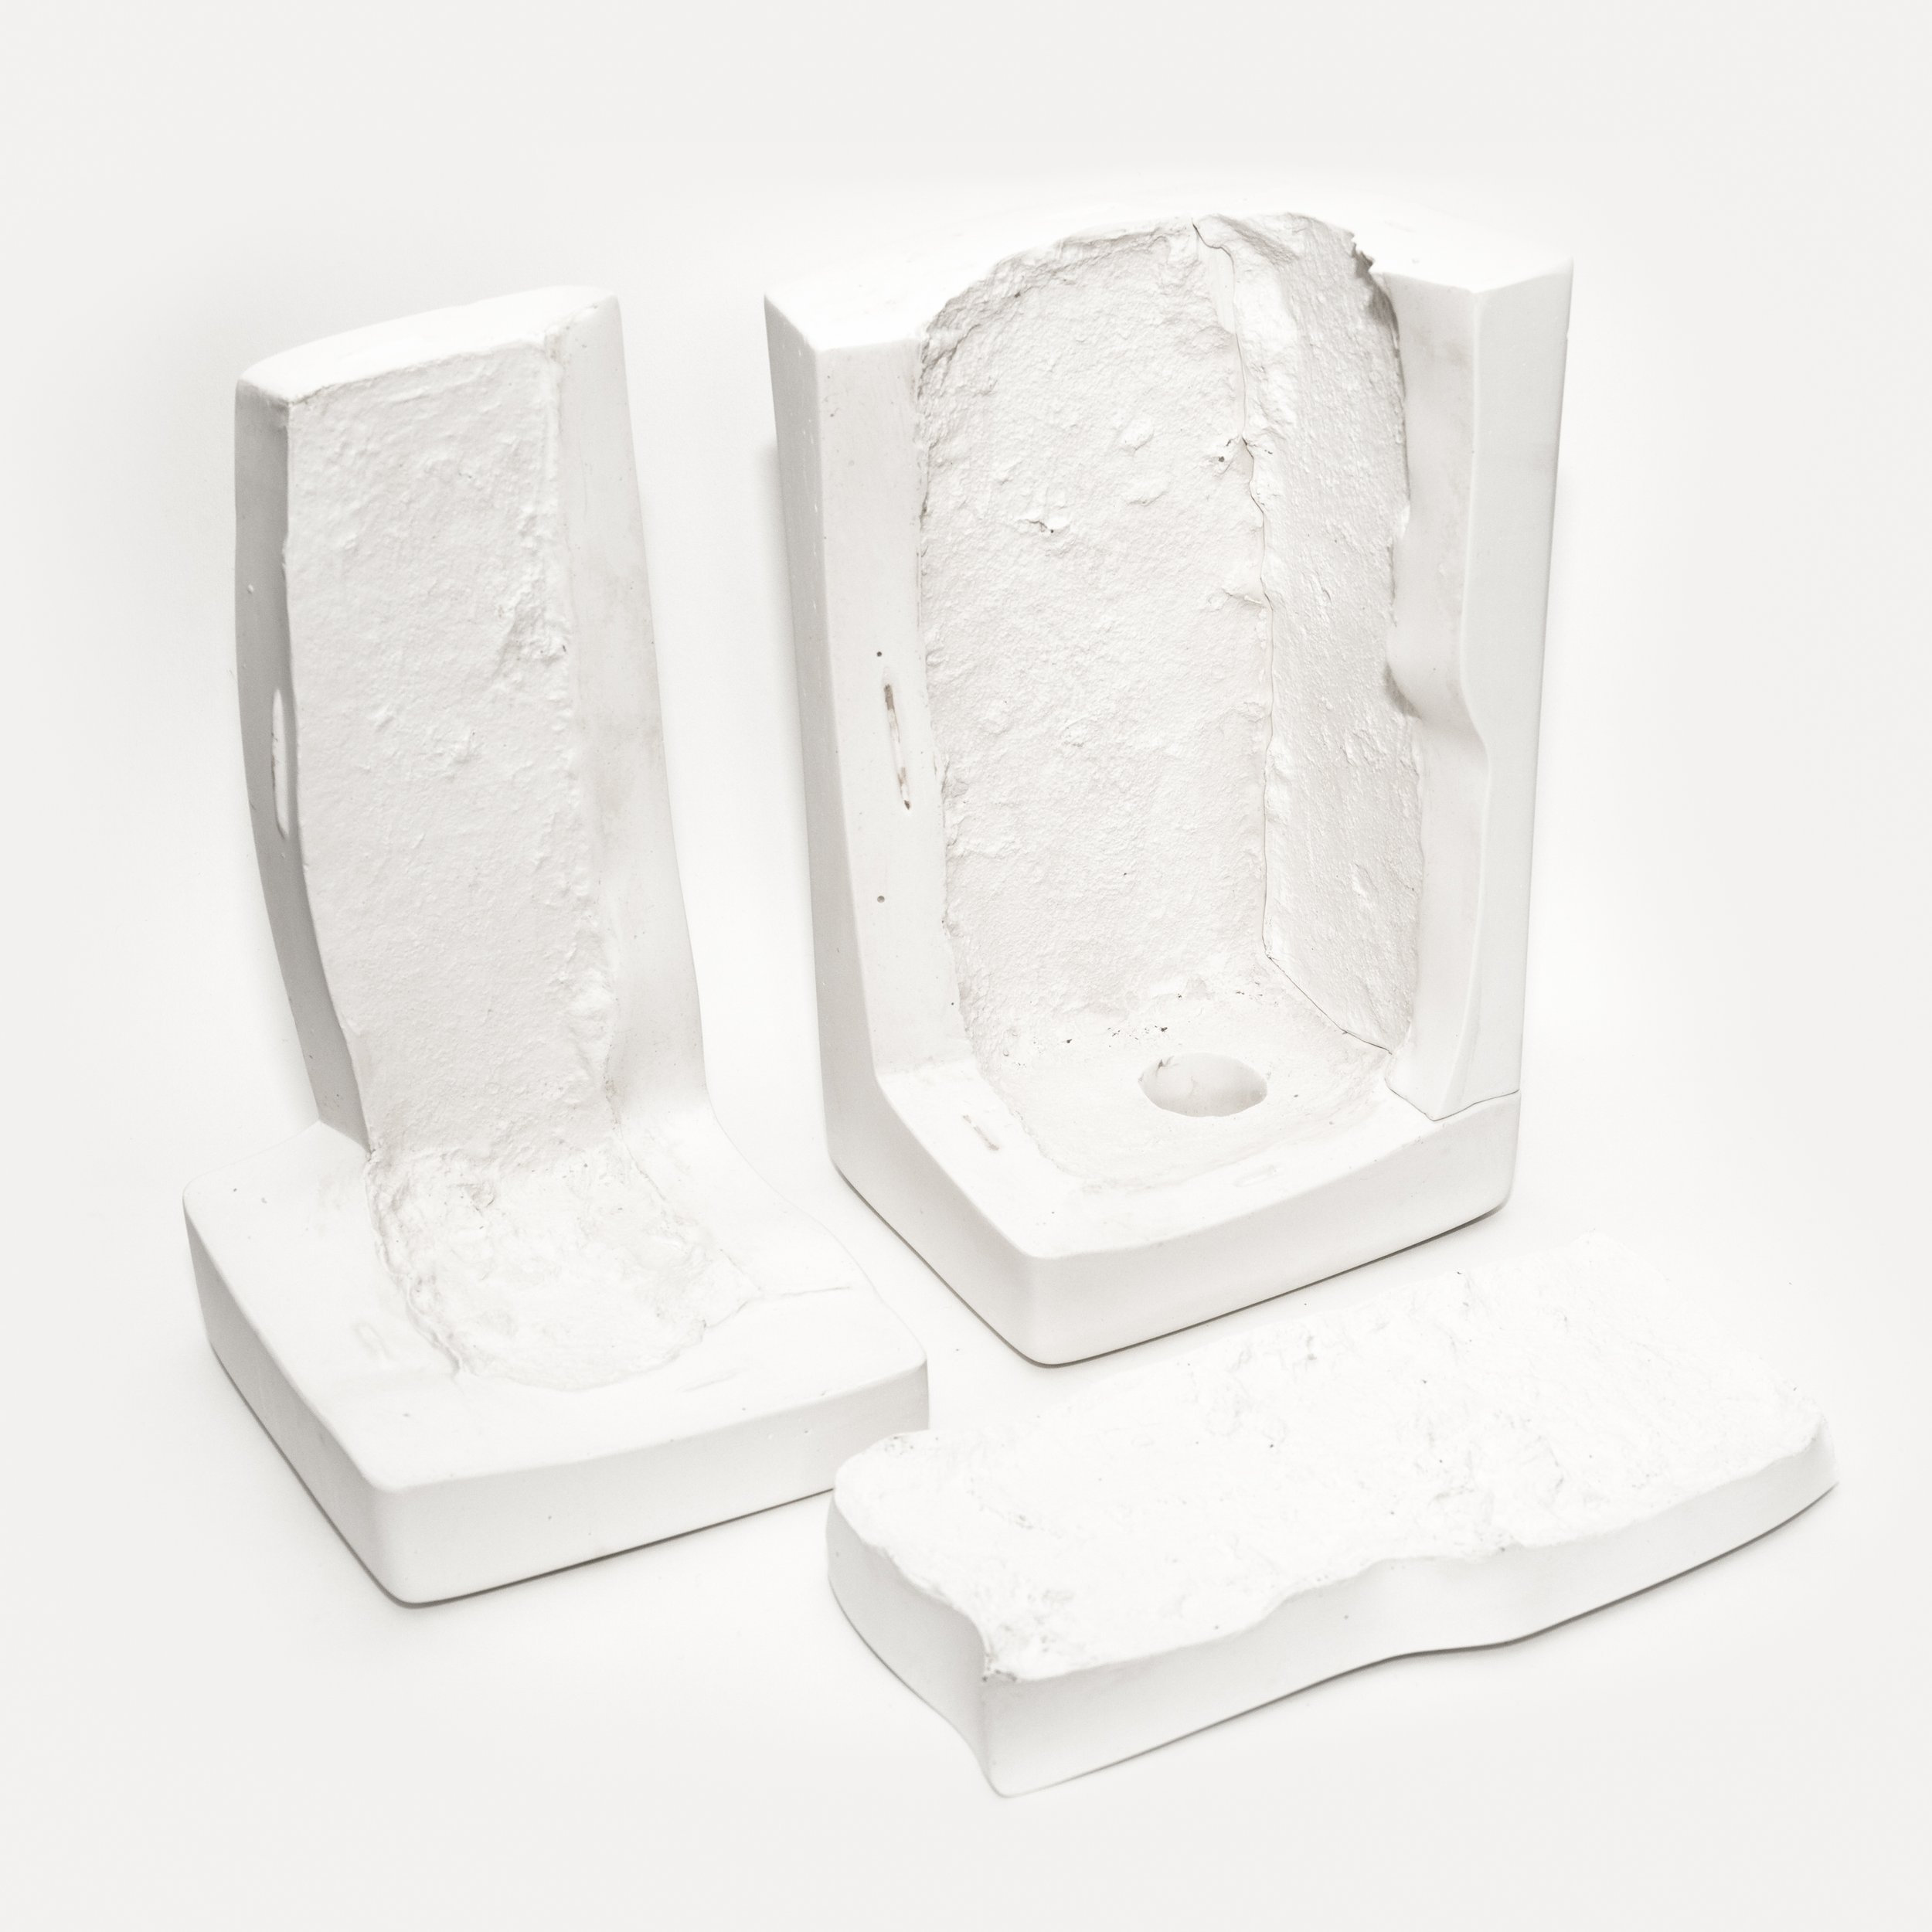
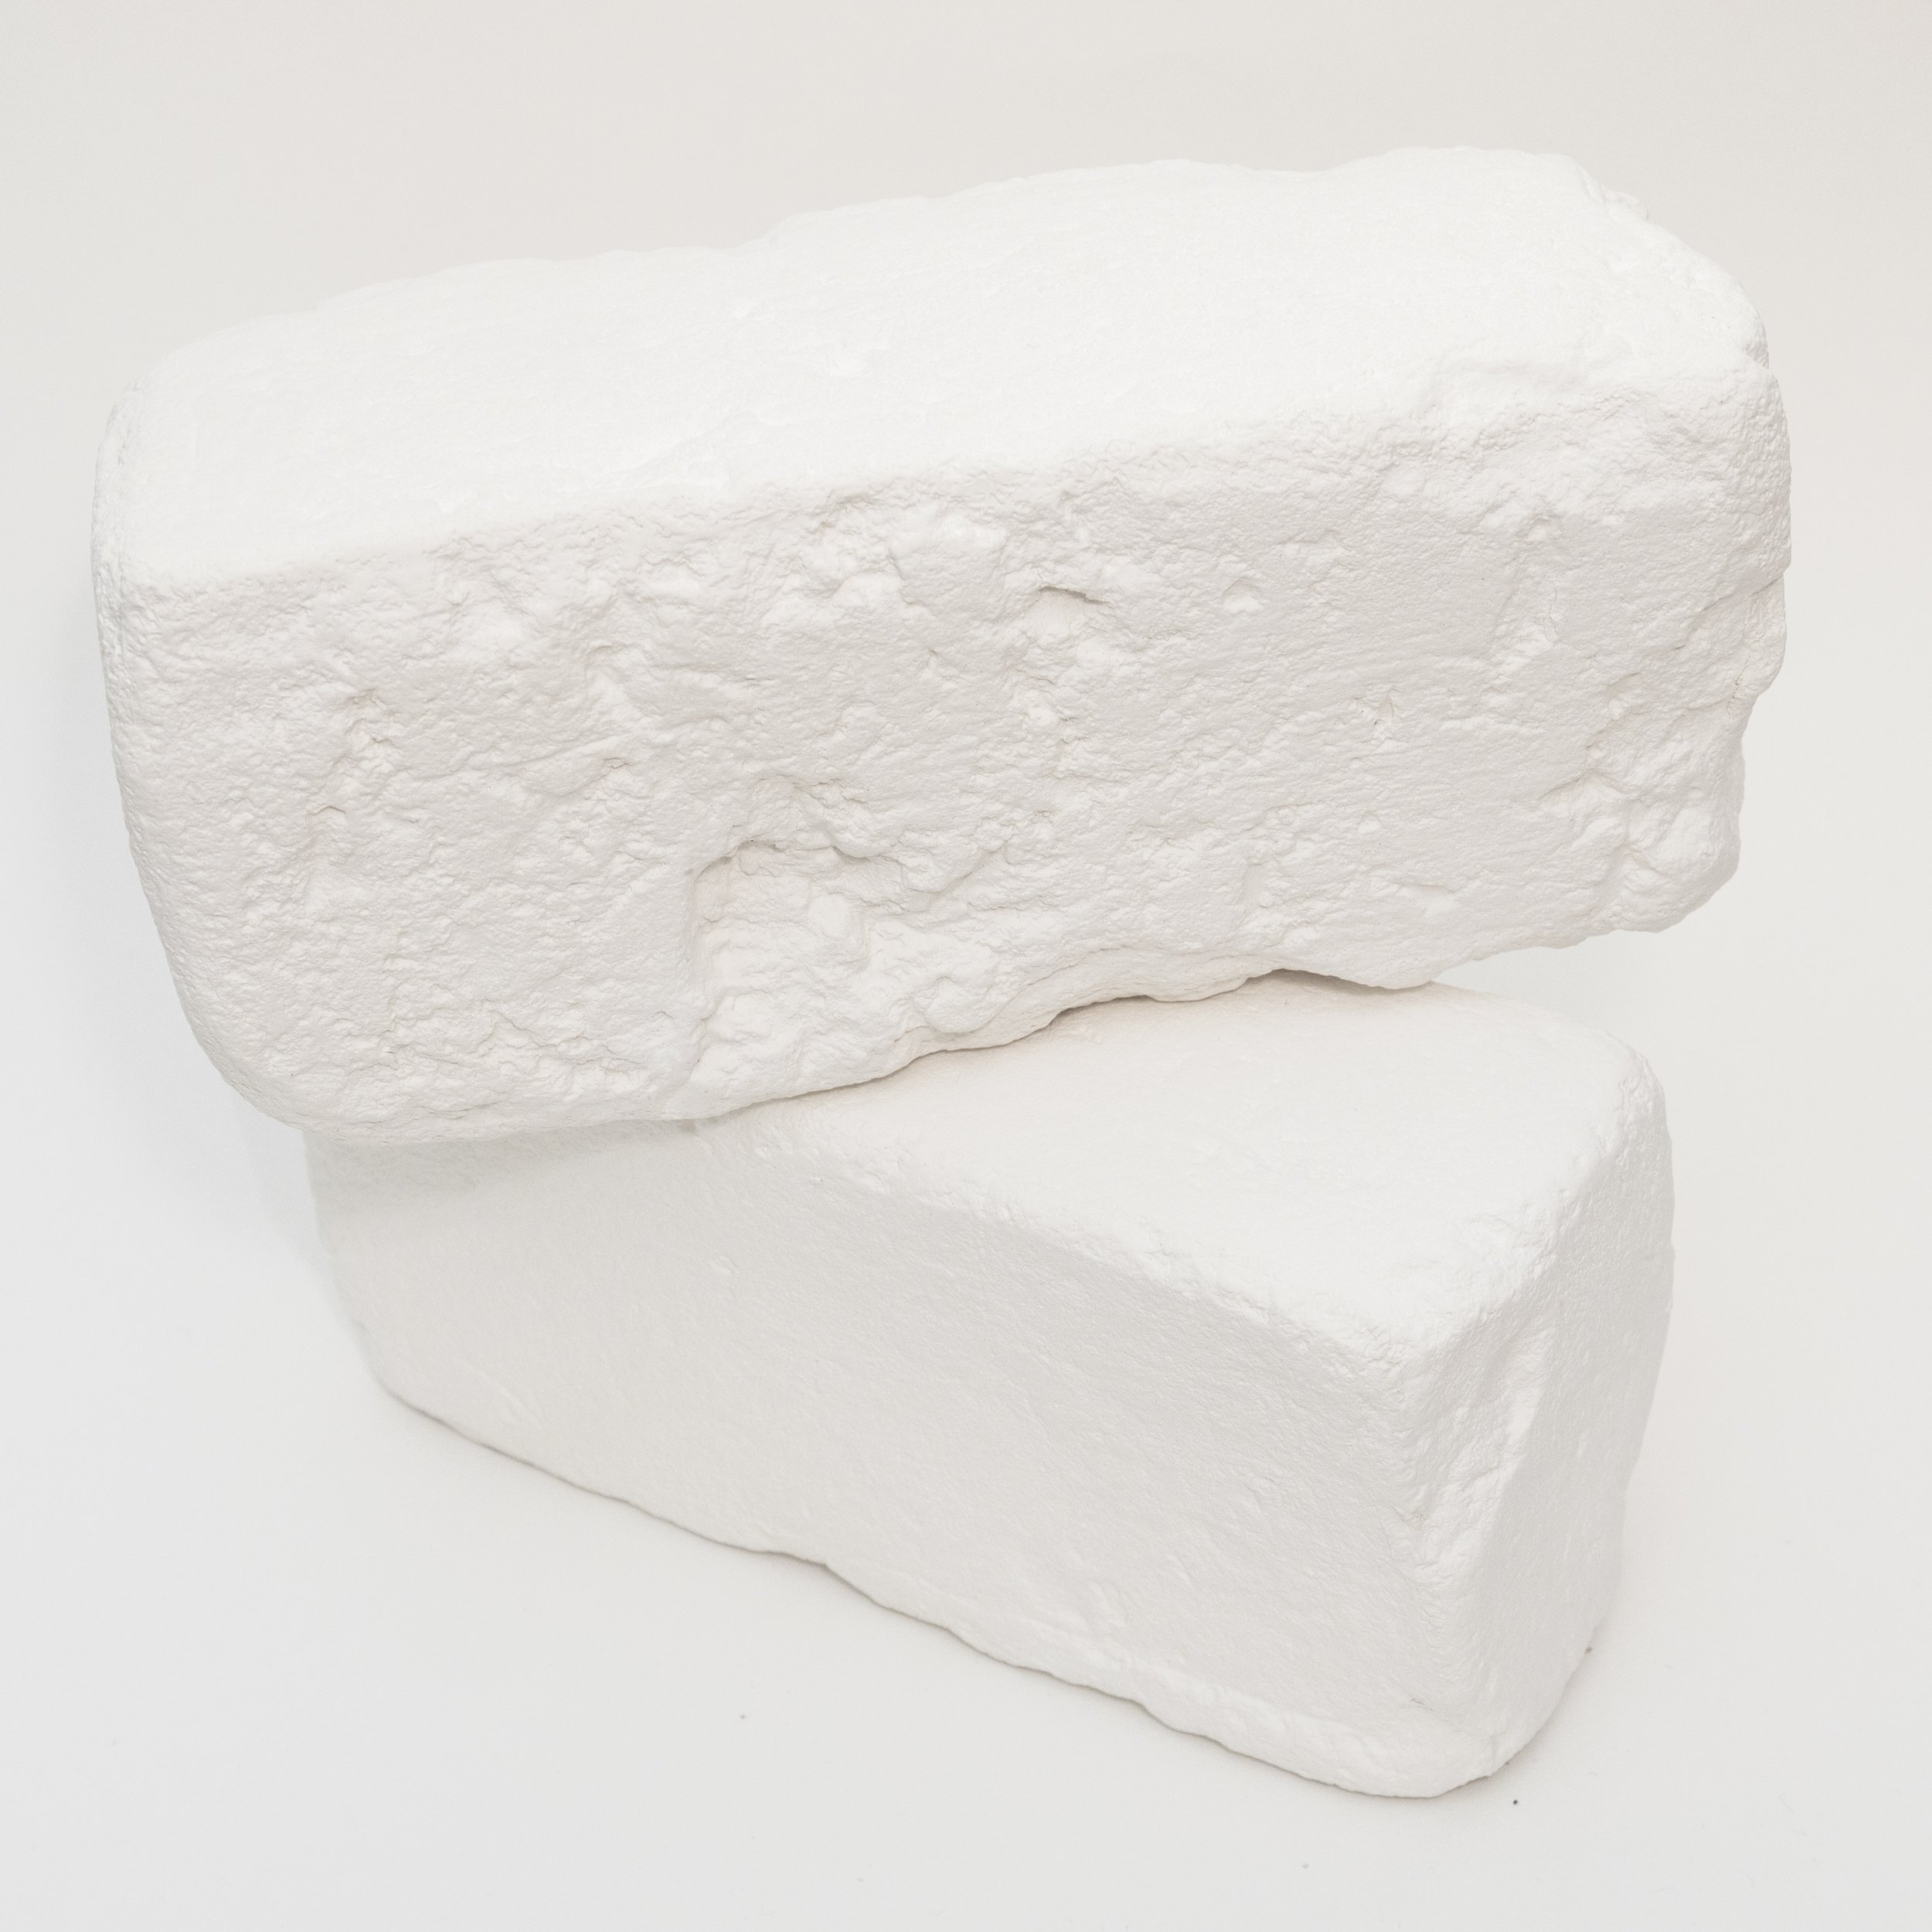
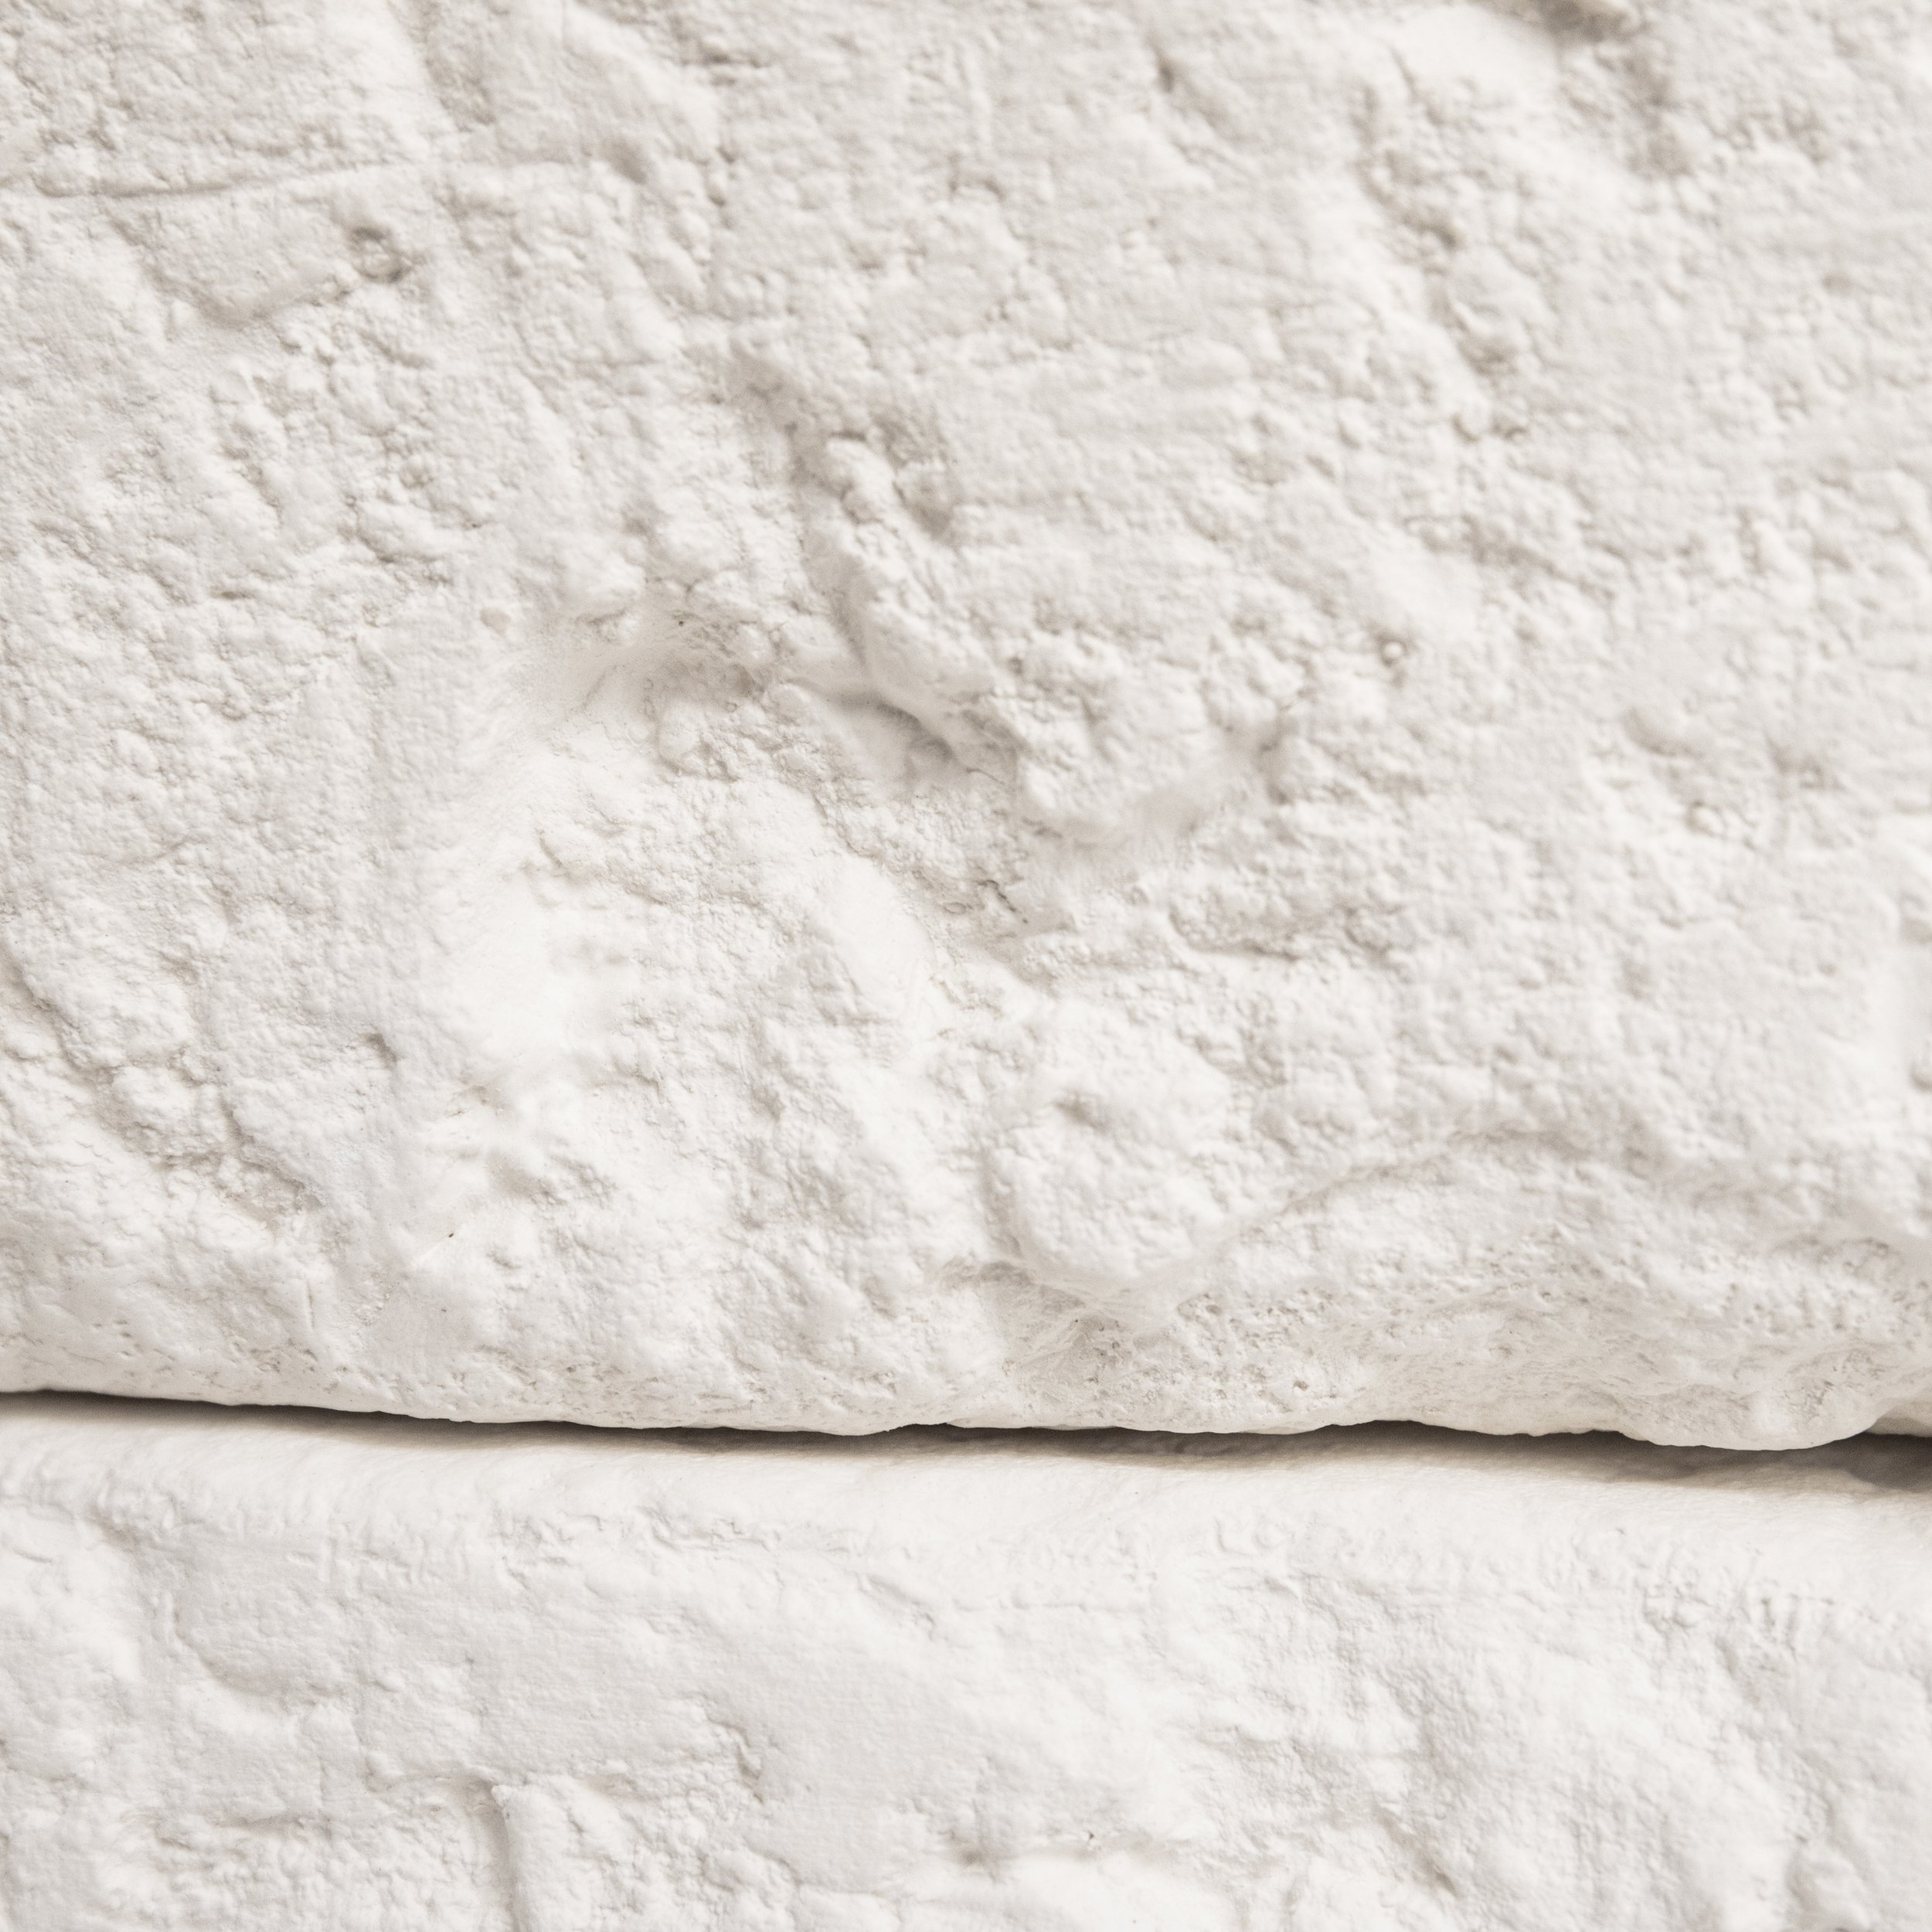
SAVANNAH BRICK MOLD
Client: Sharon Norwood @sharonnorwoodartist
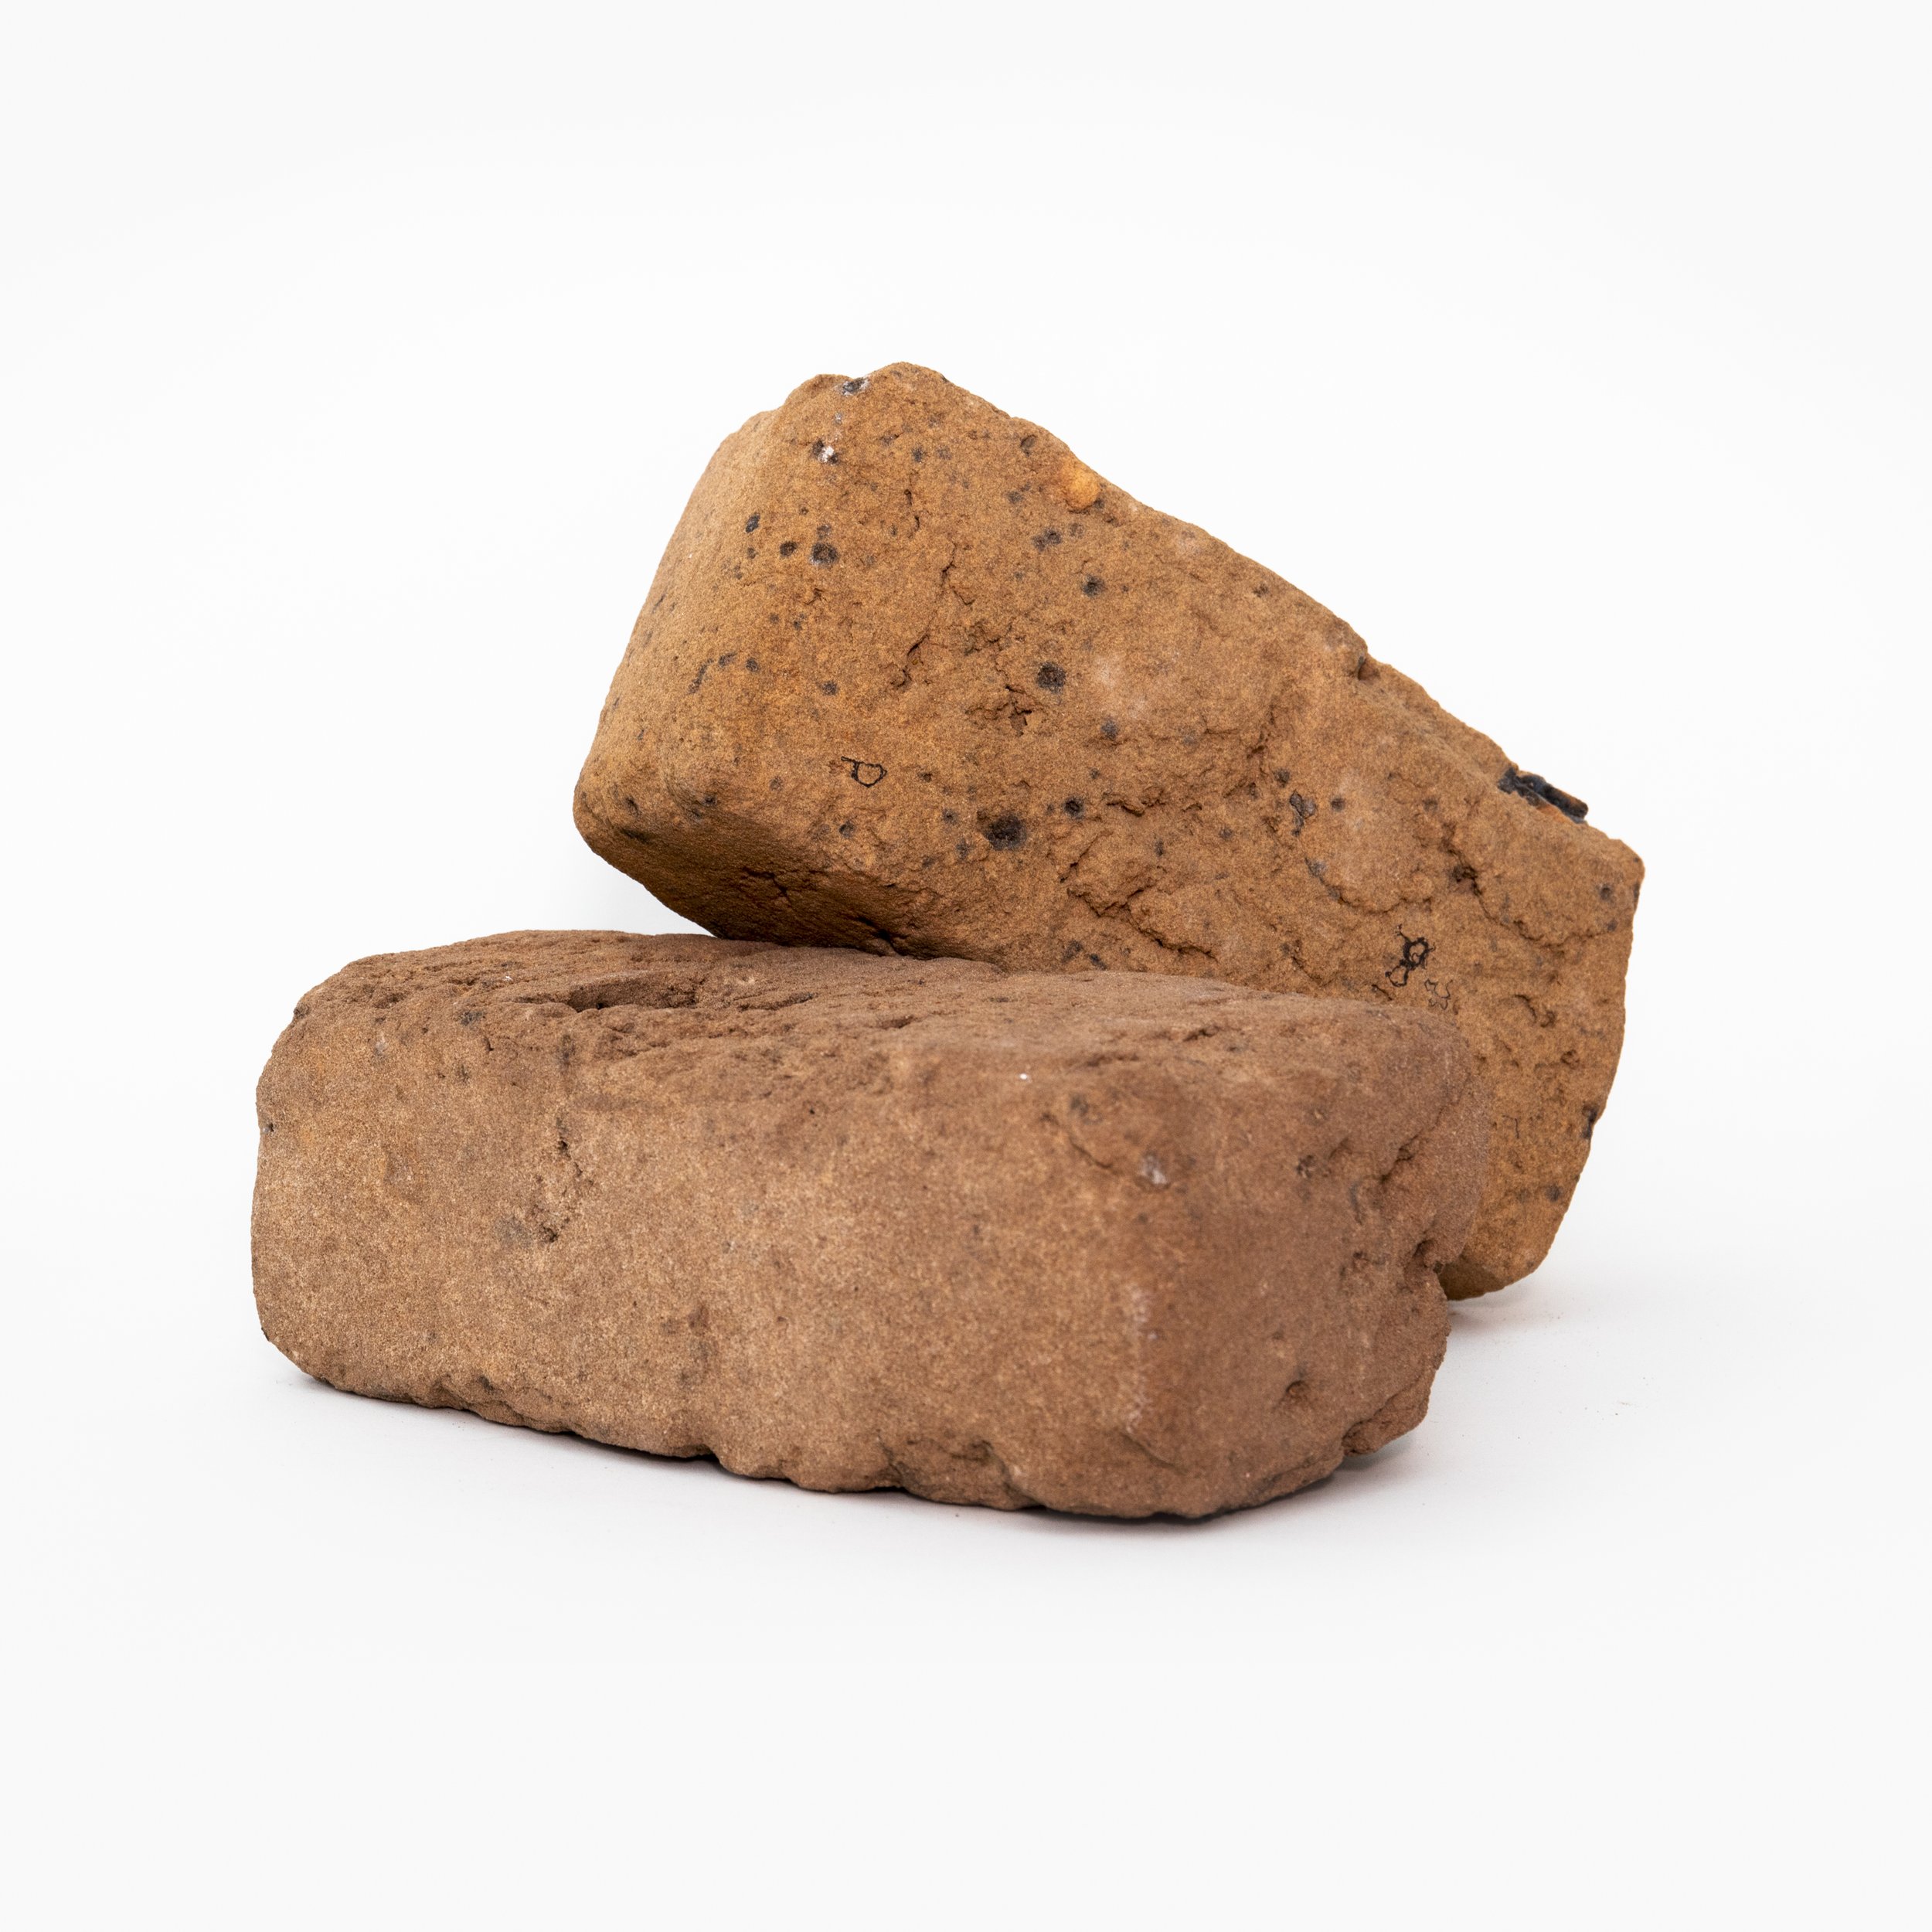
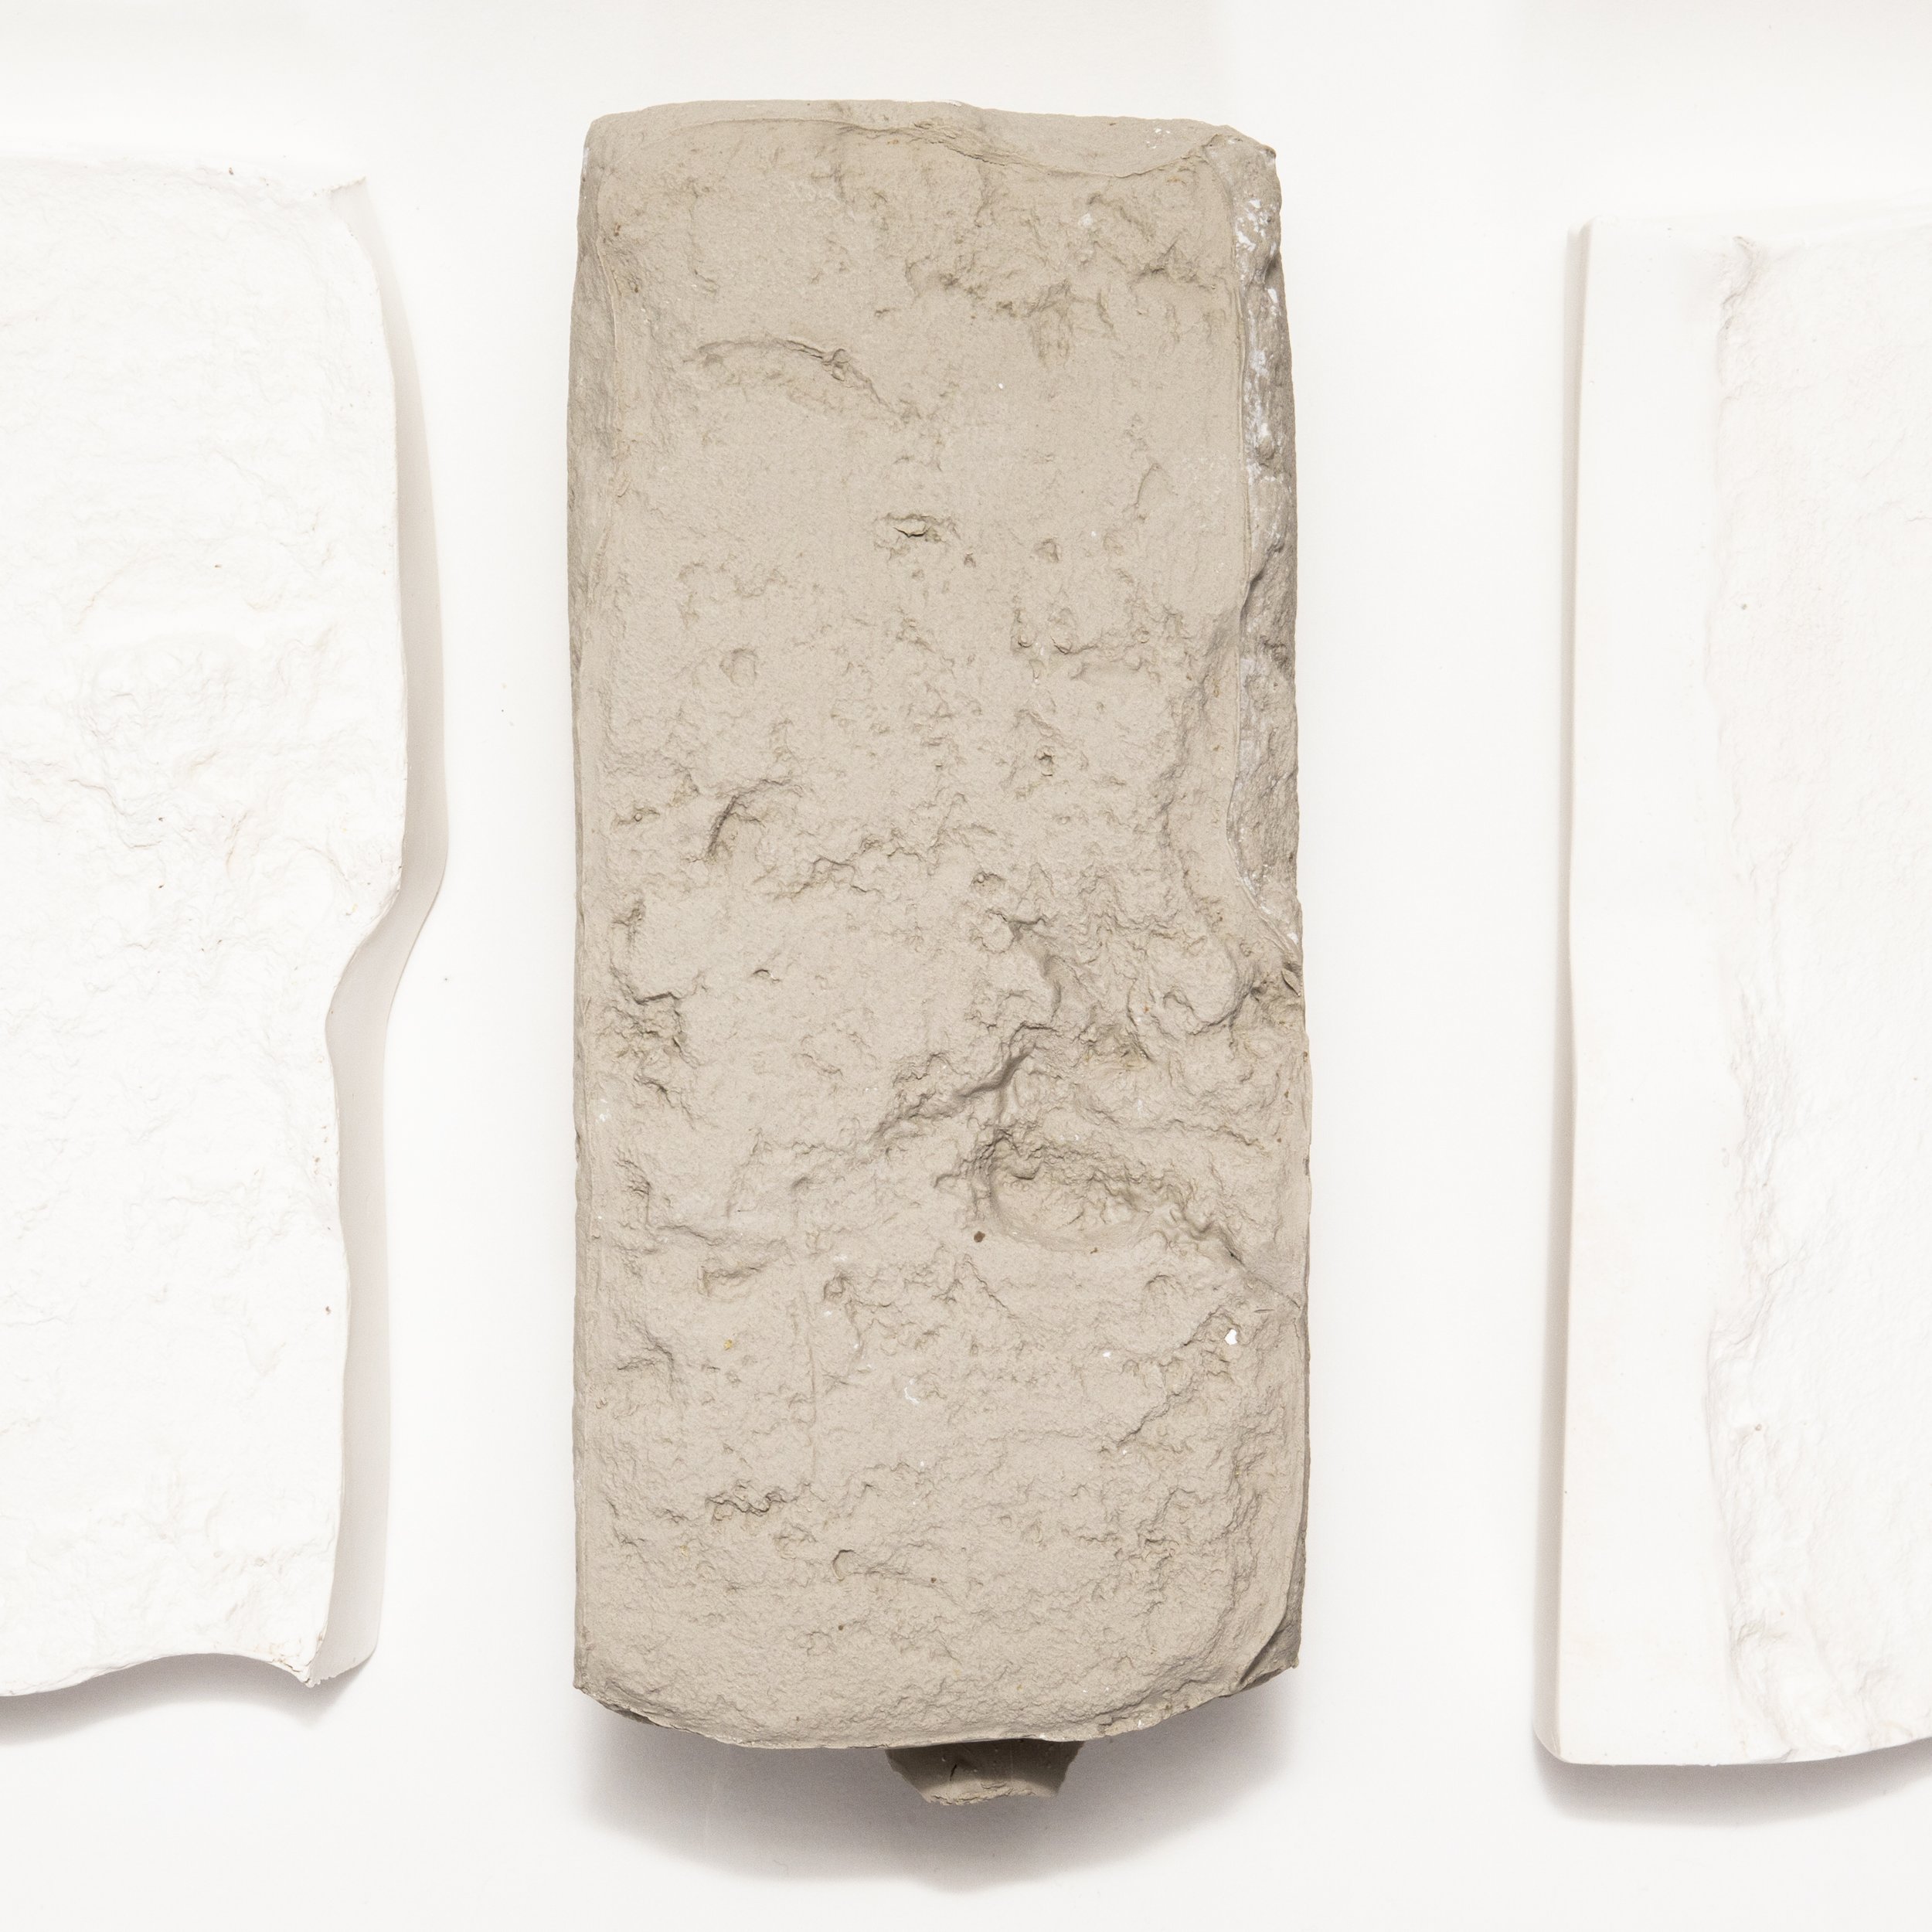
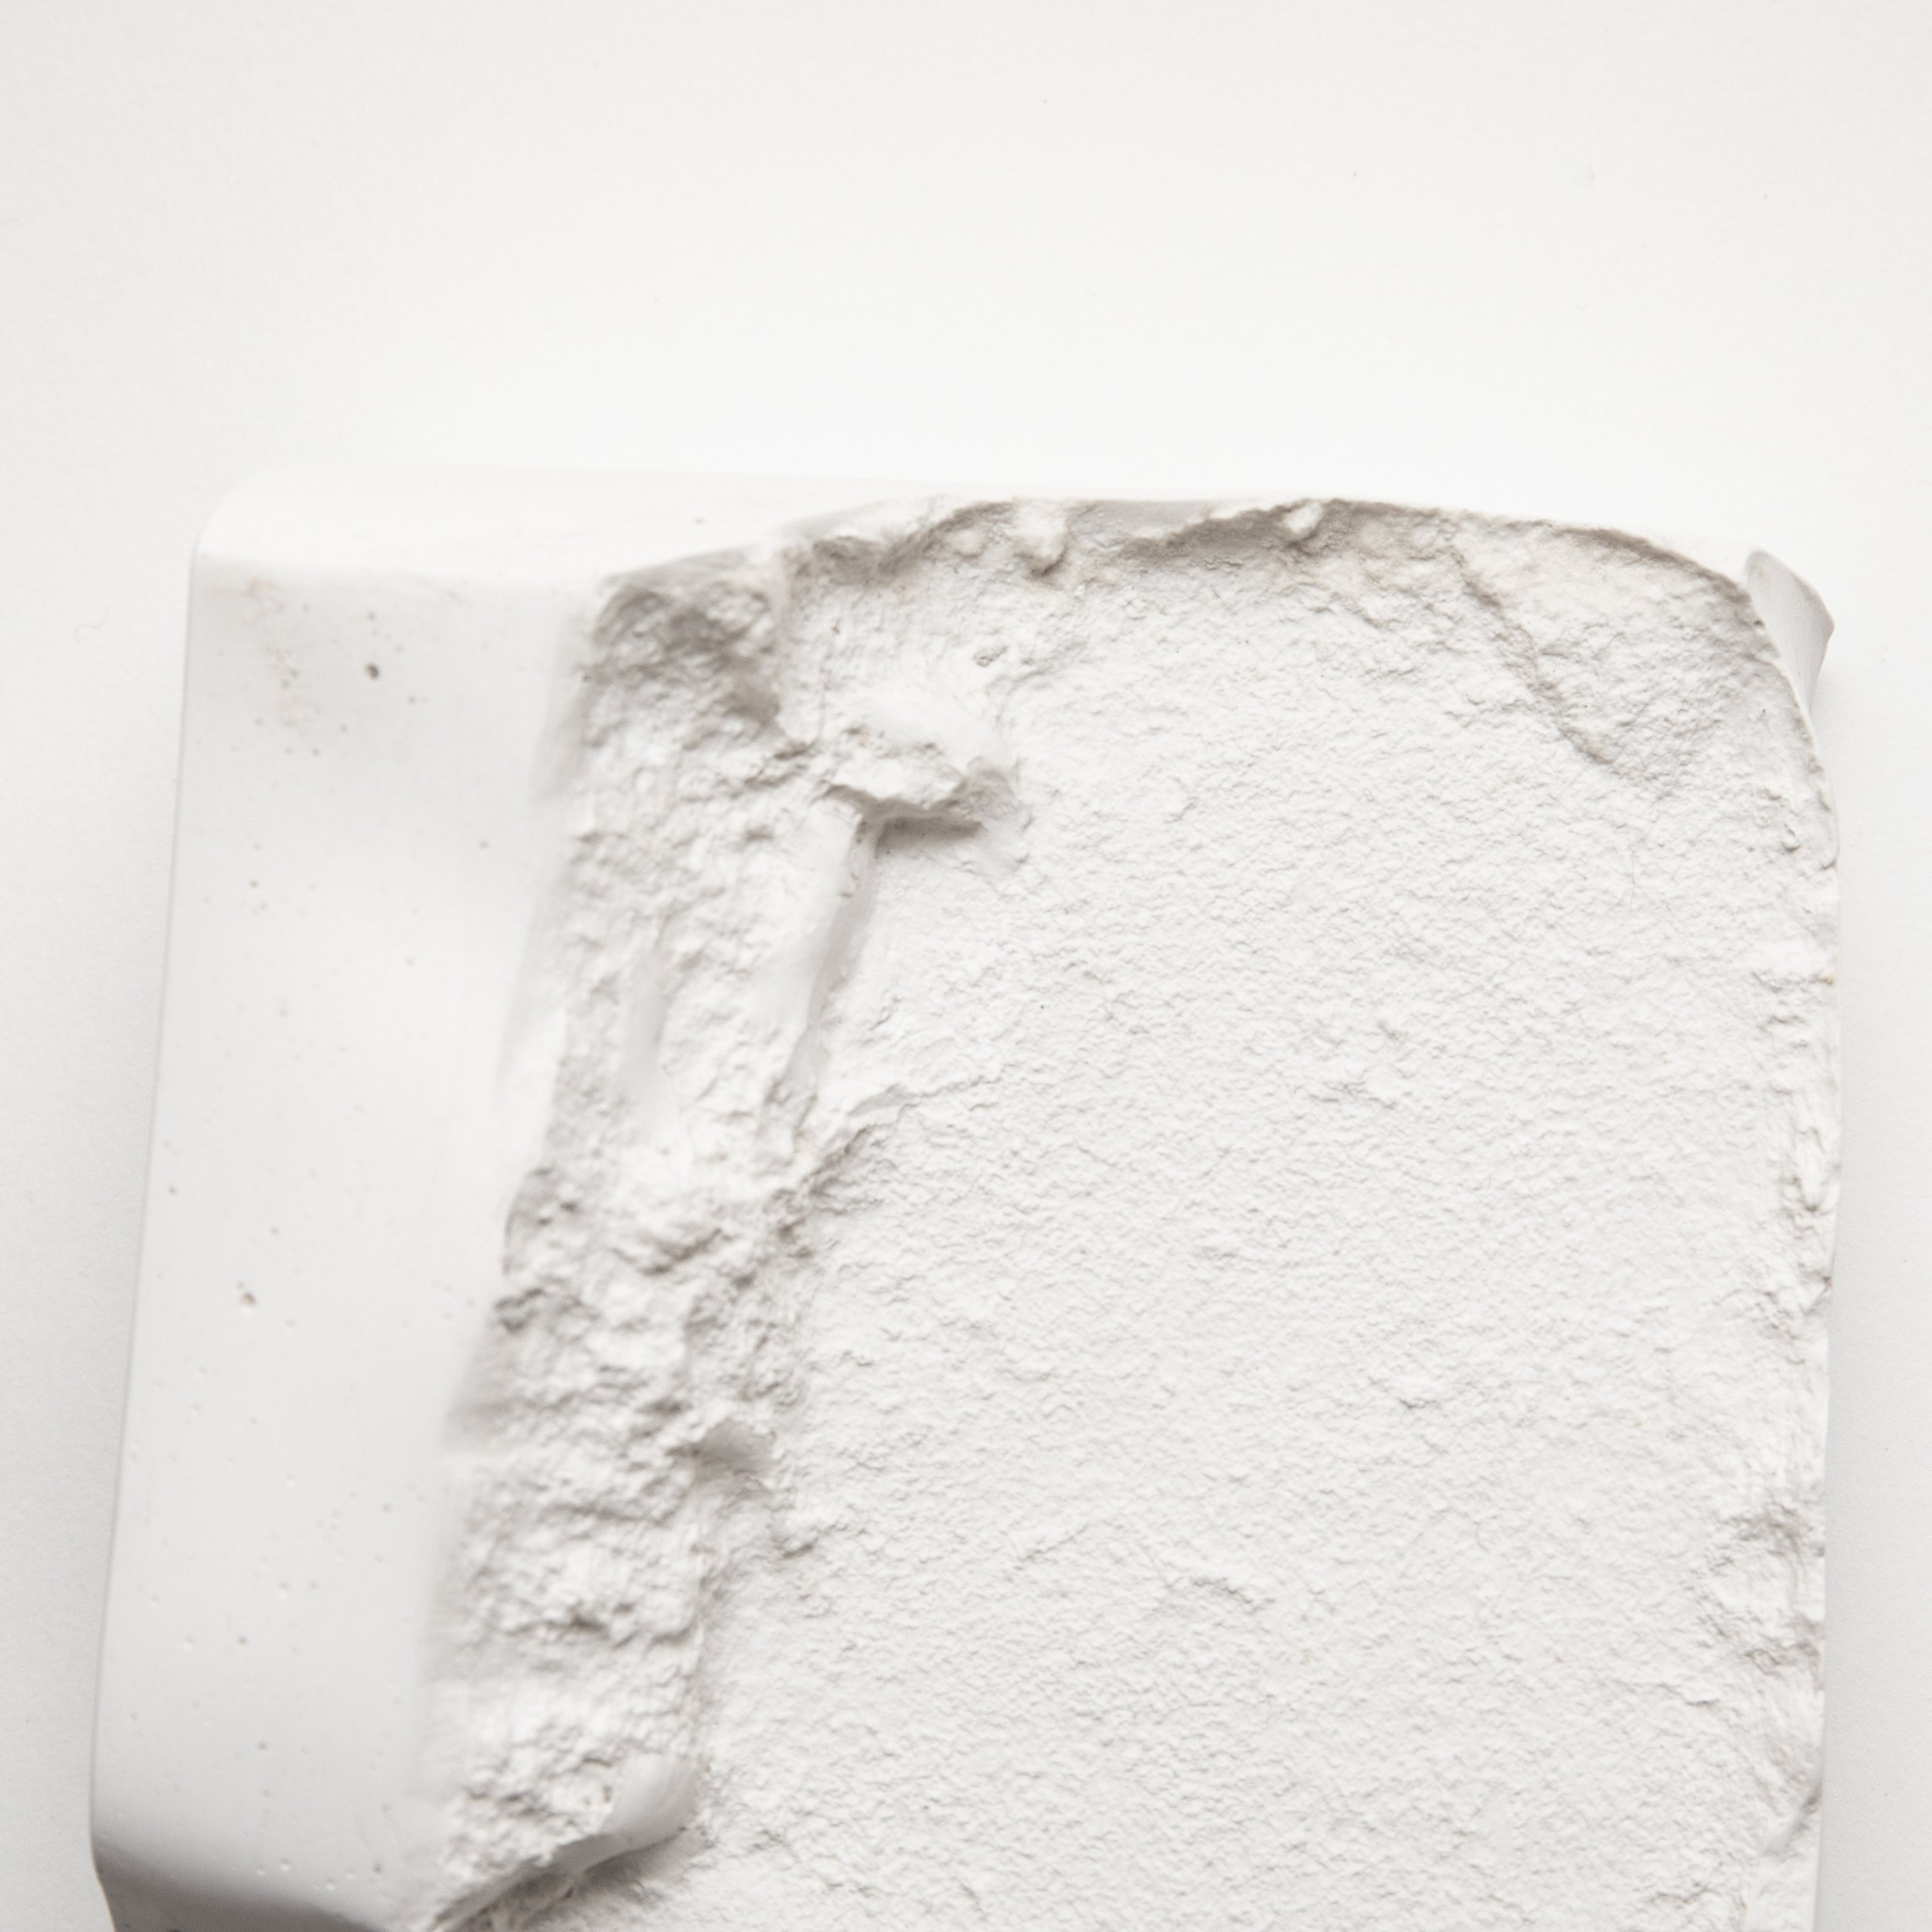
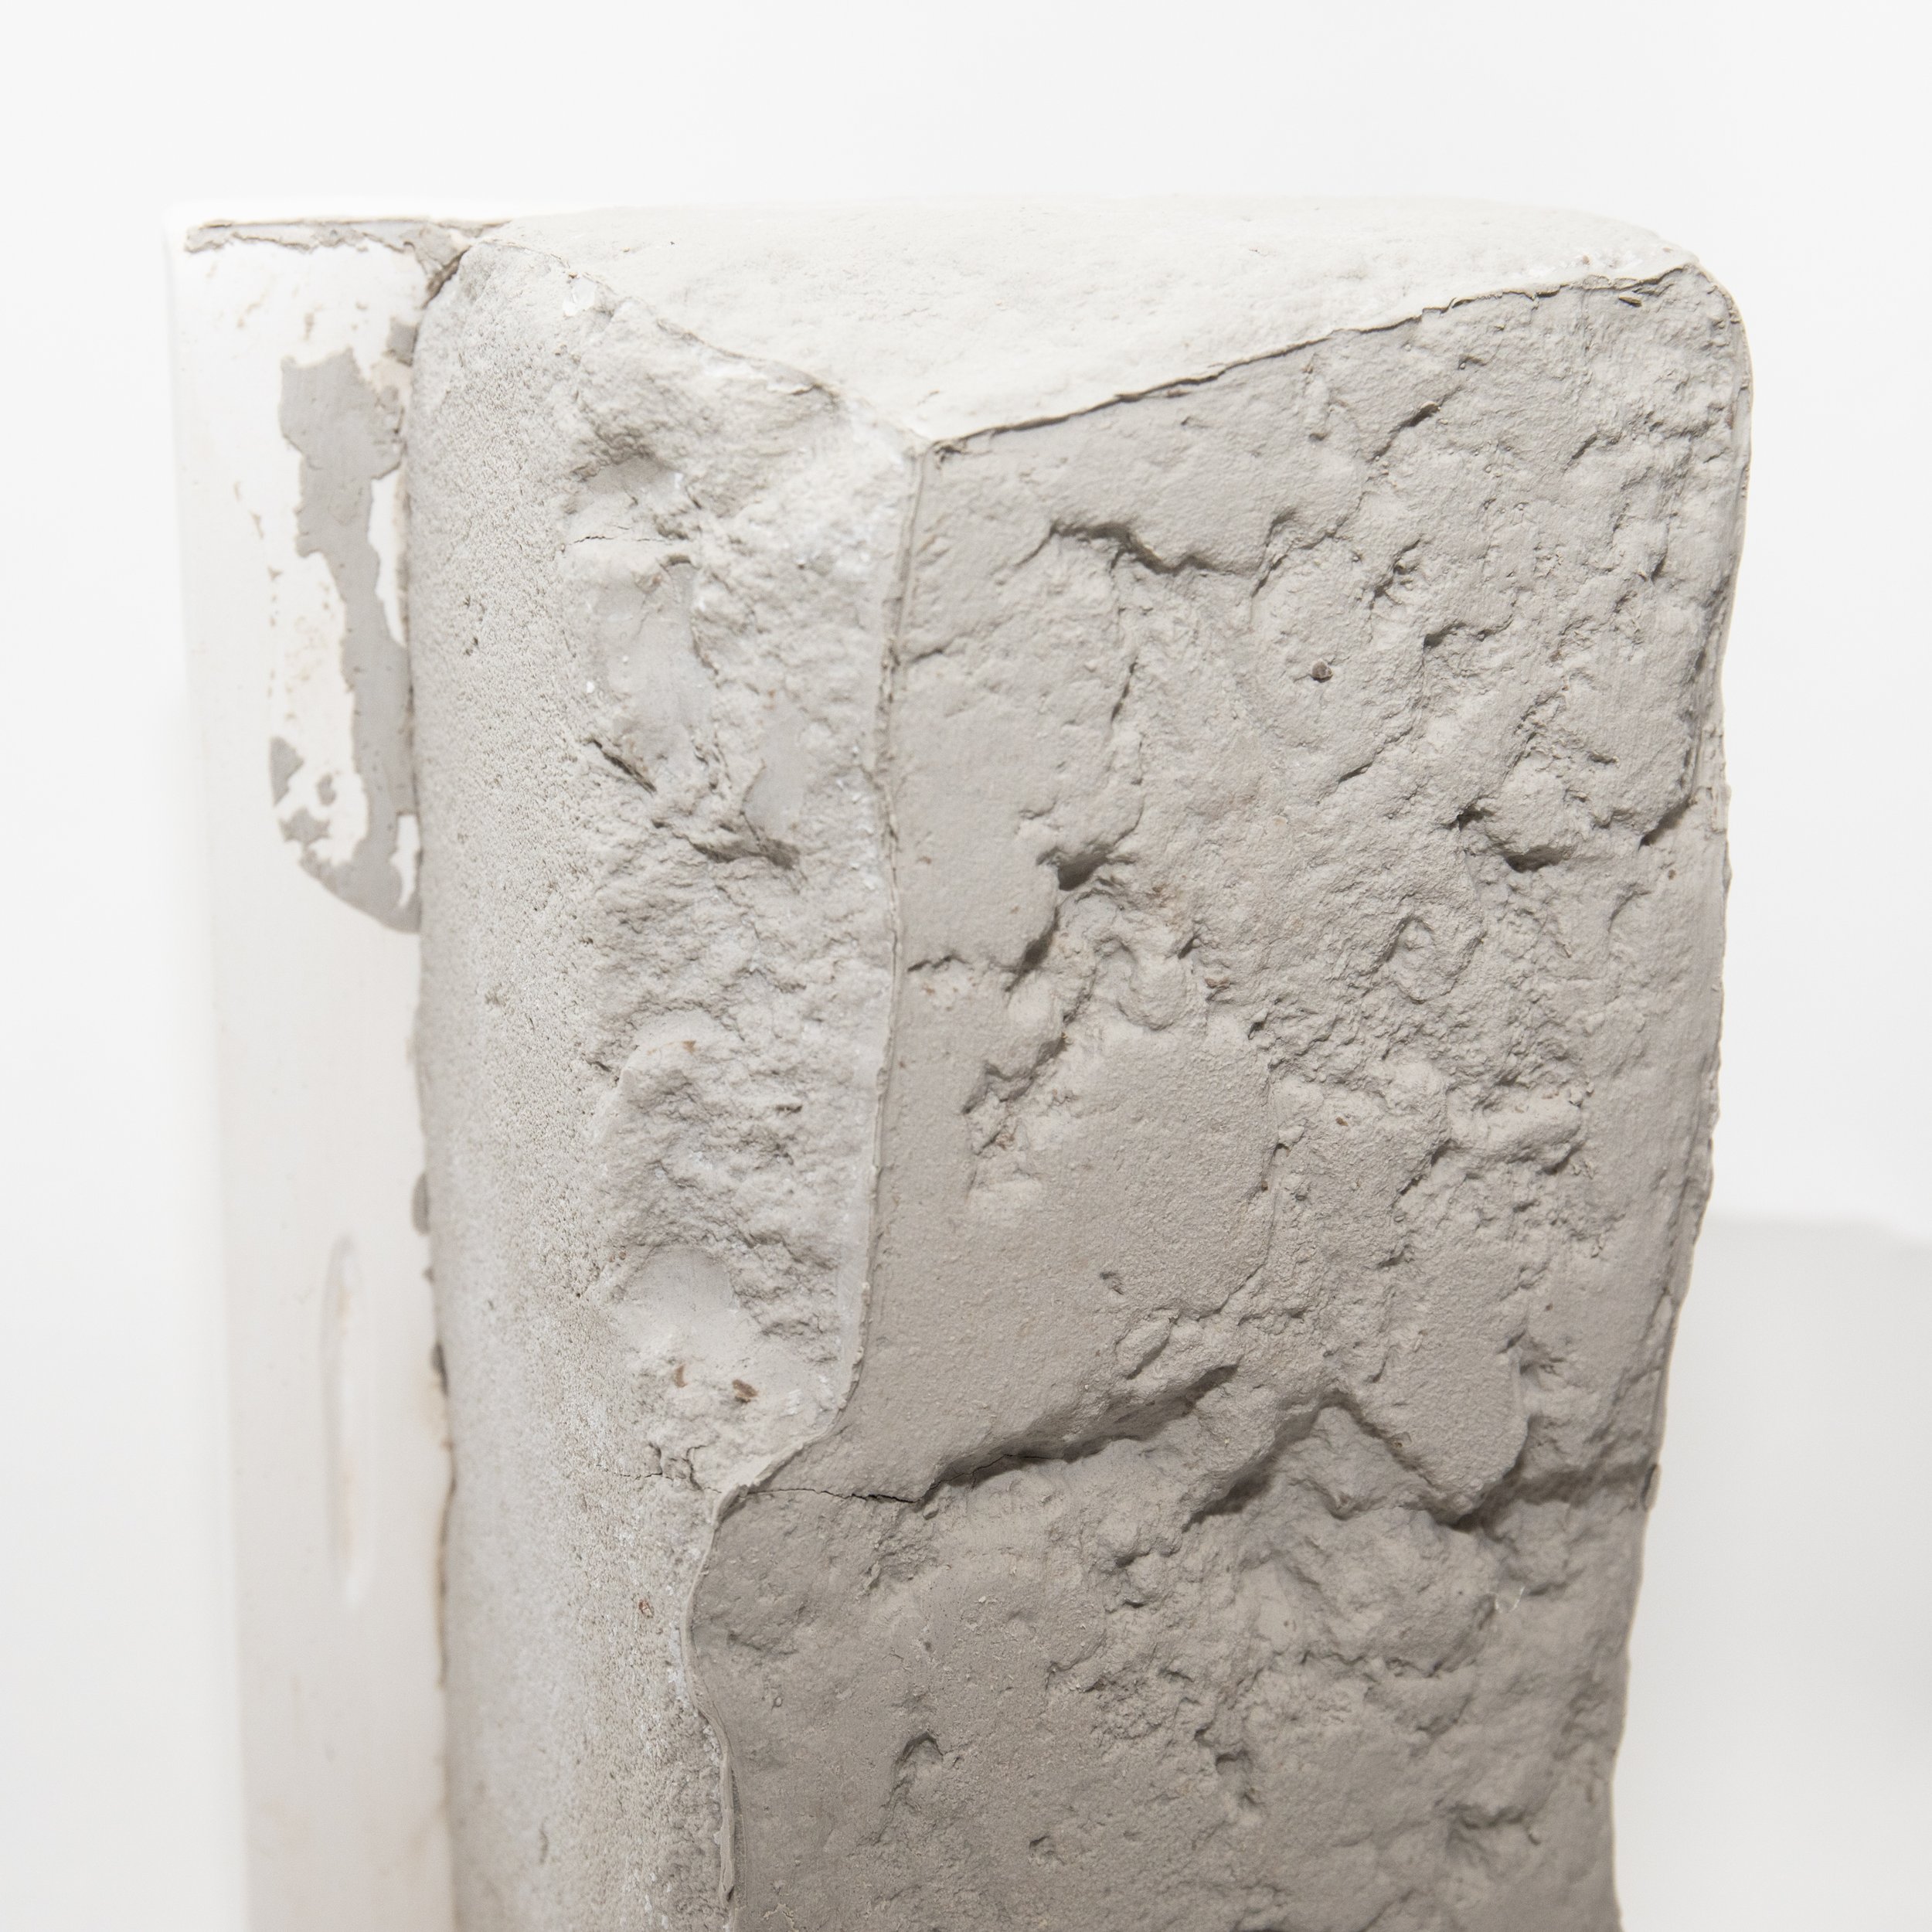
Description: The Savannah brick molds along with the pineapple mold were a part of a larger installation project. Sharon requested the molds because she wanted to have lighter forms of these objects and to be able to add surface designs to them.
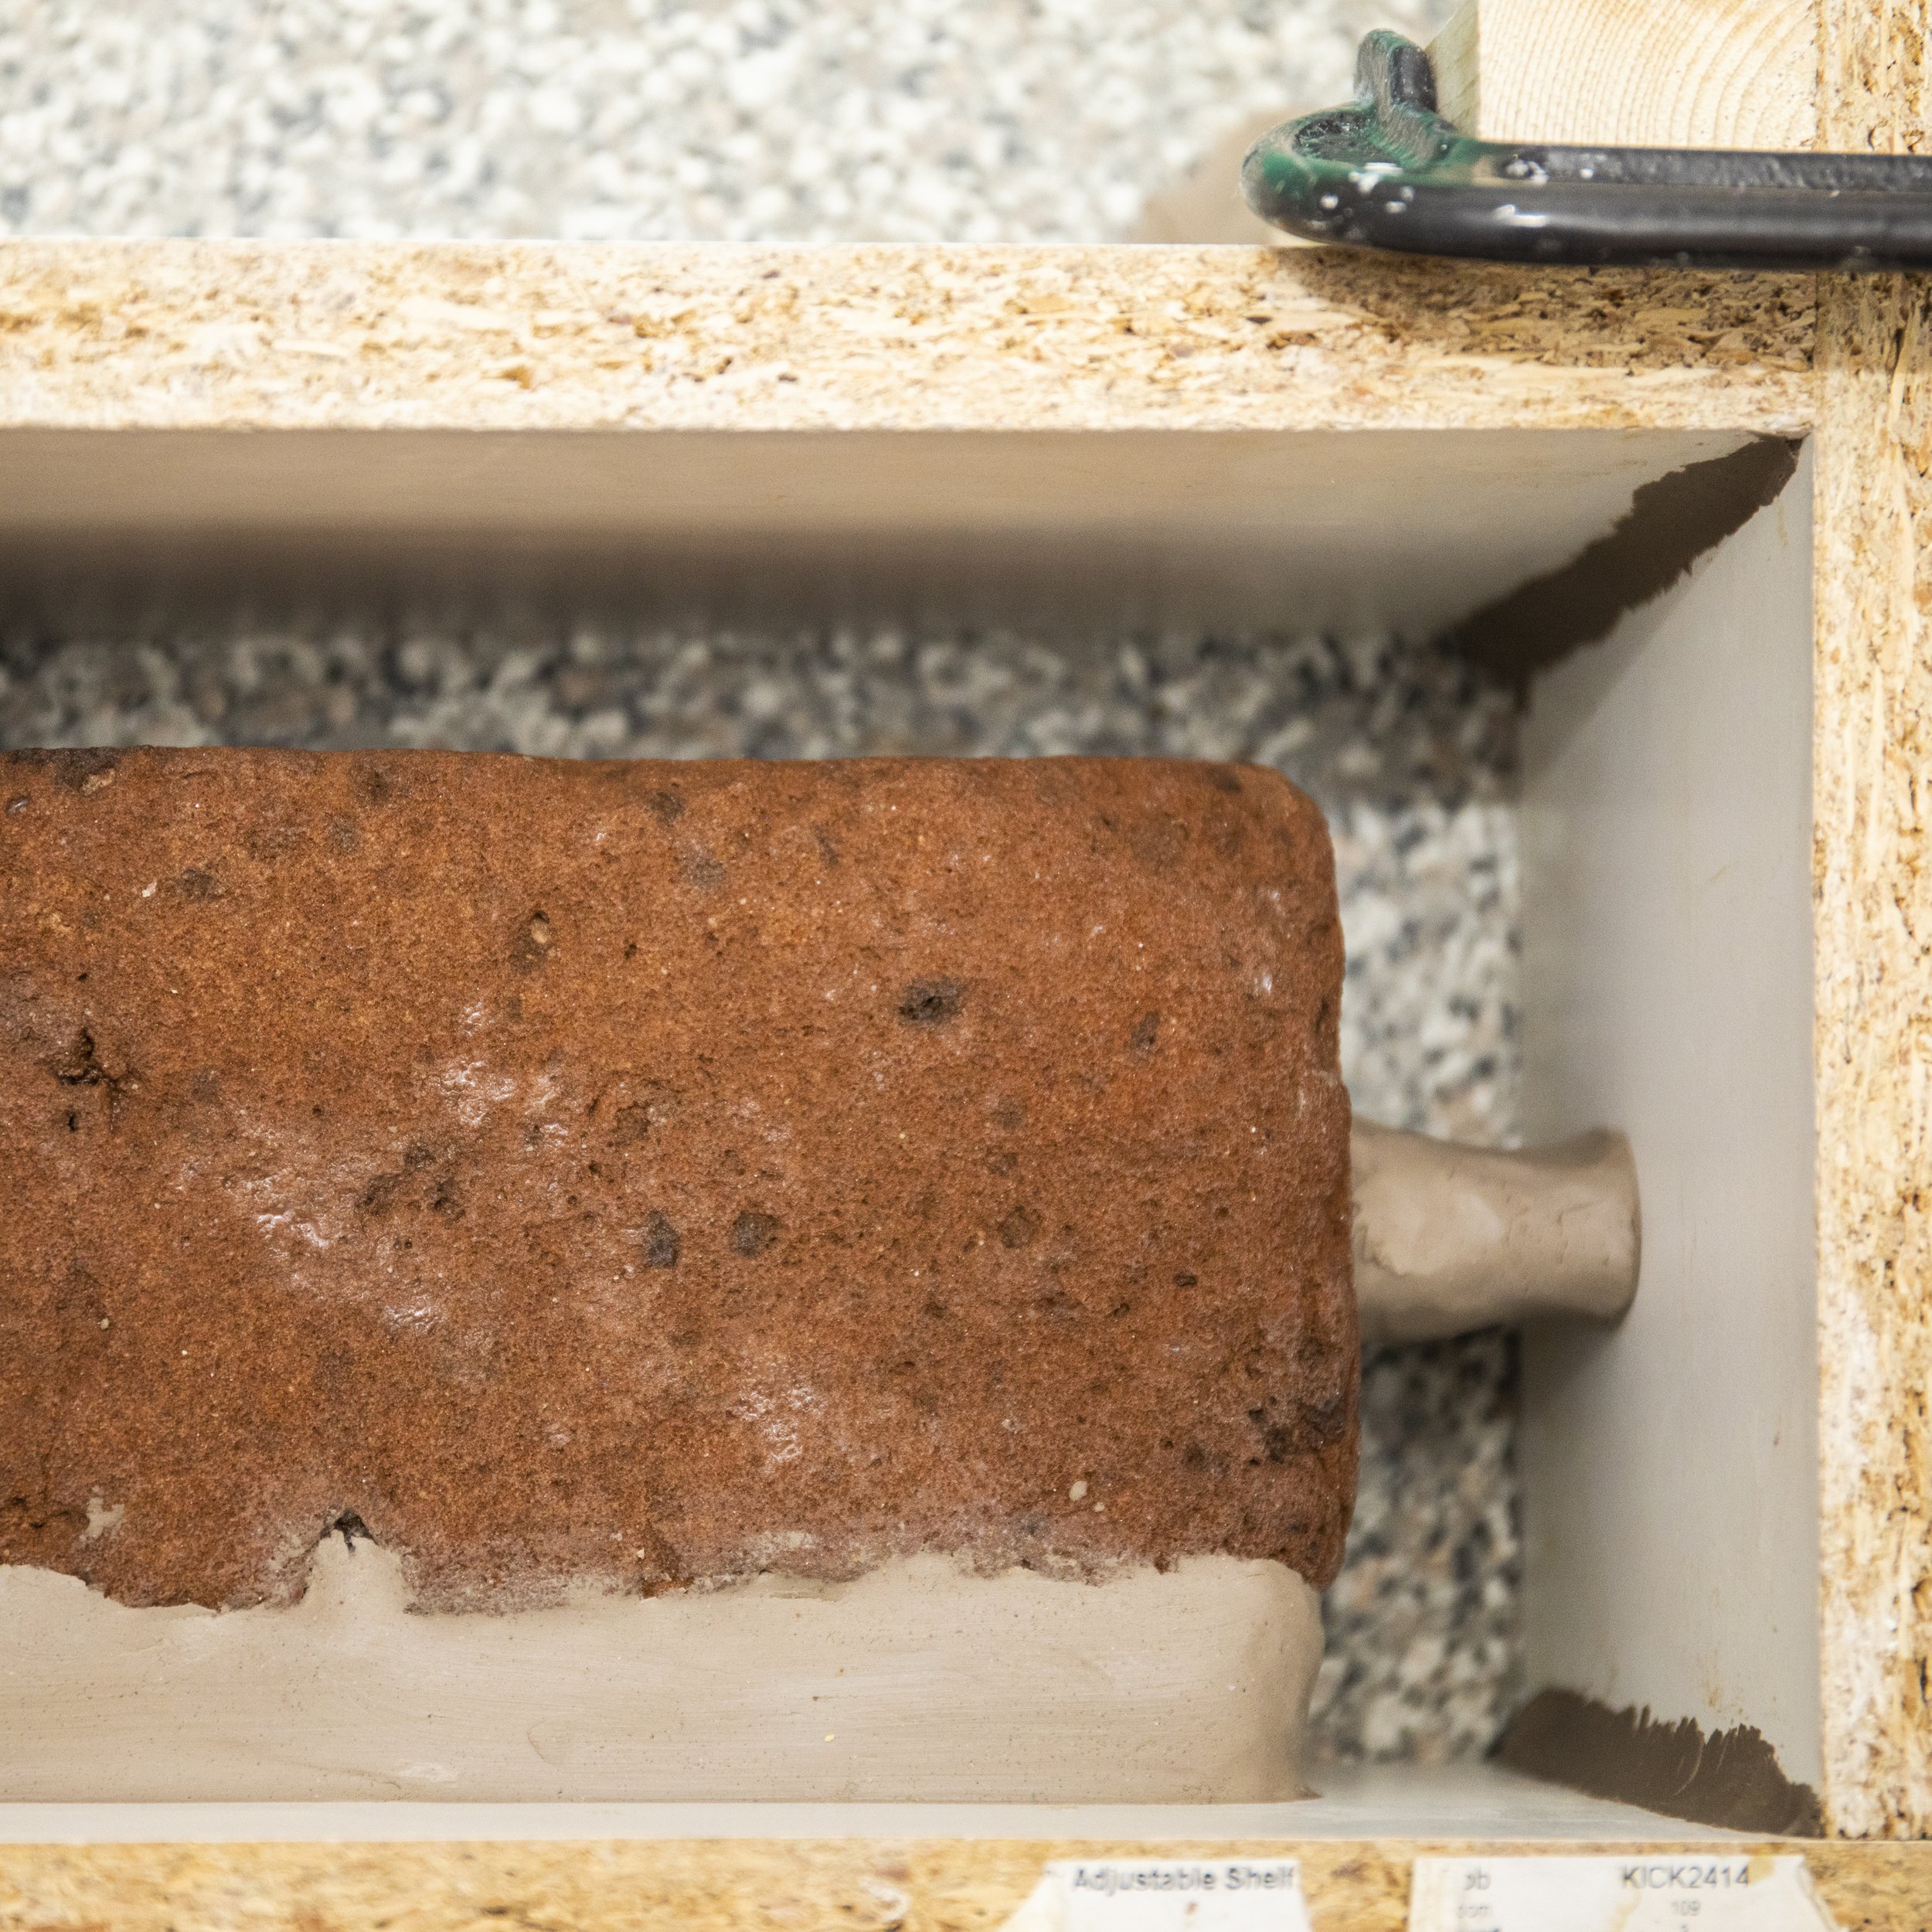
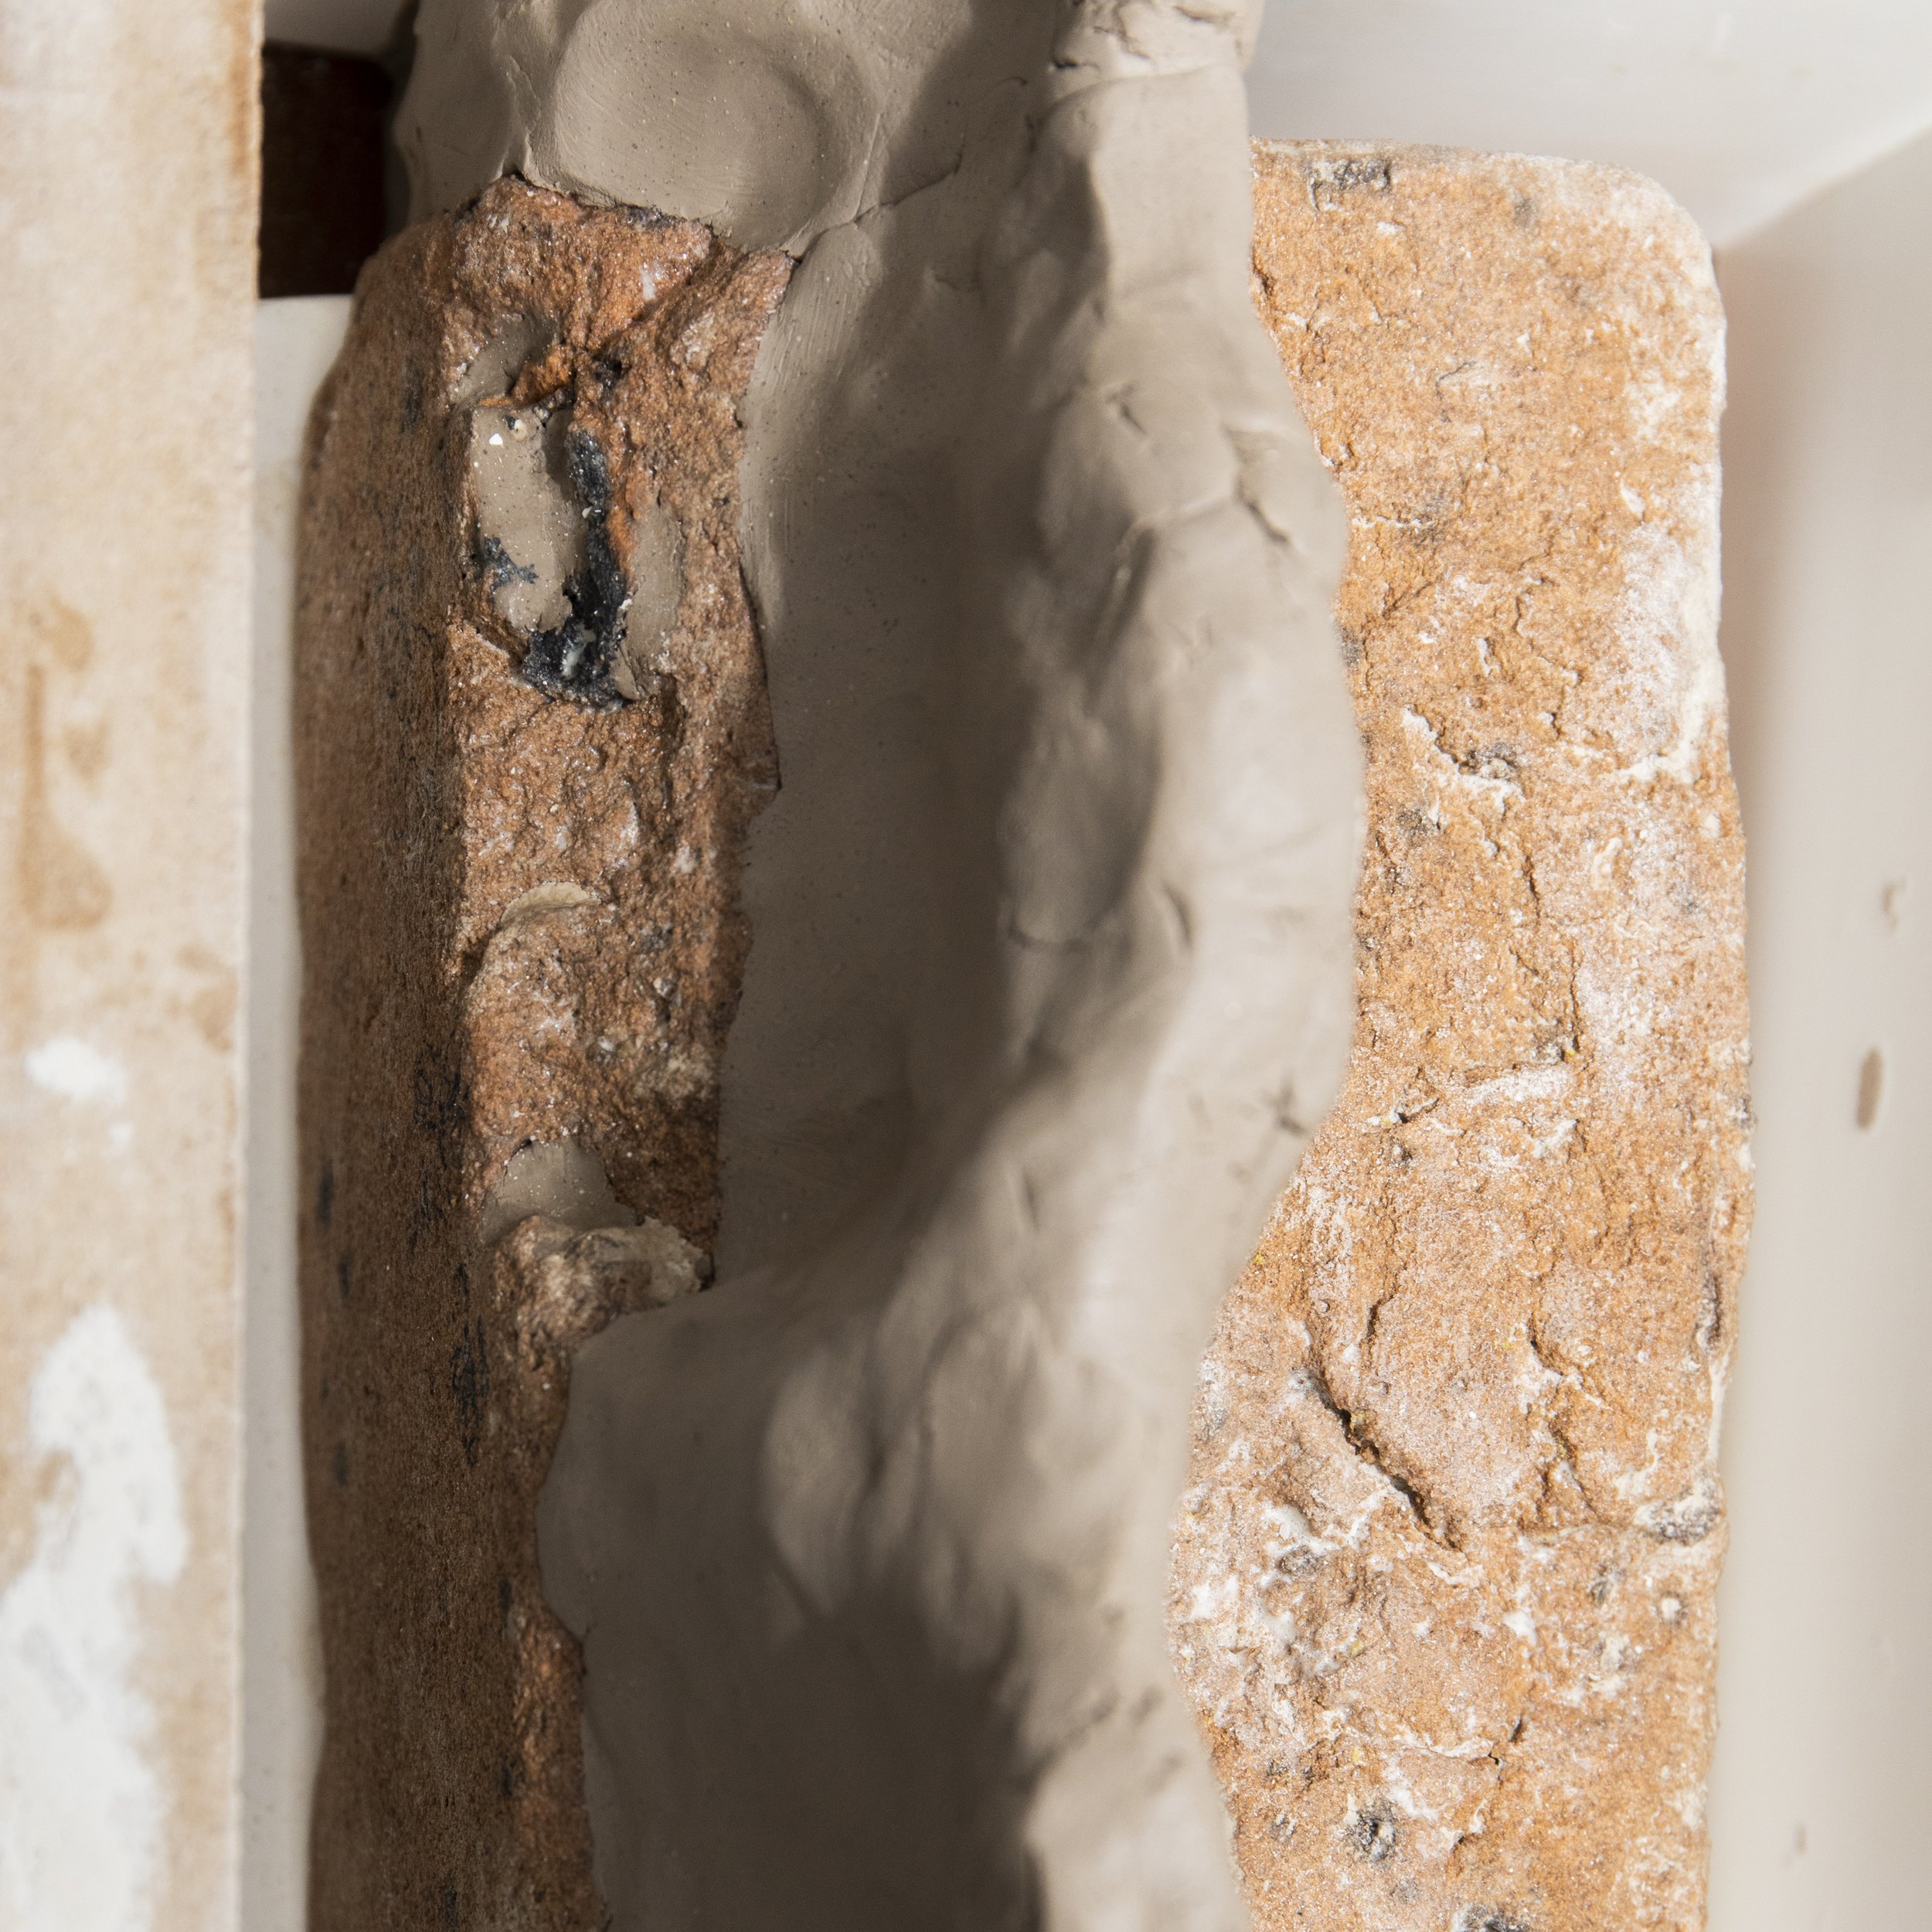
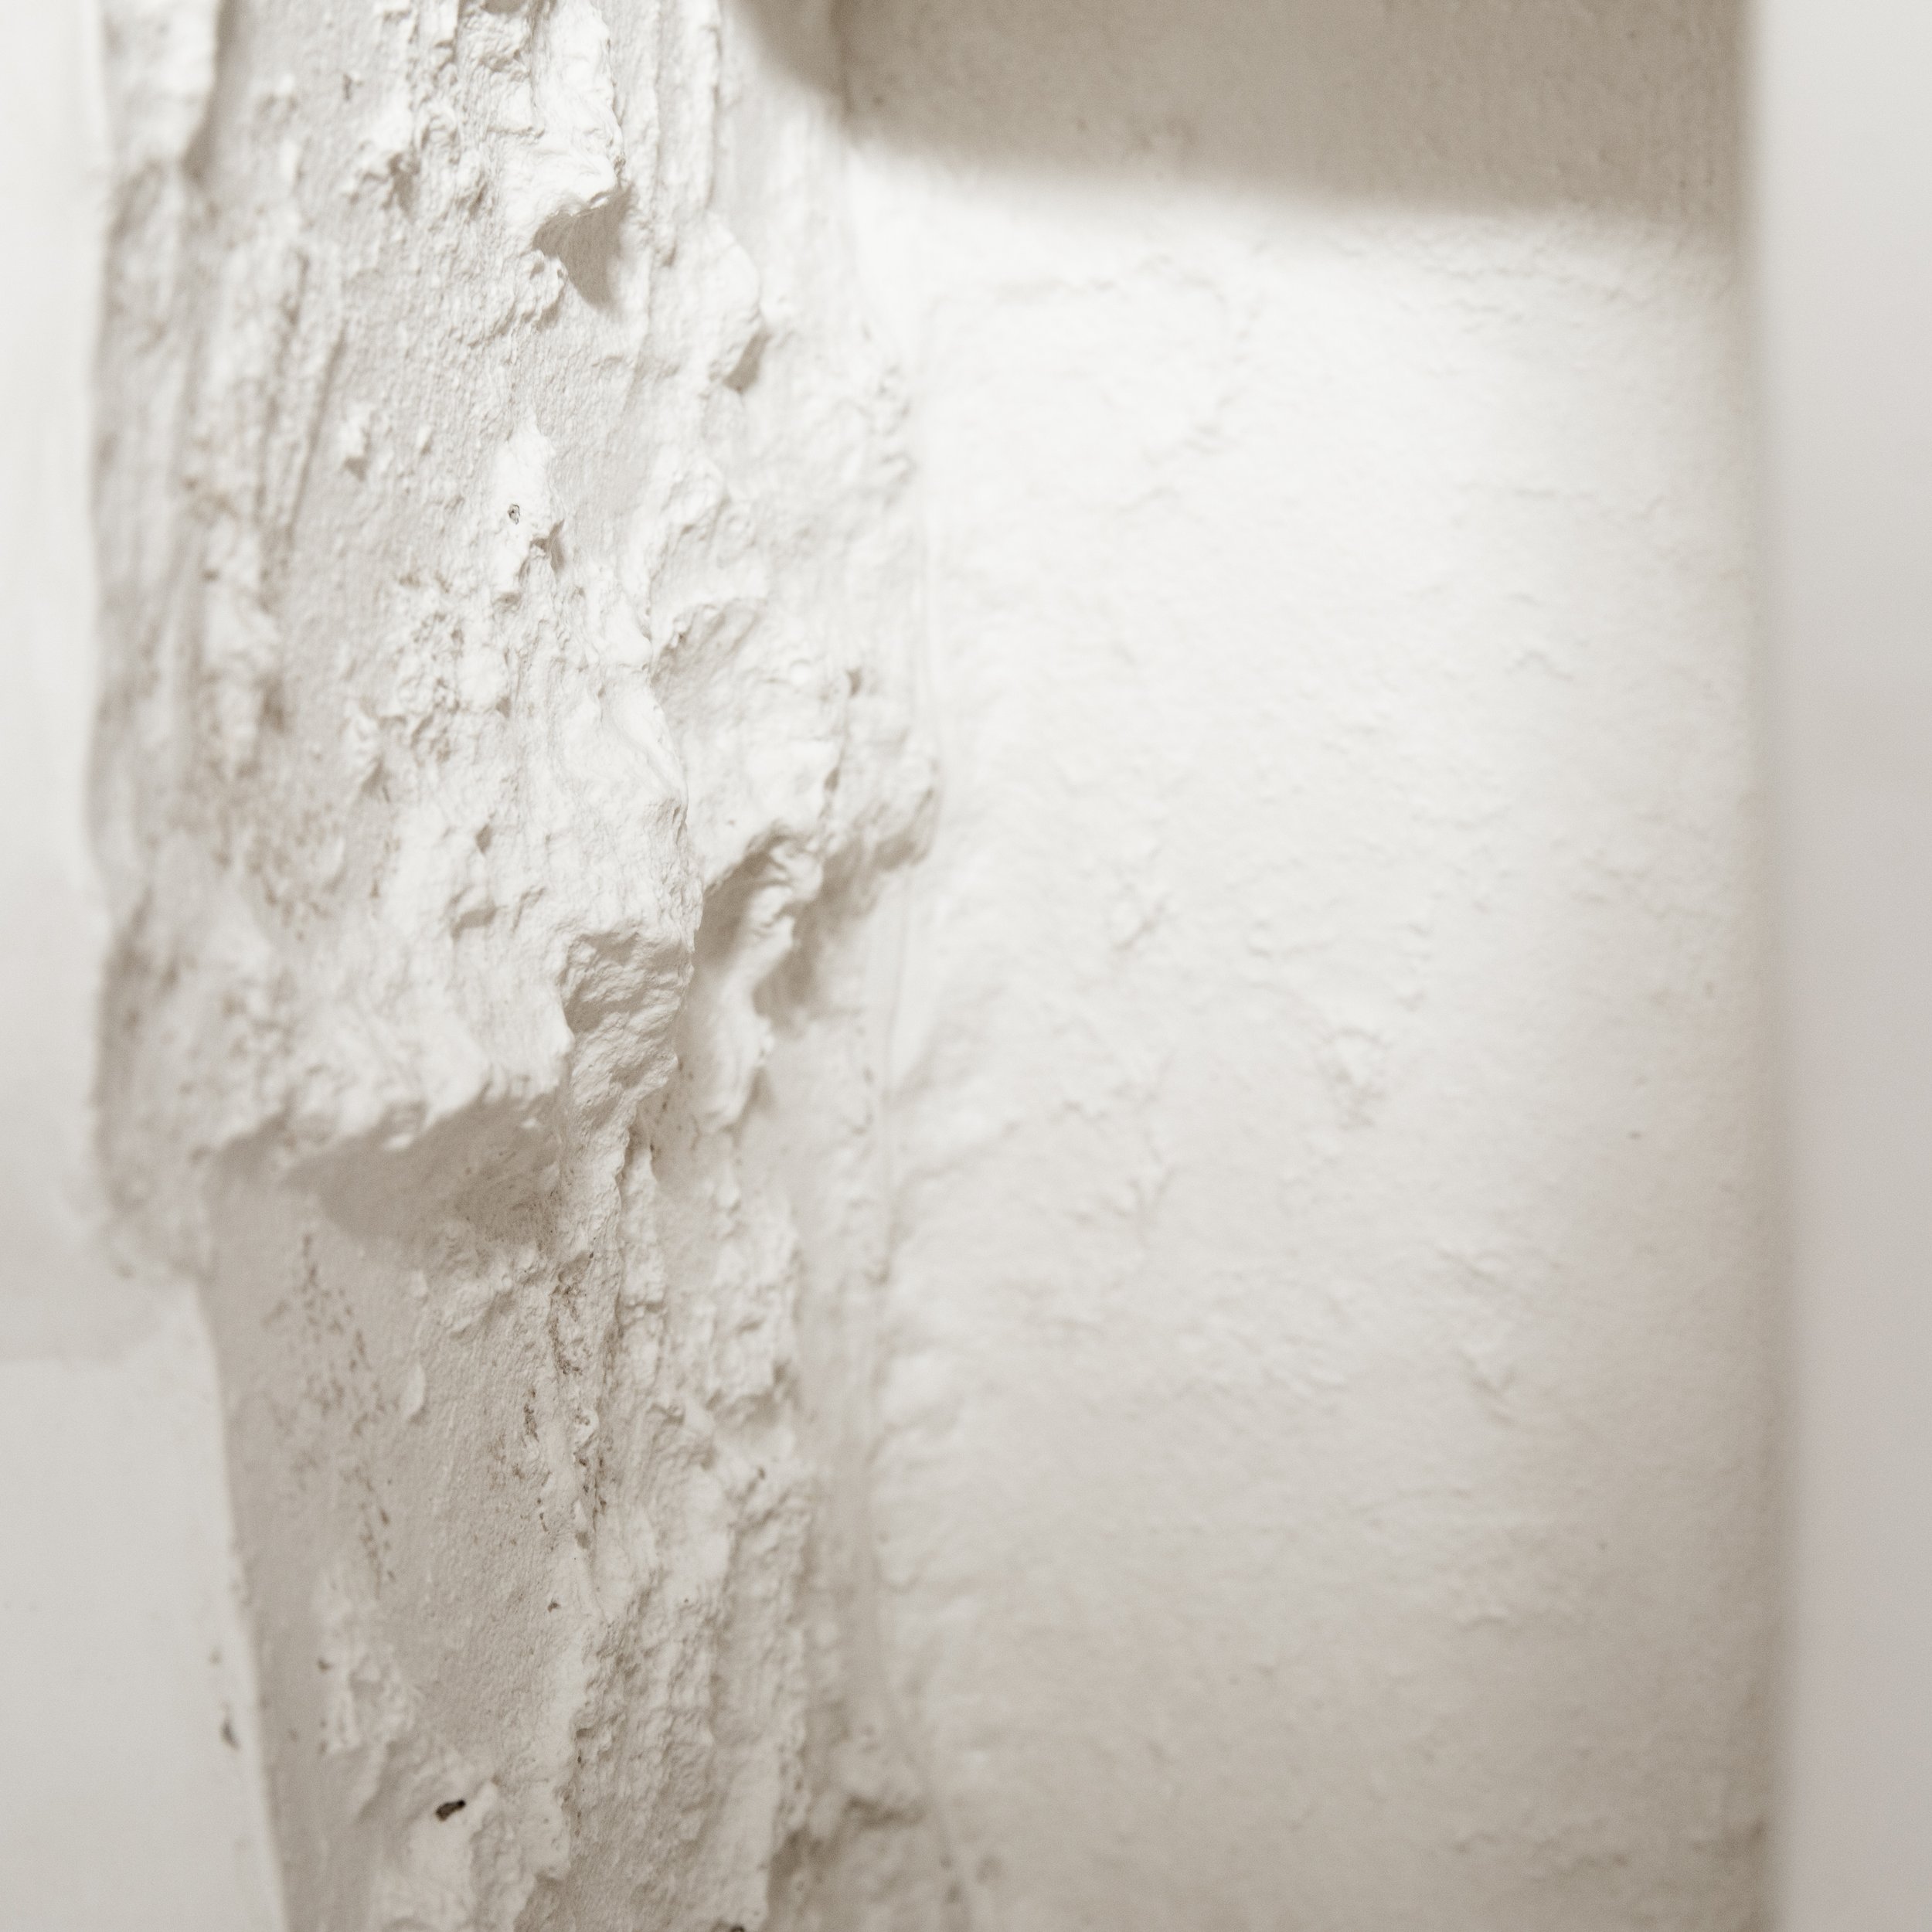
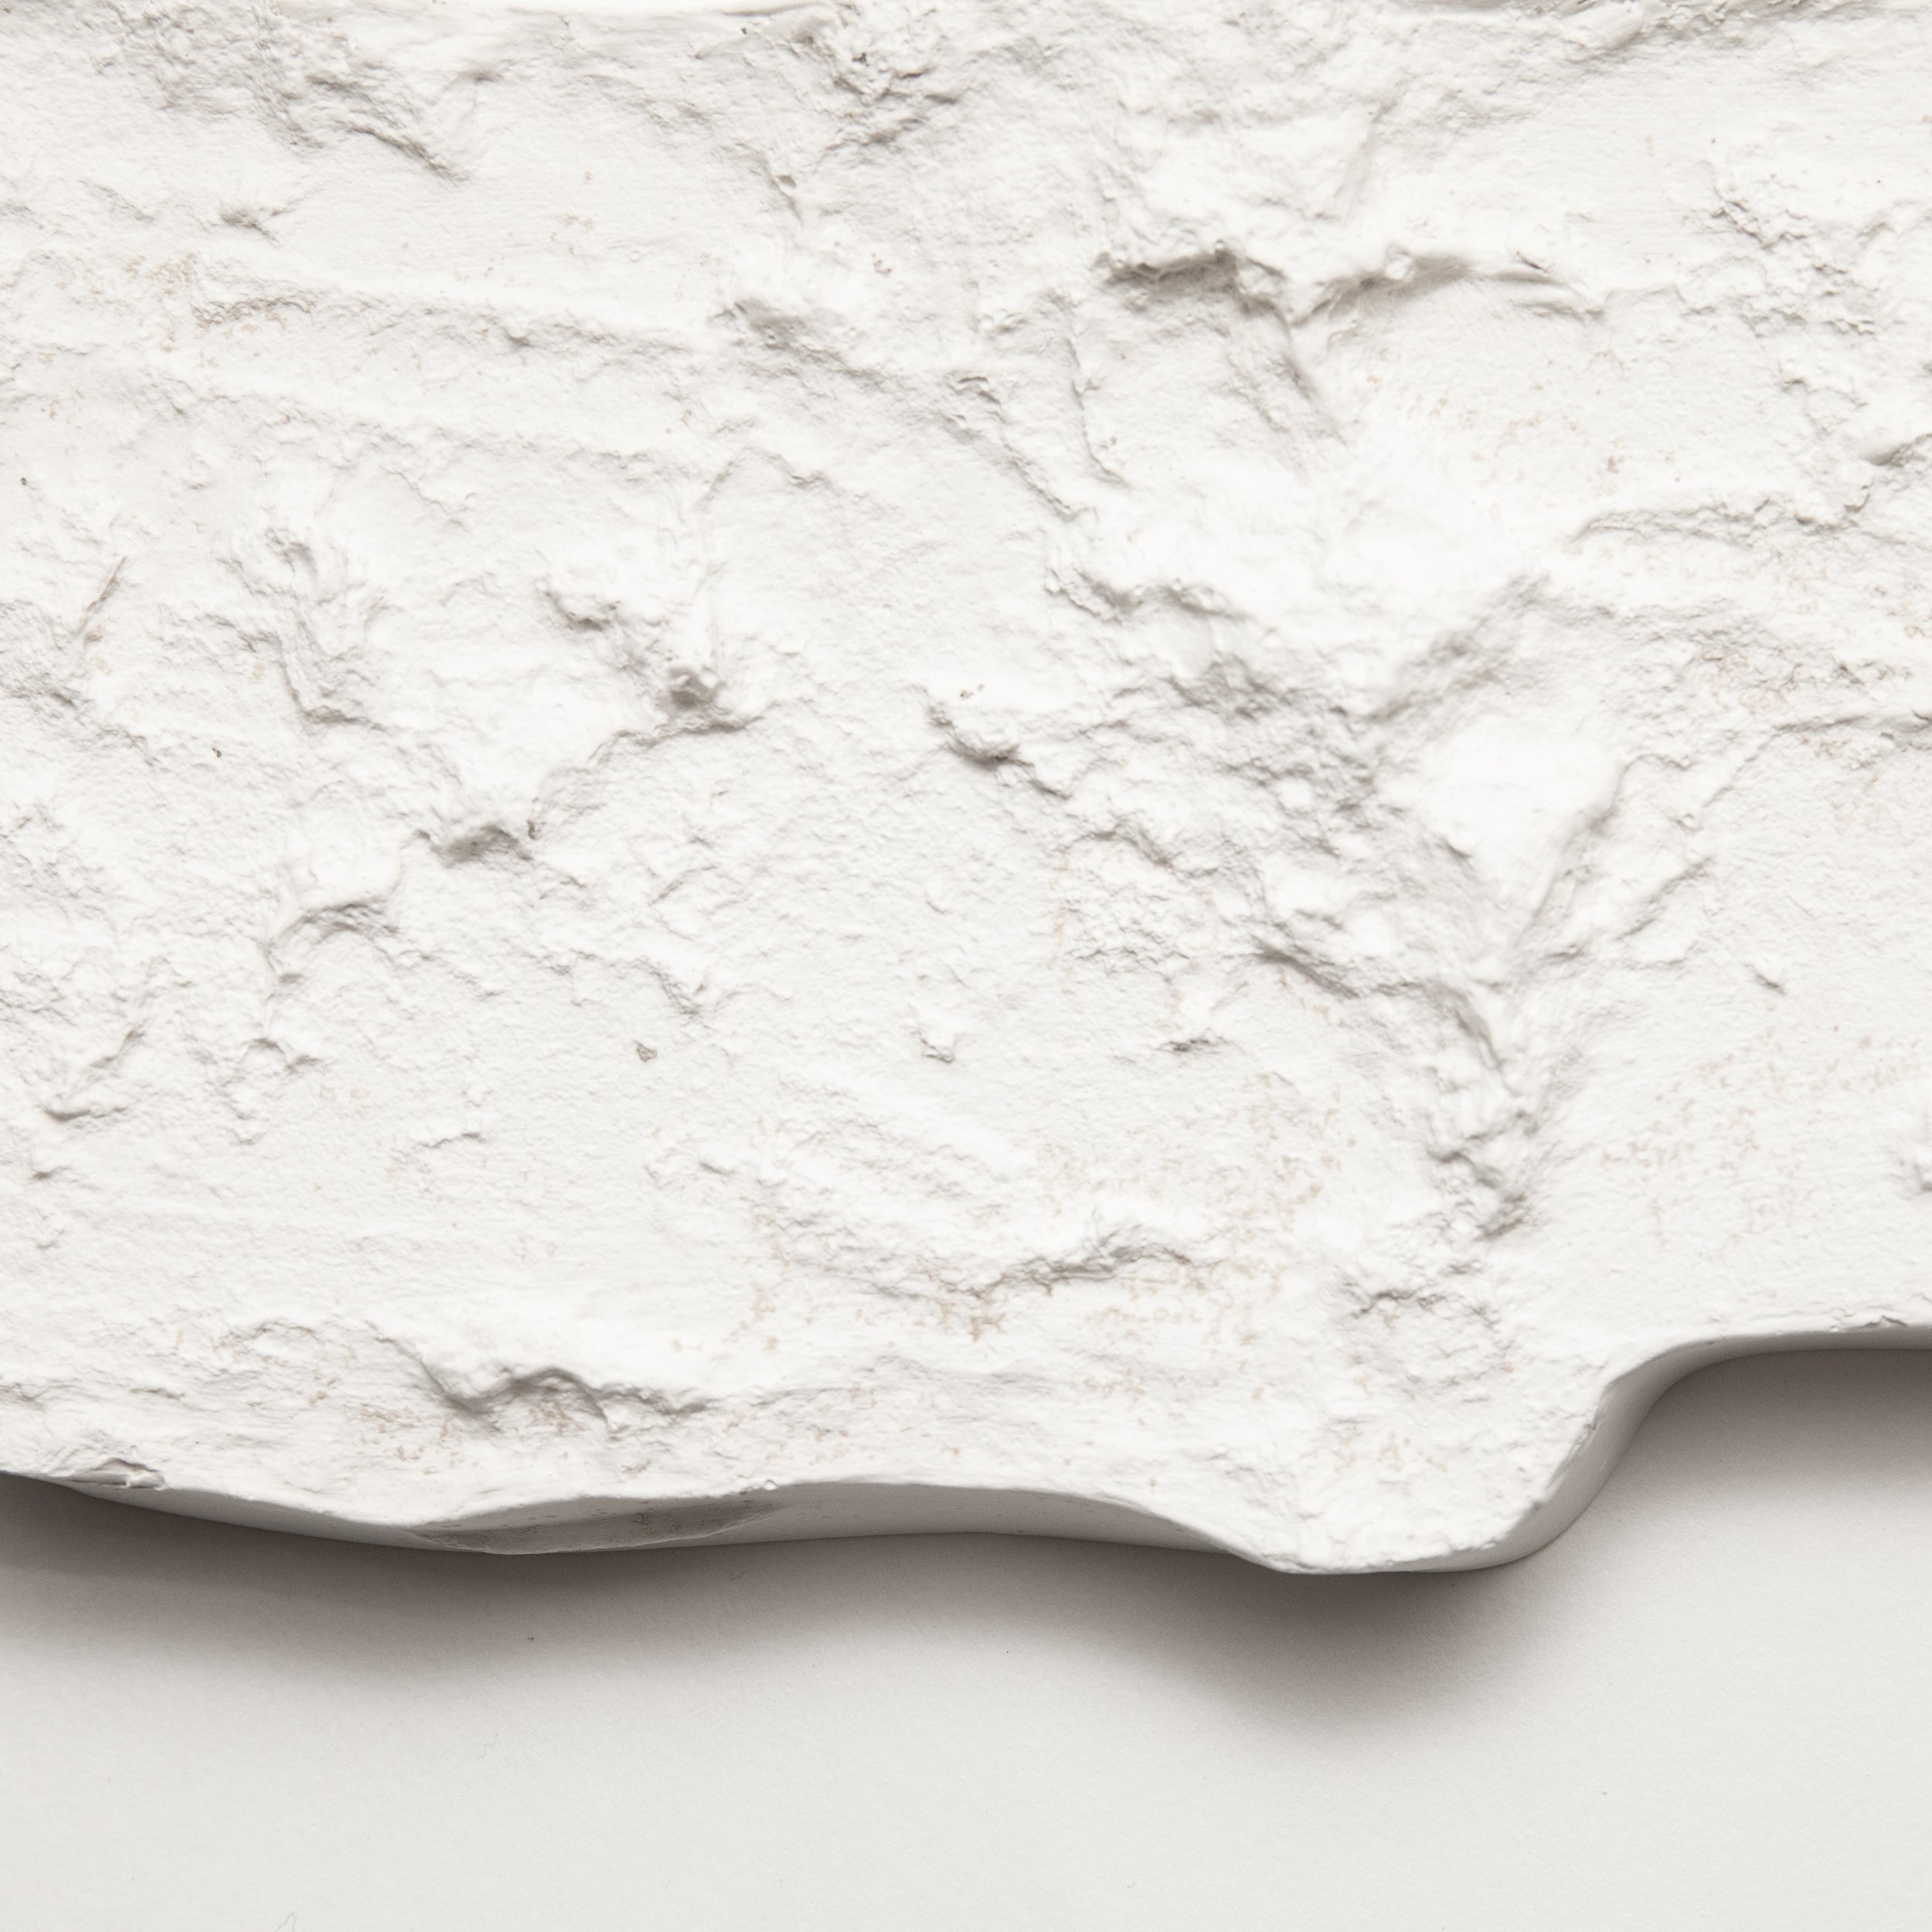
Process: Like many other objects, the bricks had to be sealed so that they were no longer porous (or at least so they absorbed as little moisture as possible) After sealing them with enamel, and filling in some places that would catch during slip casting, the mold making process could begin.
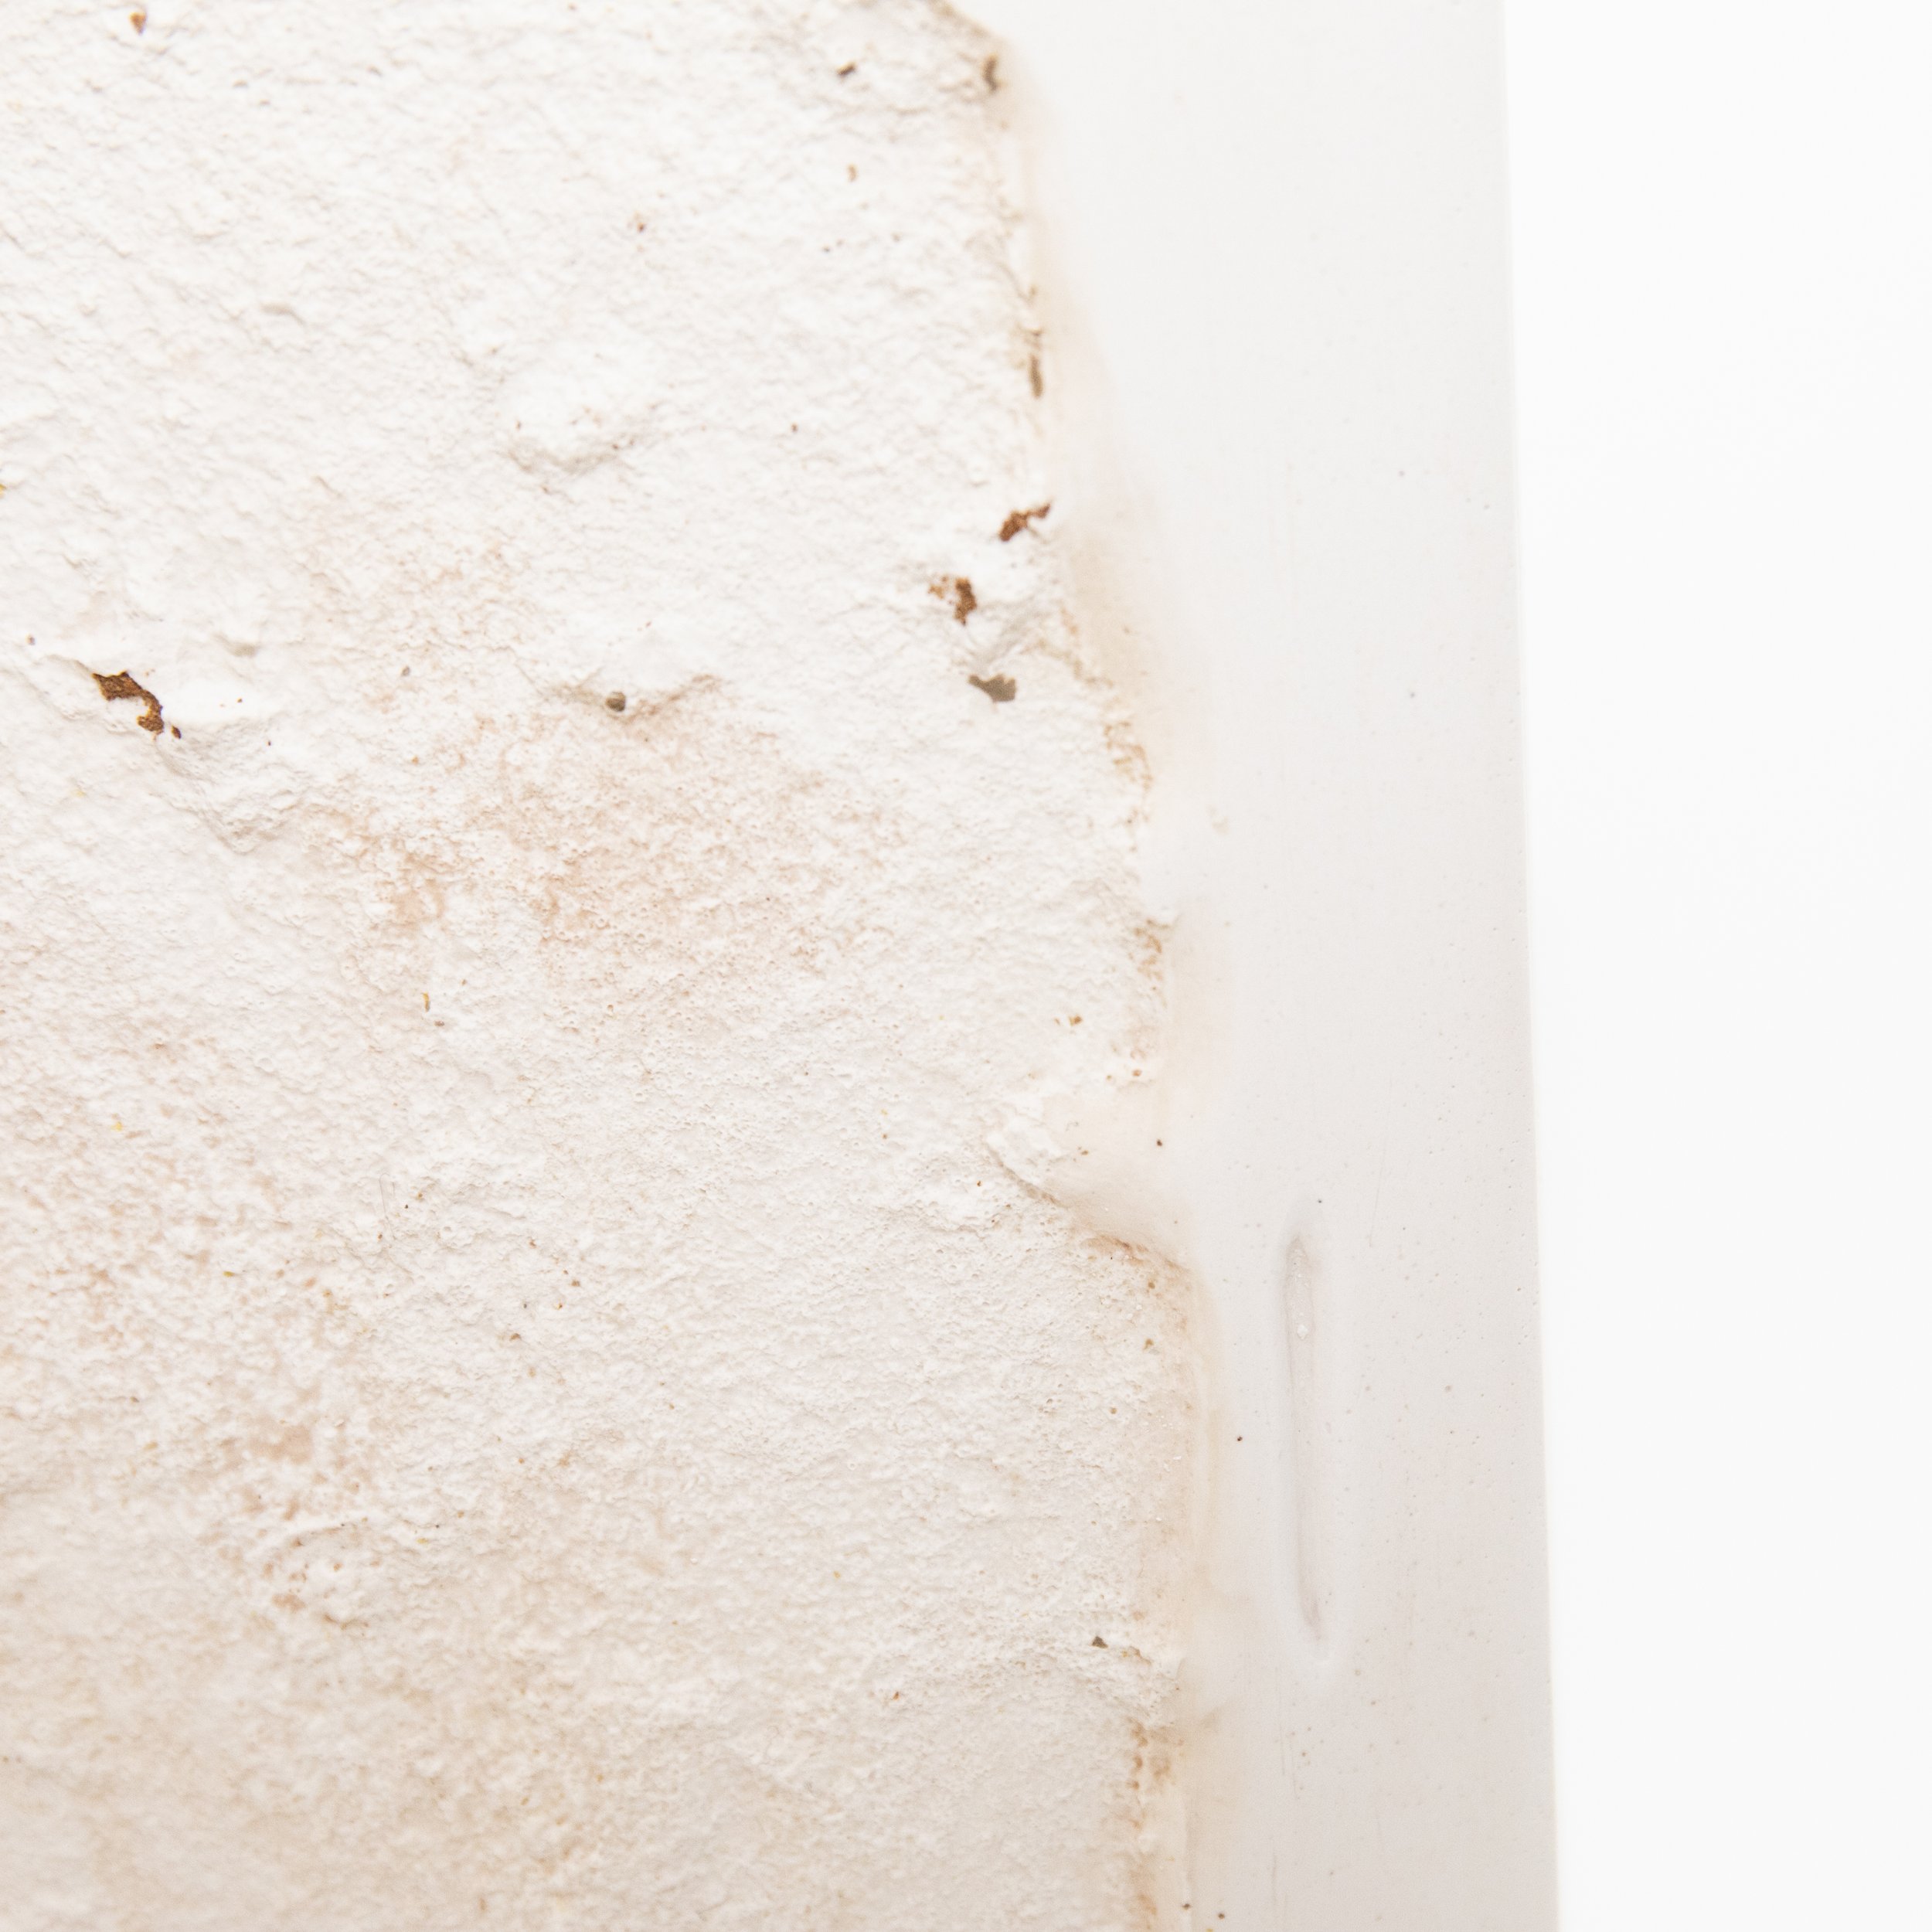
What I learned / changes I would make: There is not much I would change about this mold. If anything I would make the reservoir a bit larger so the mold doesn’t have to be refilled with slip. I decided against this originally because it was an important part of the design to keep the pour spout as small as possible so it could be easily patched and disguised.
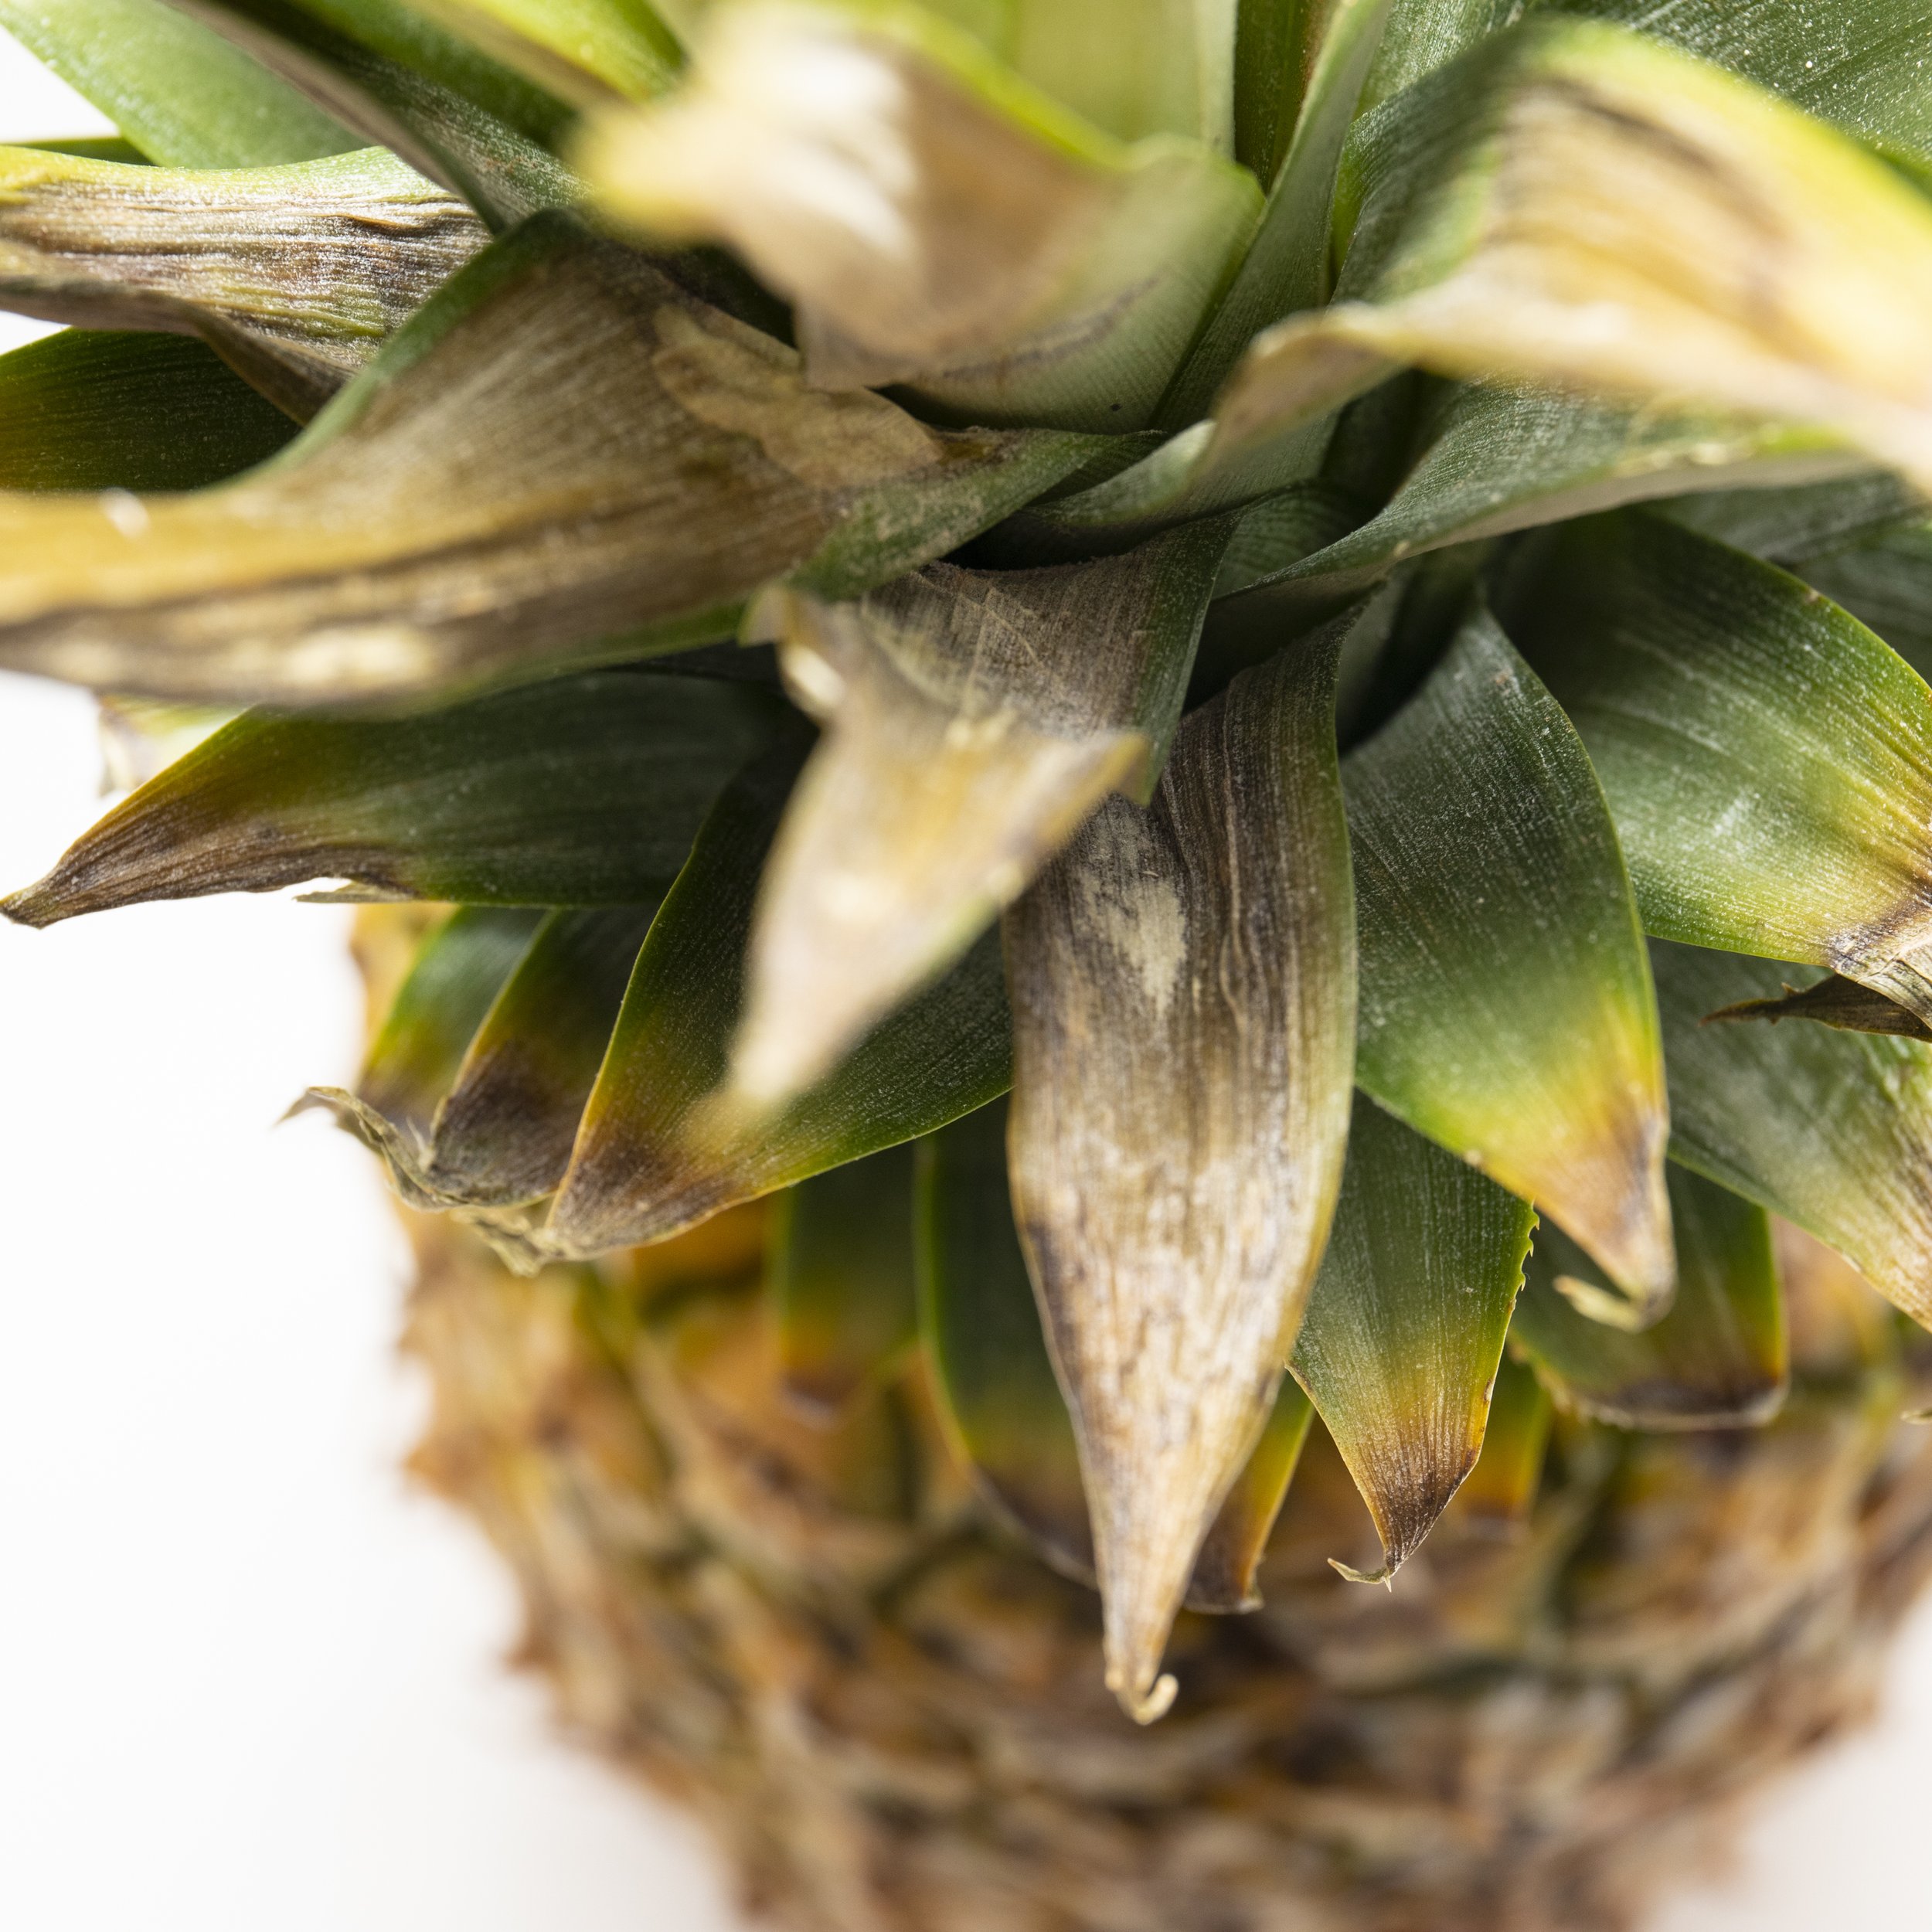
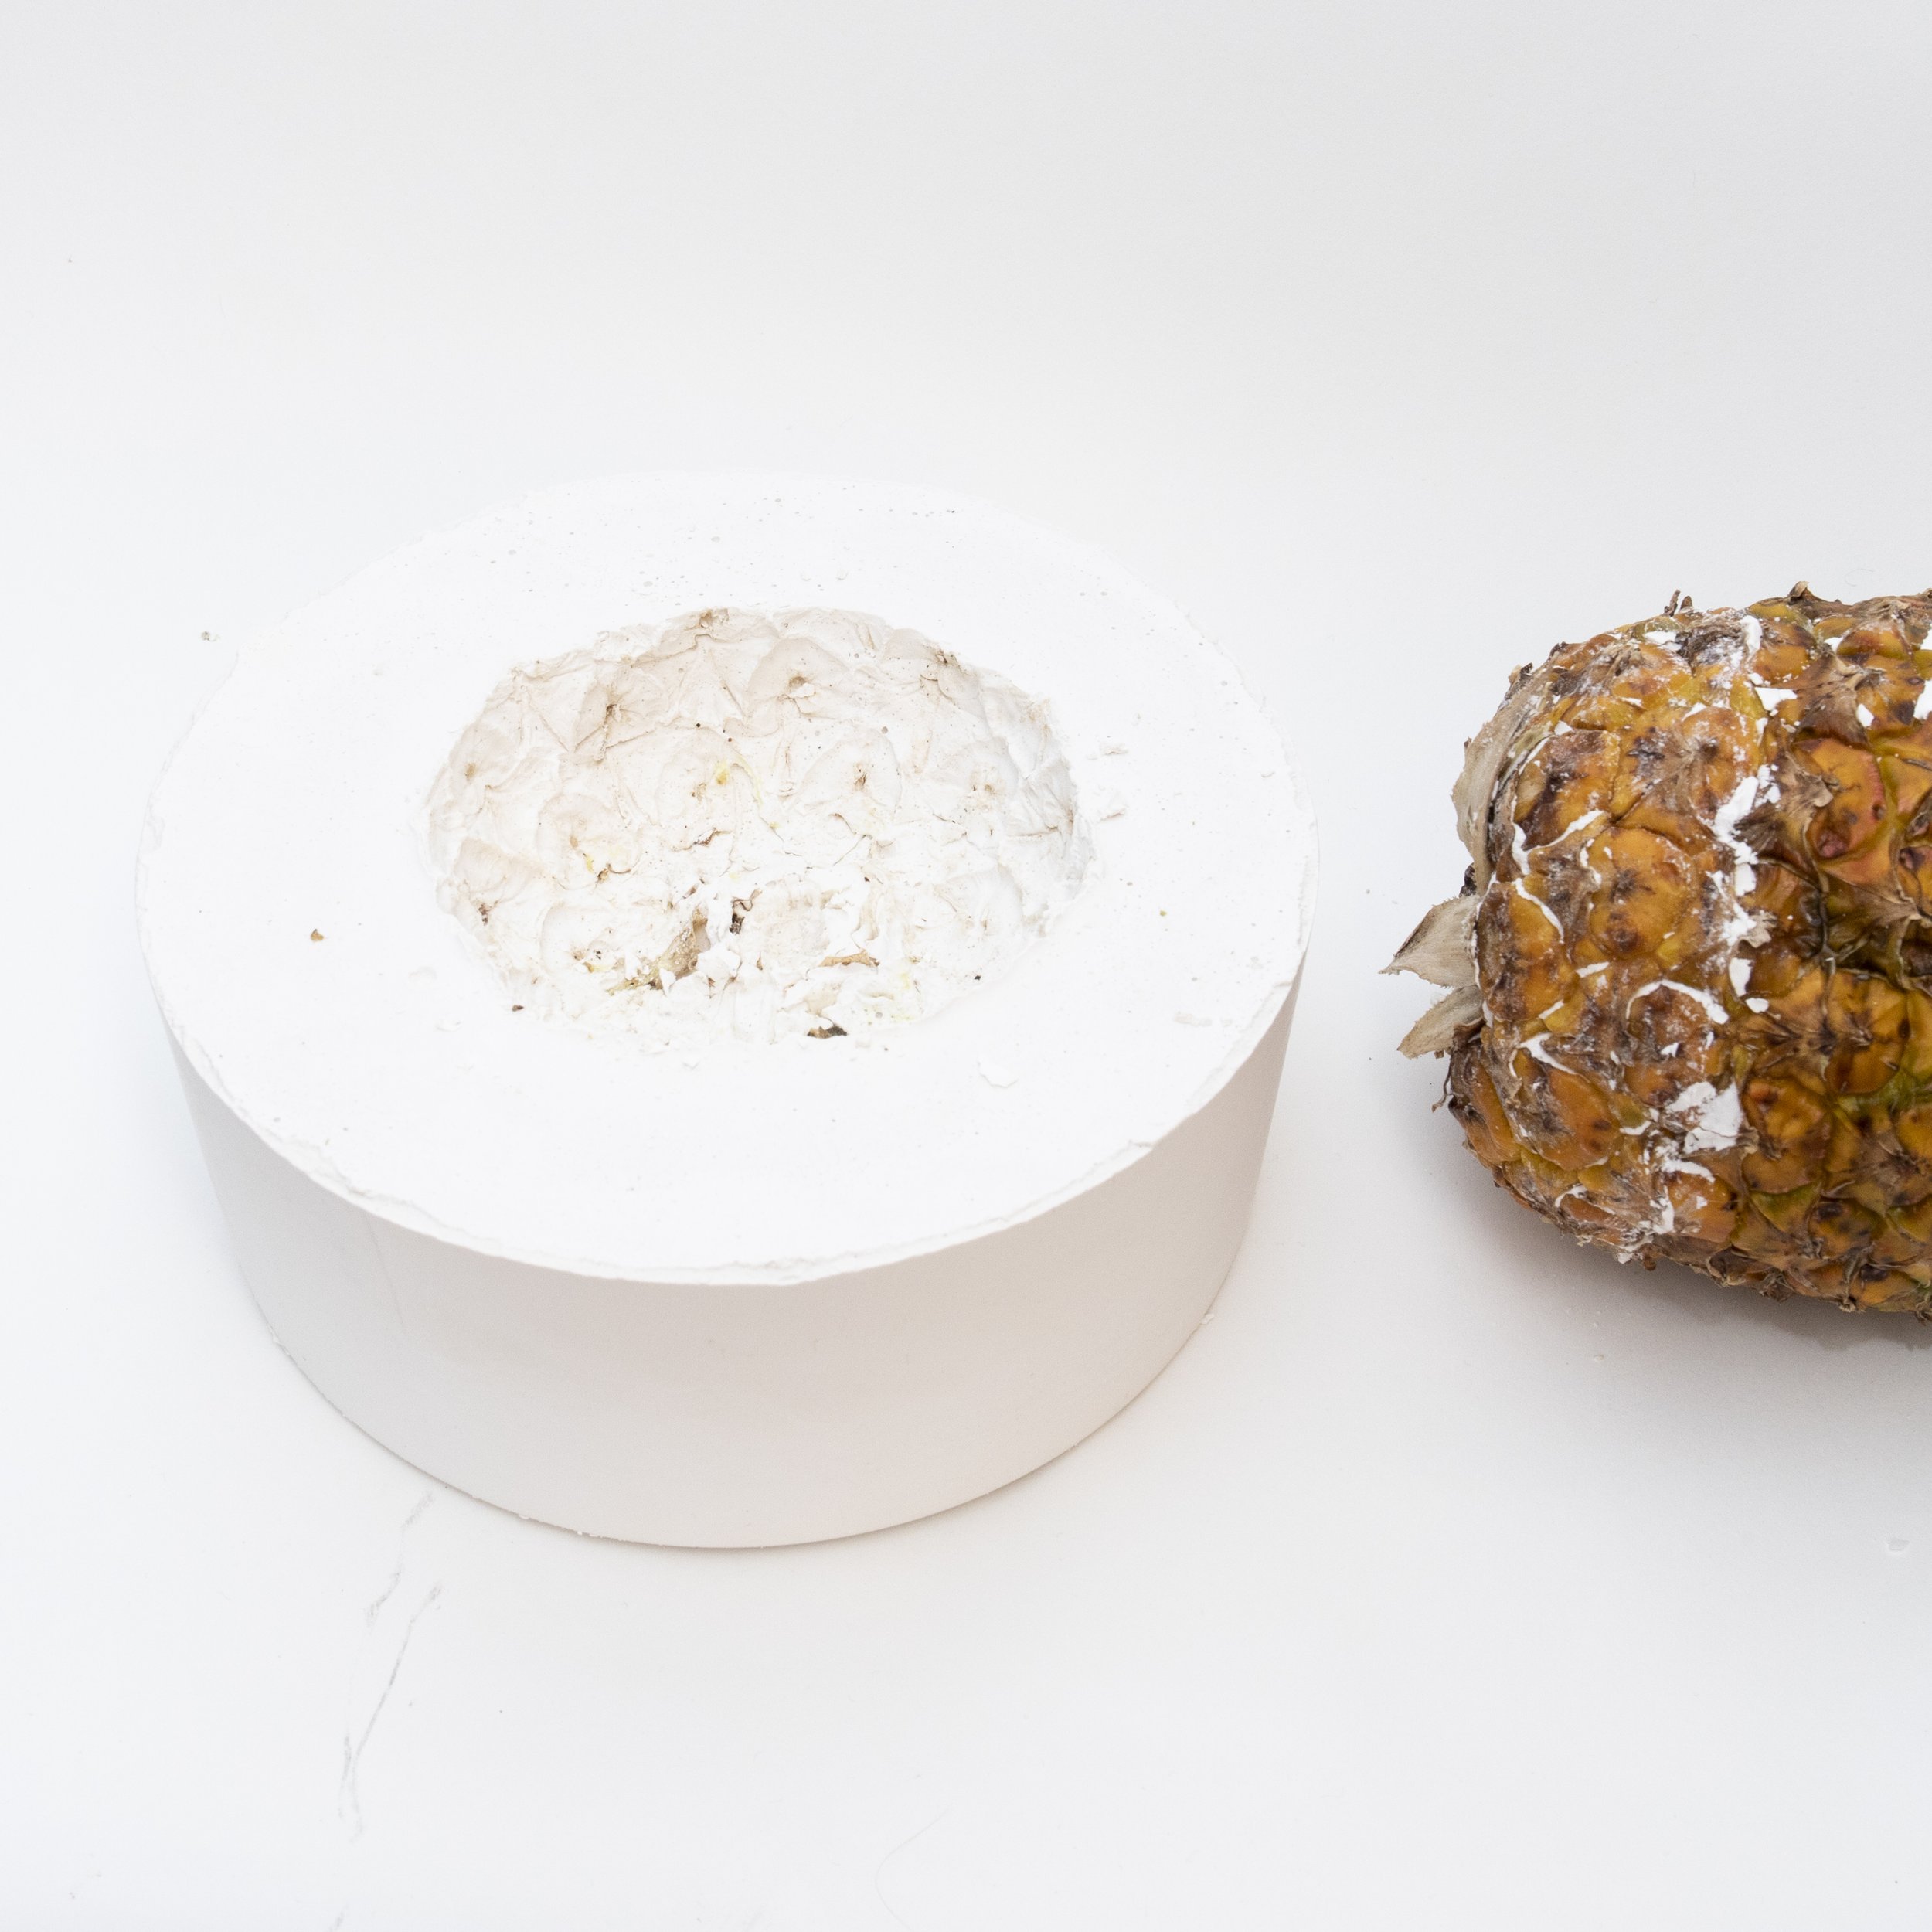
PinEapple Mold
Client: Sharon Norwood @sharonnorwoodartist
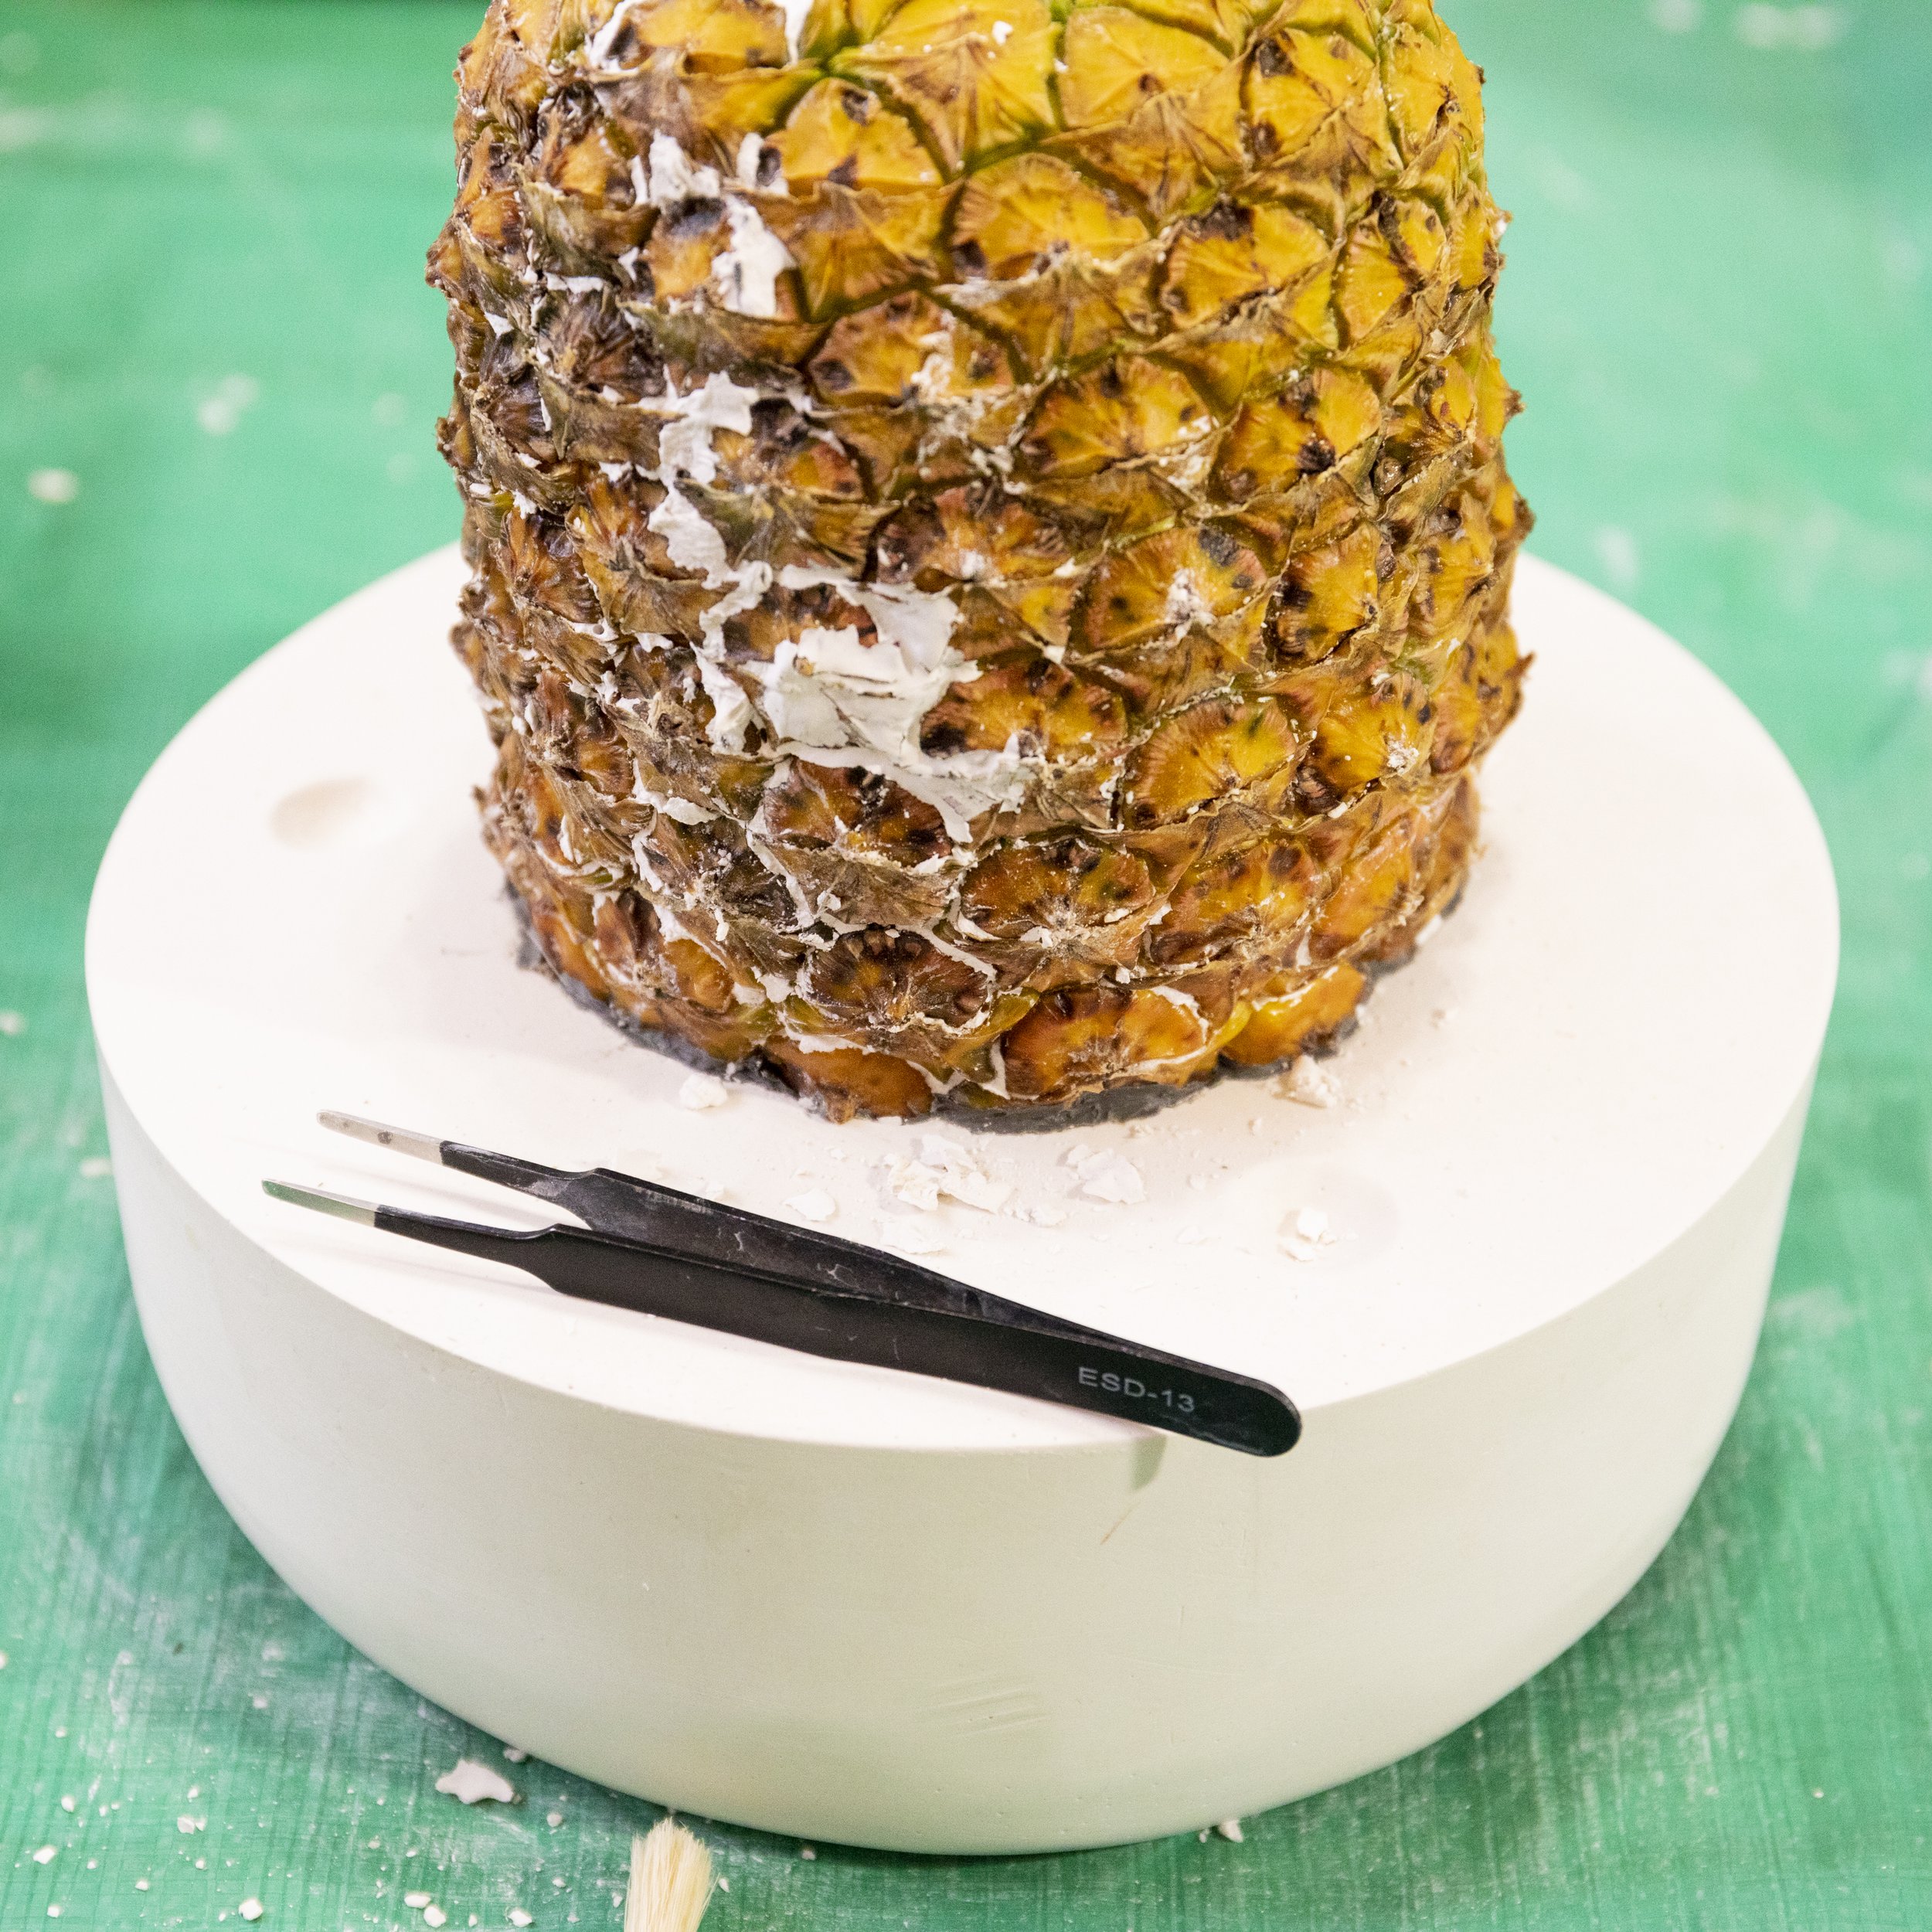
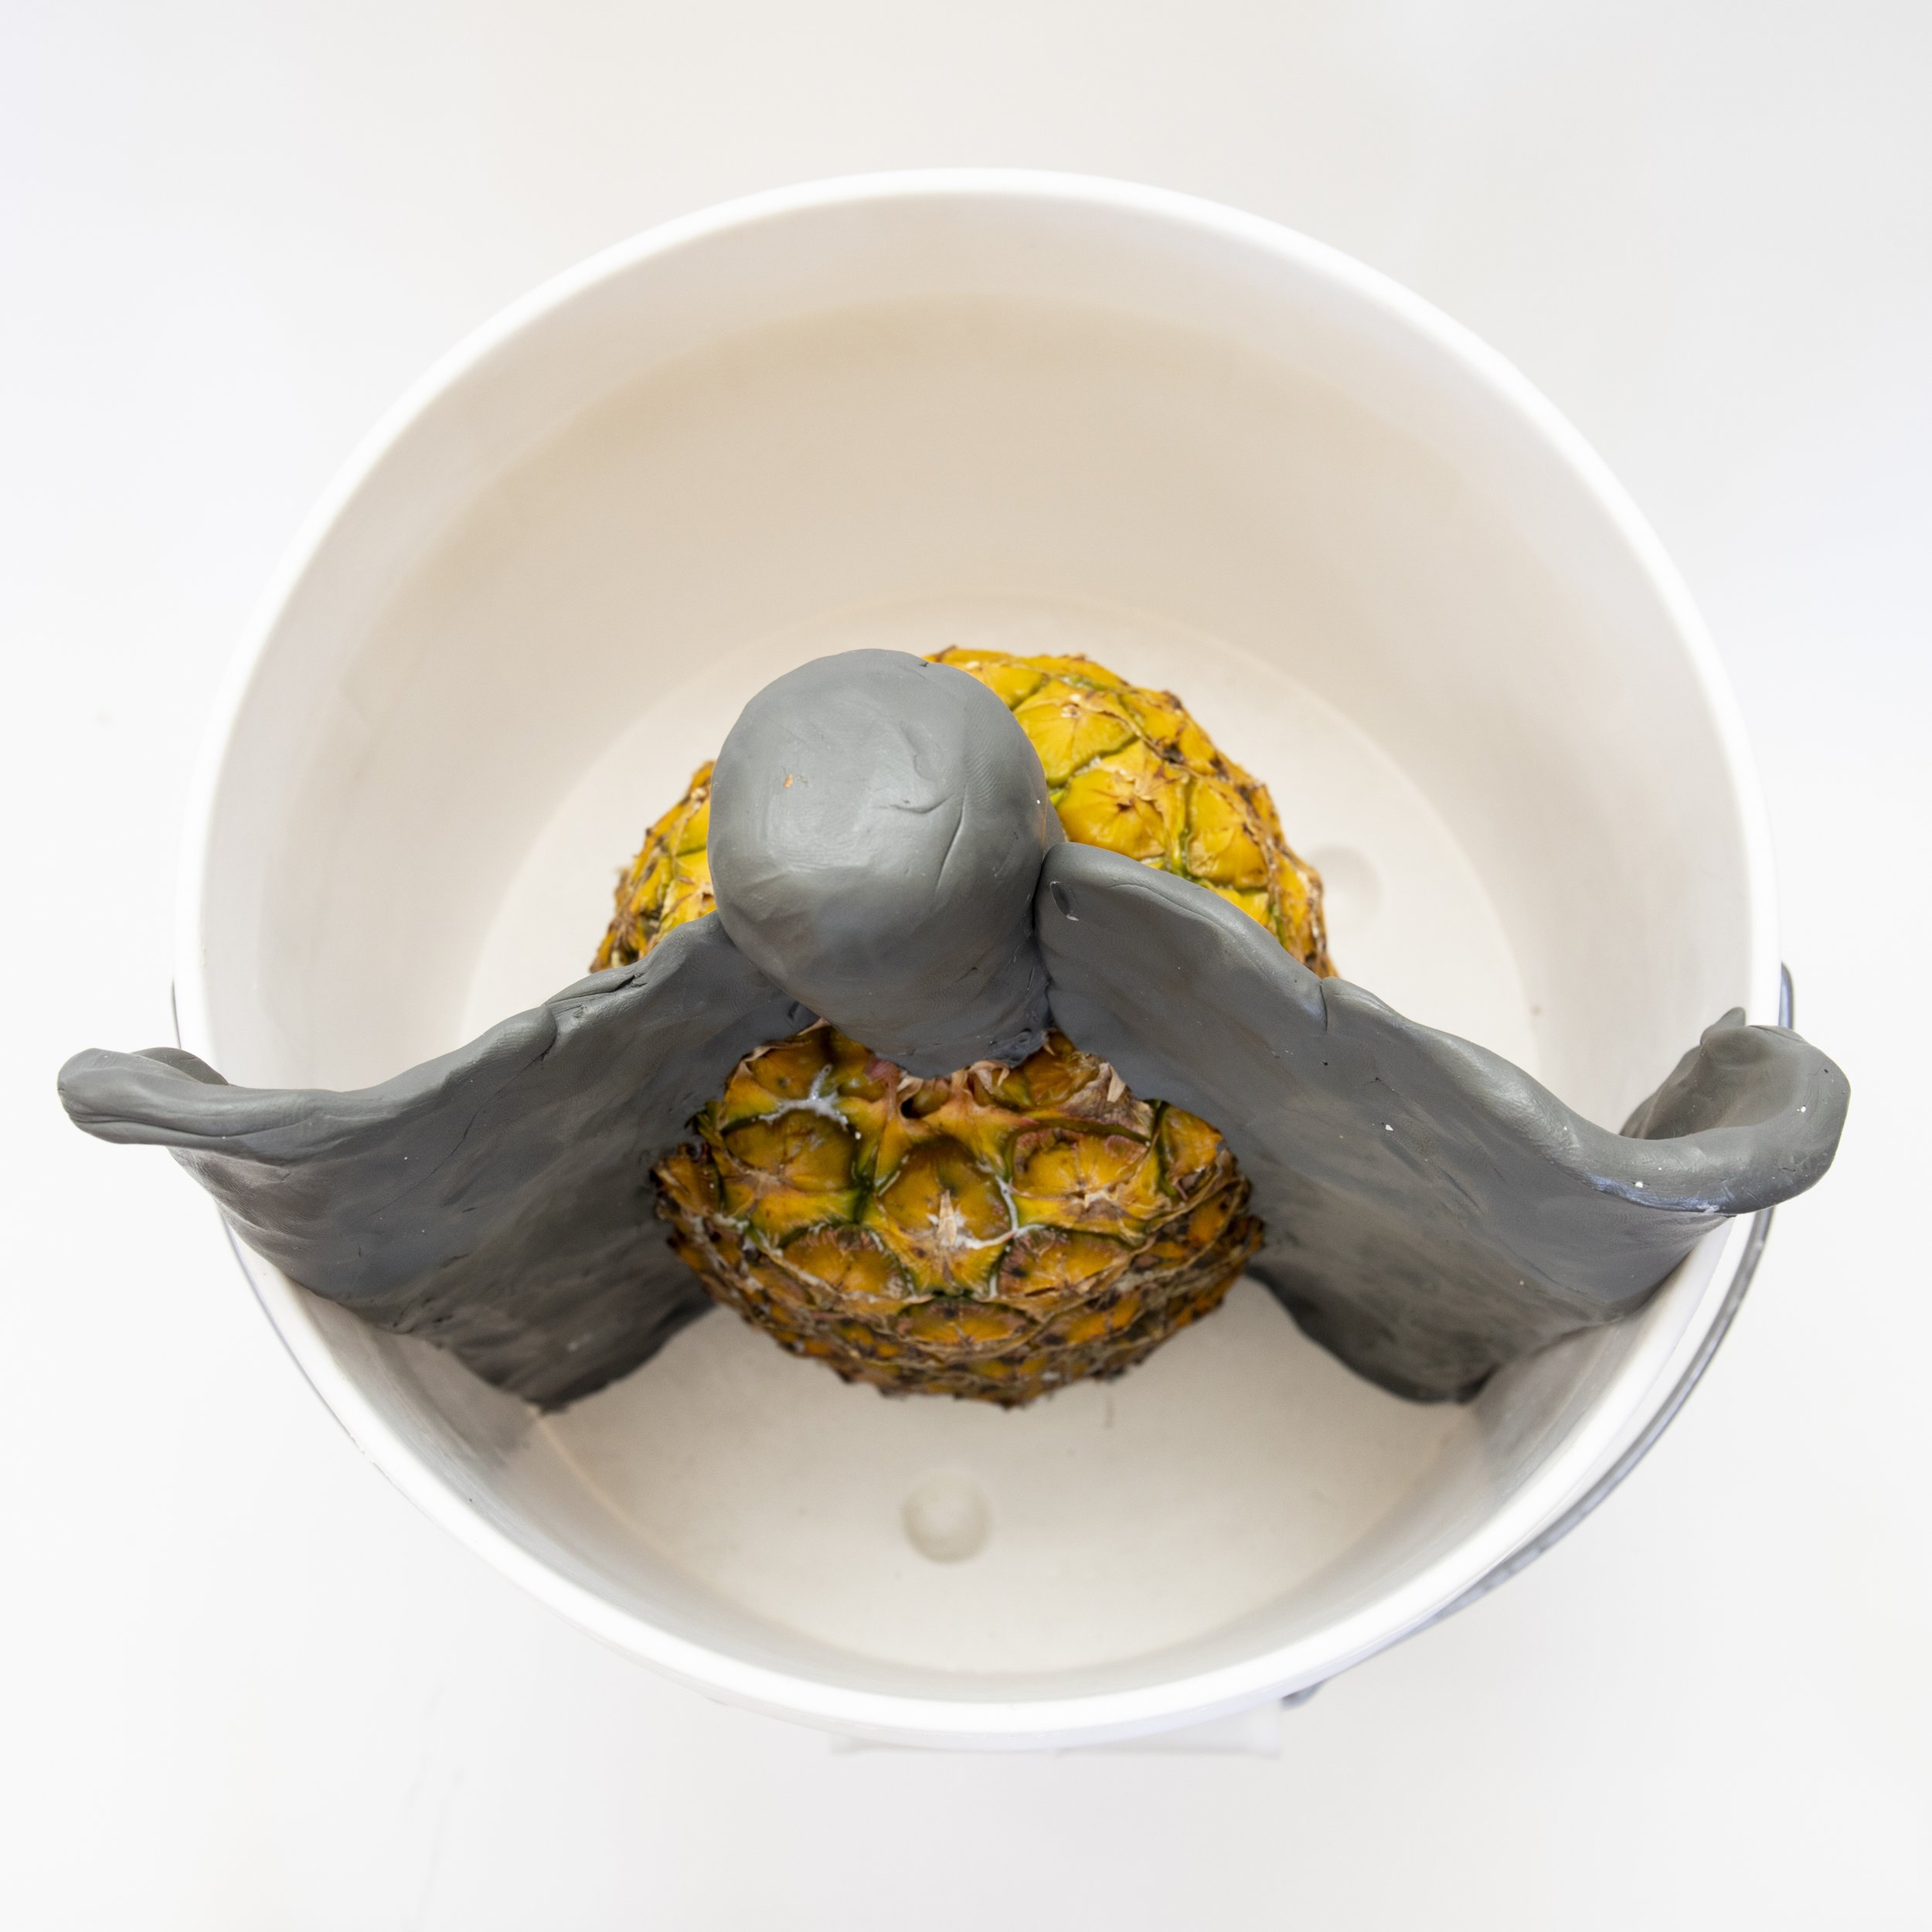
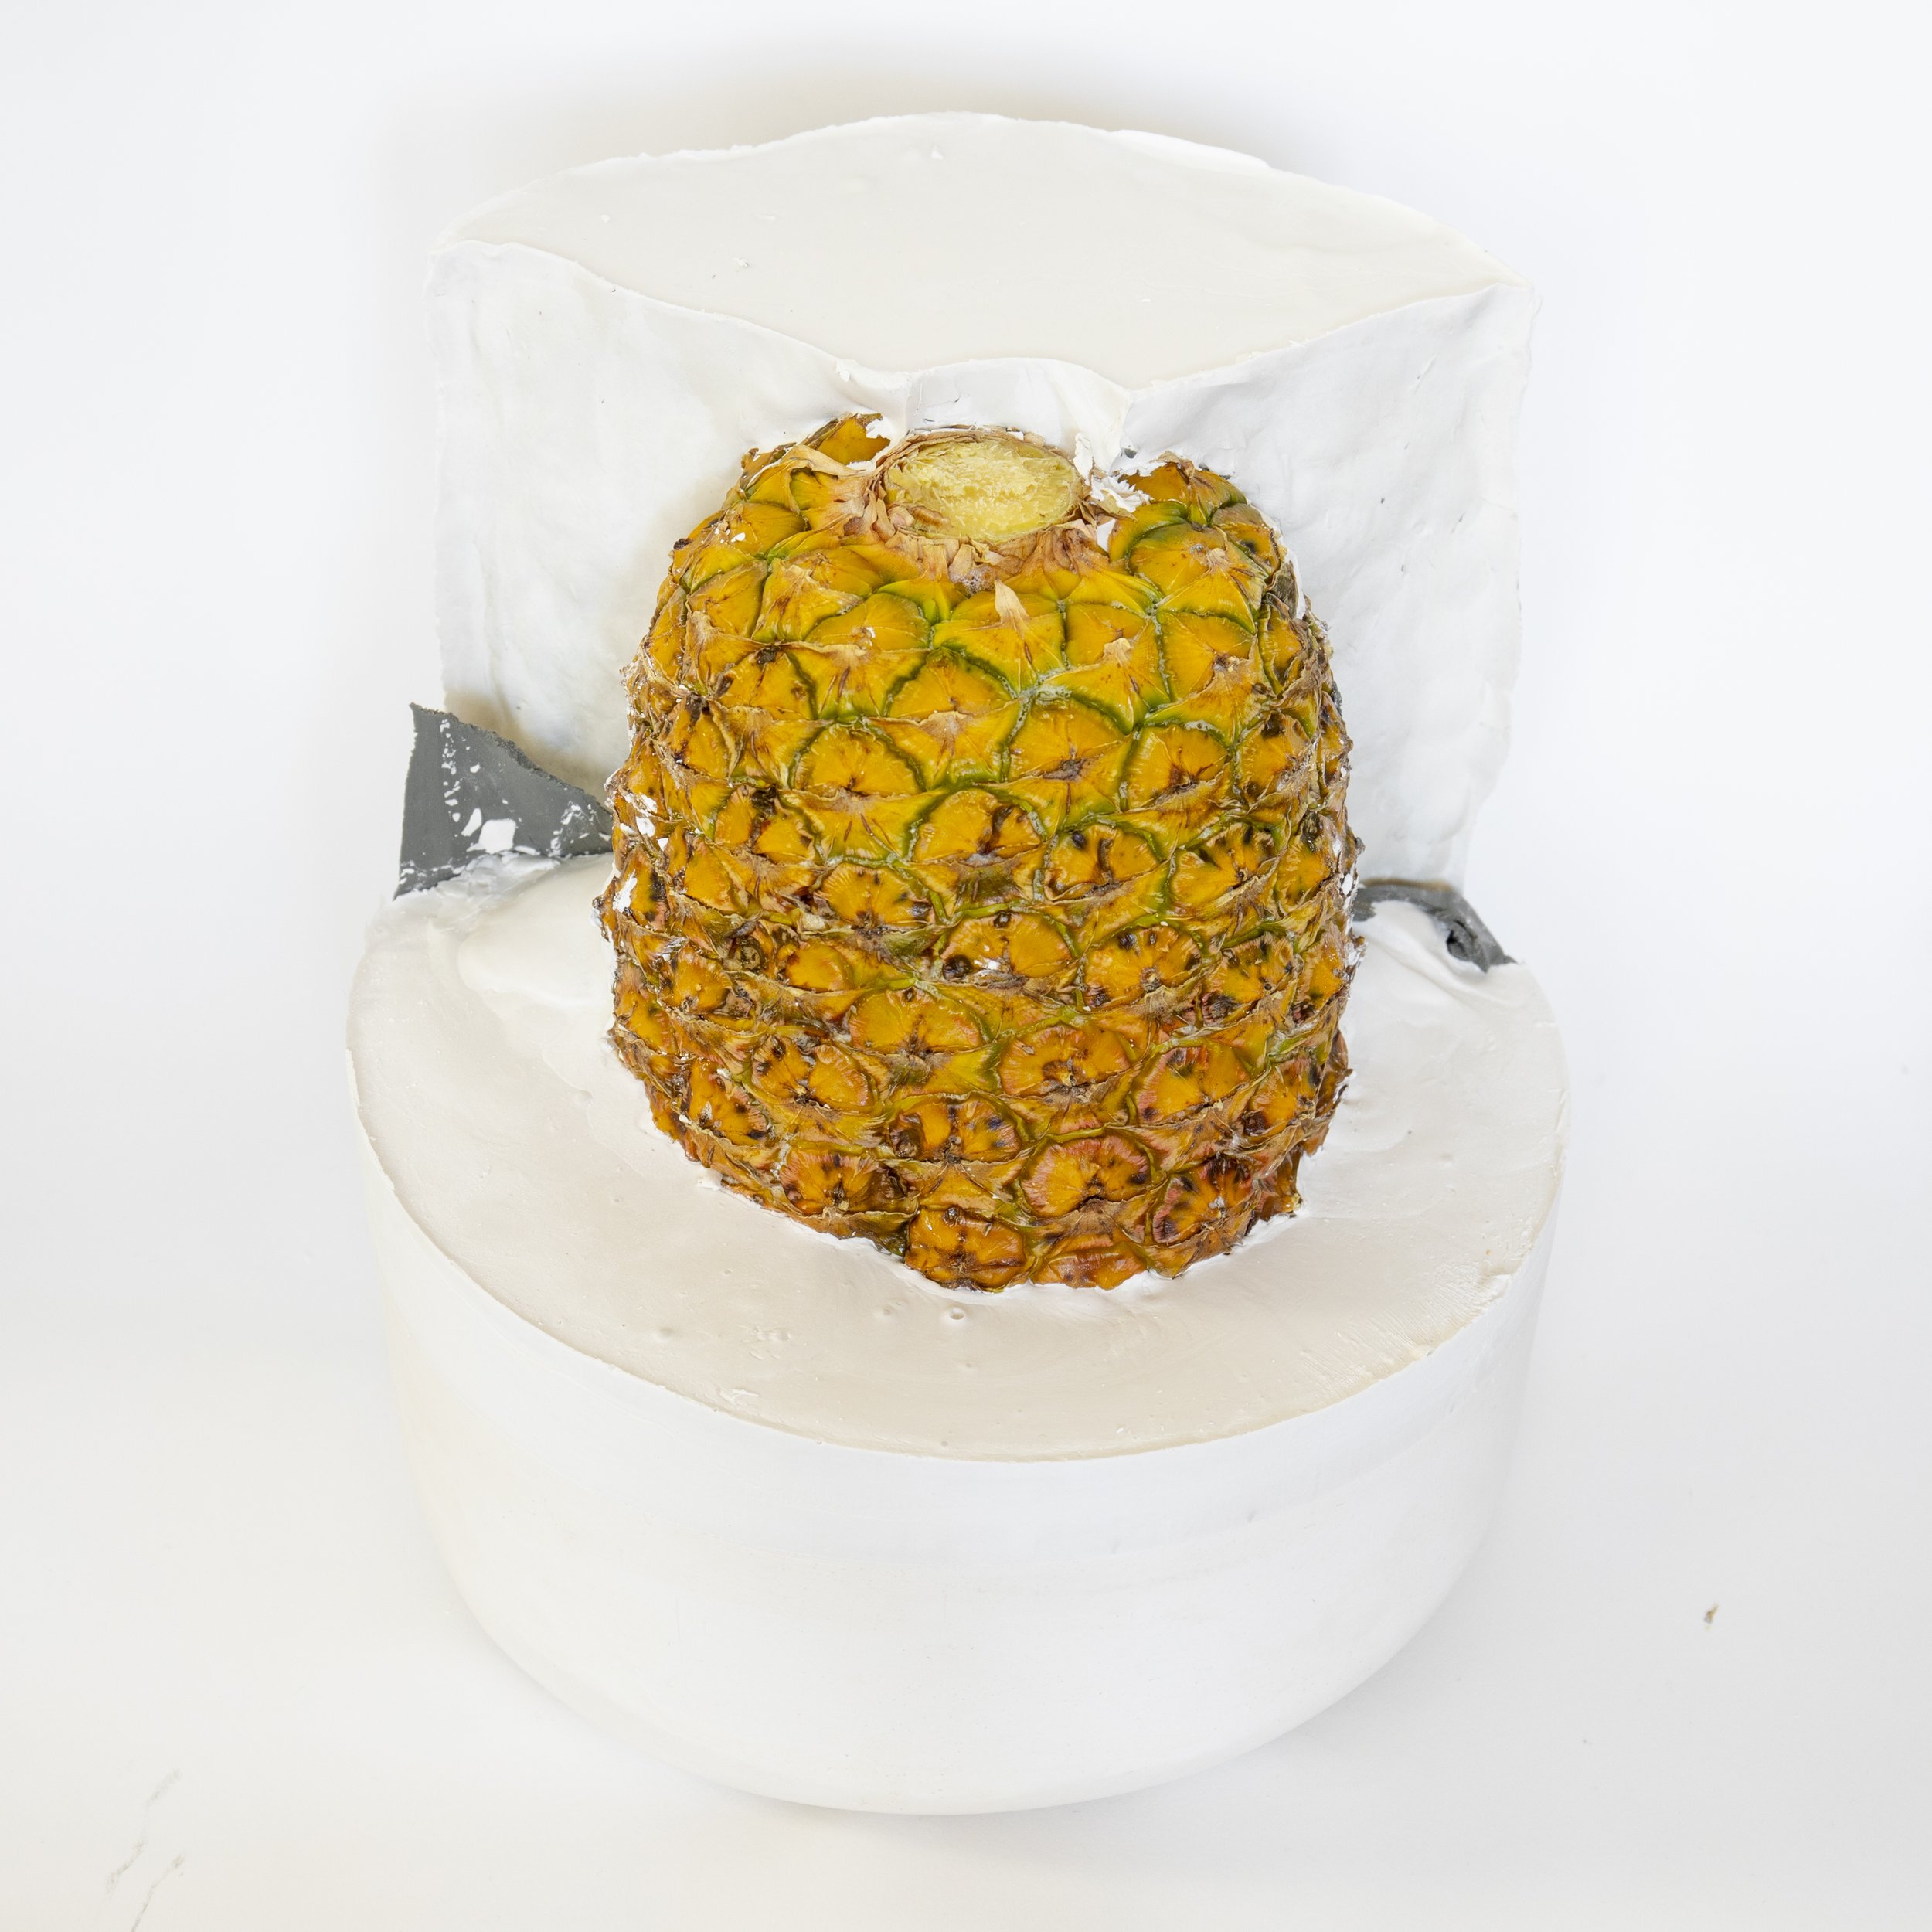
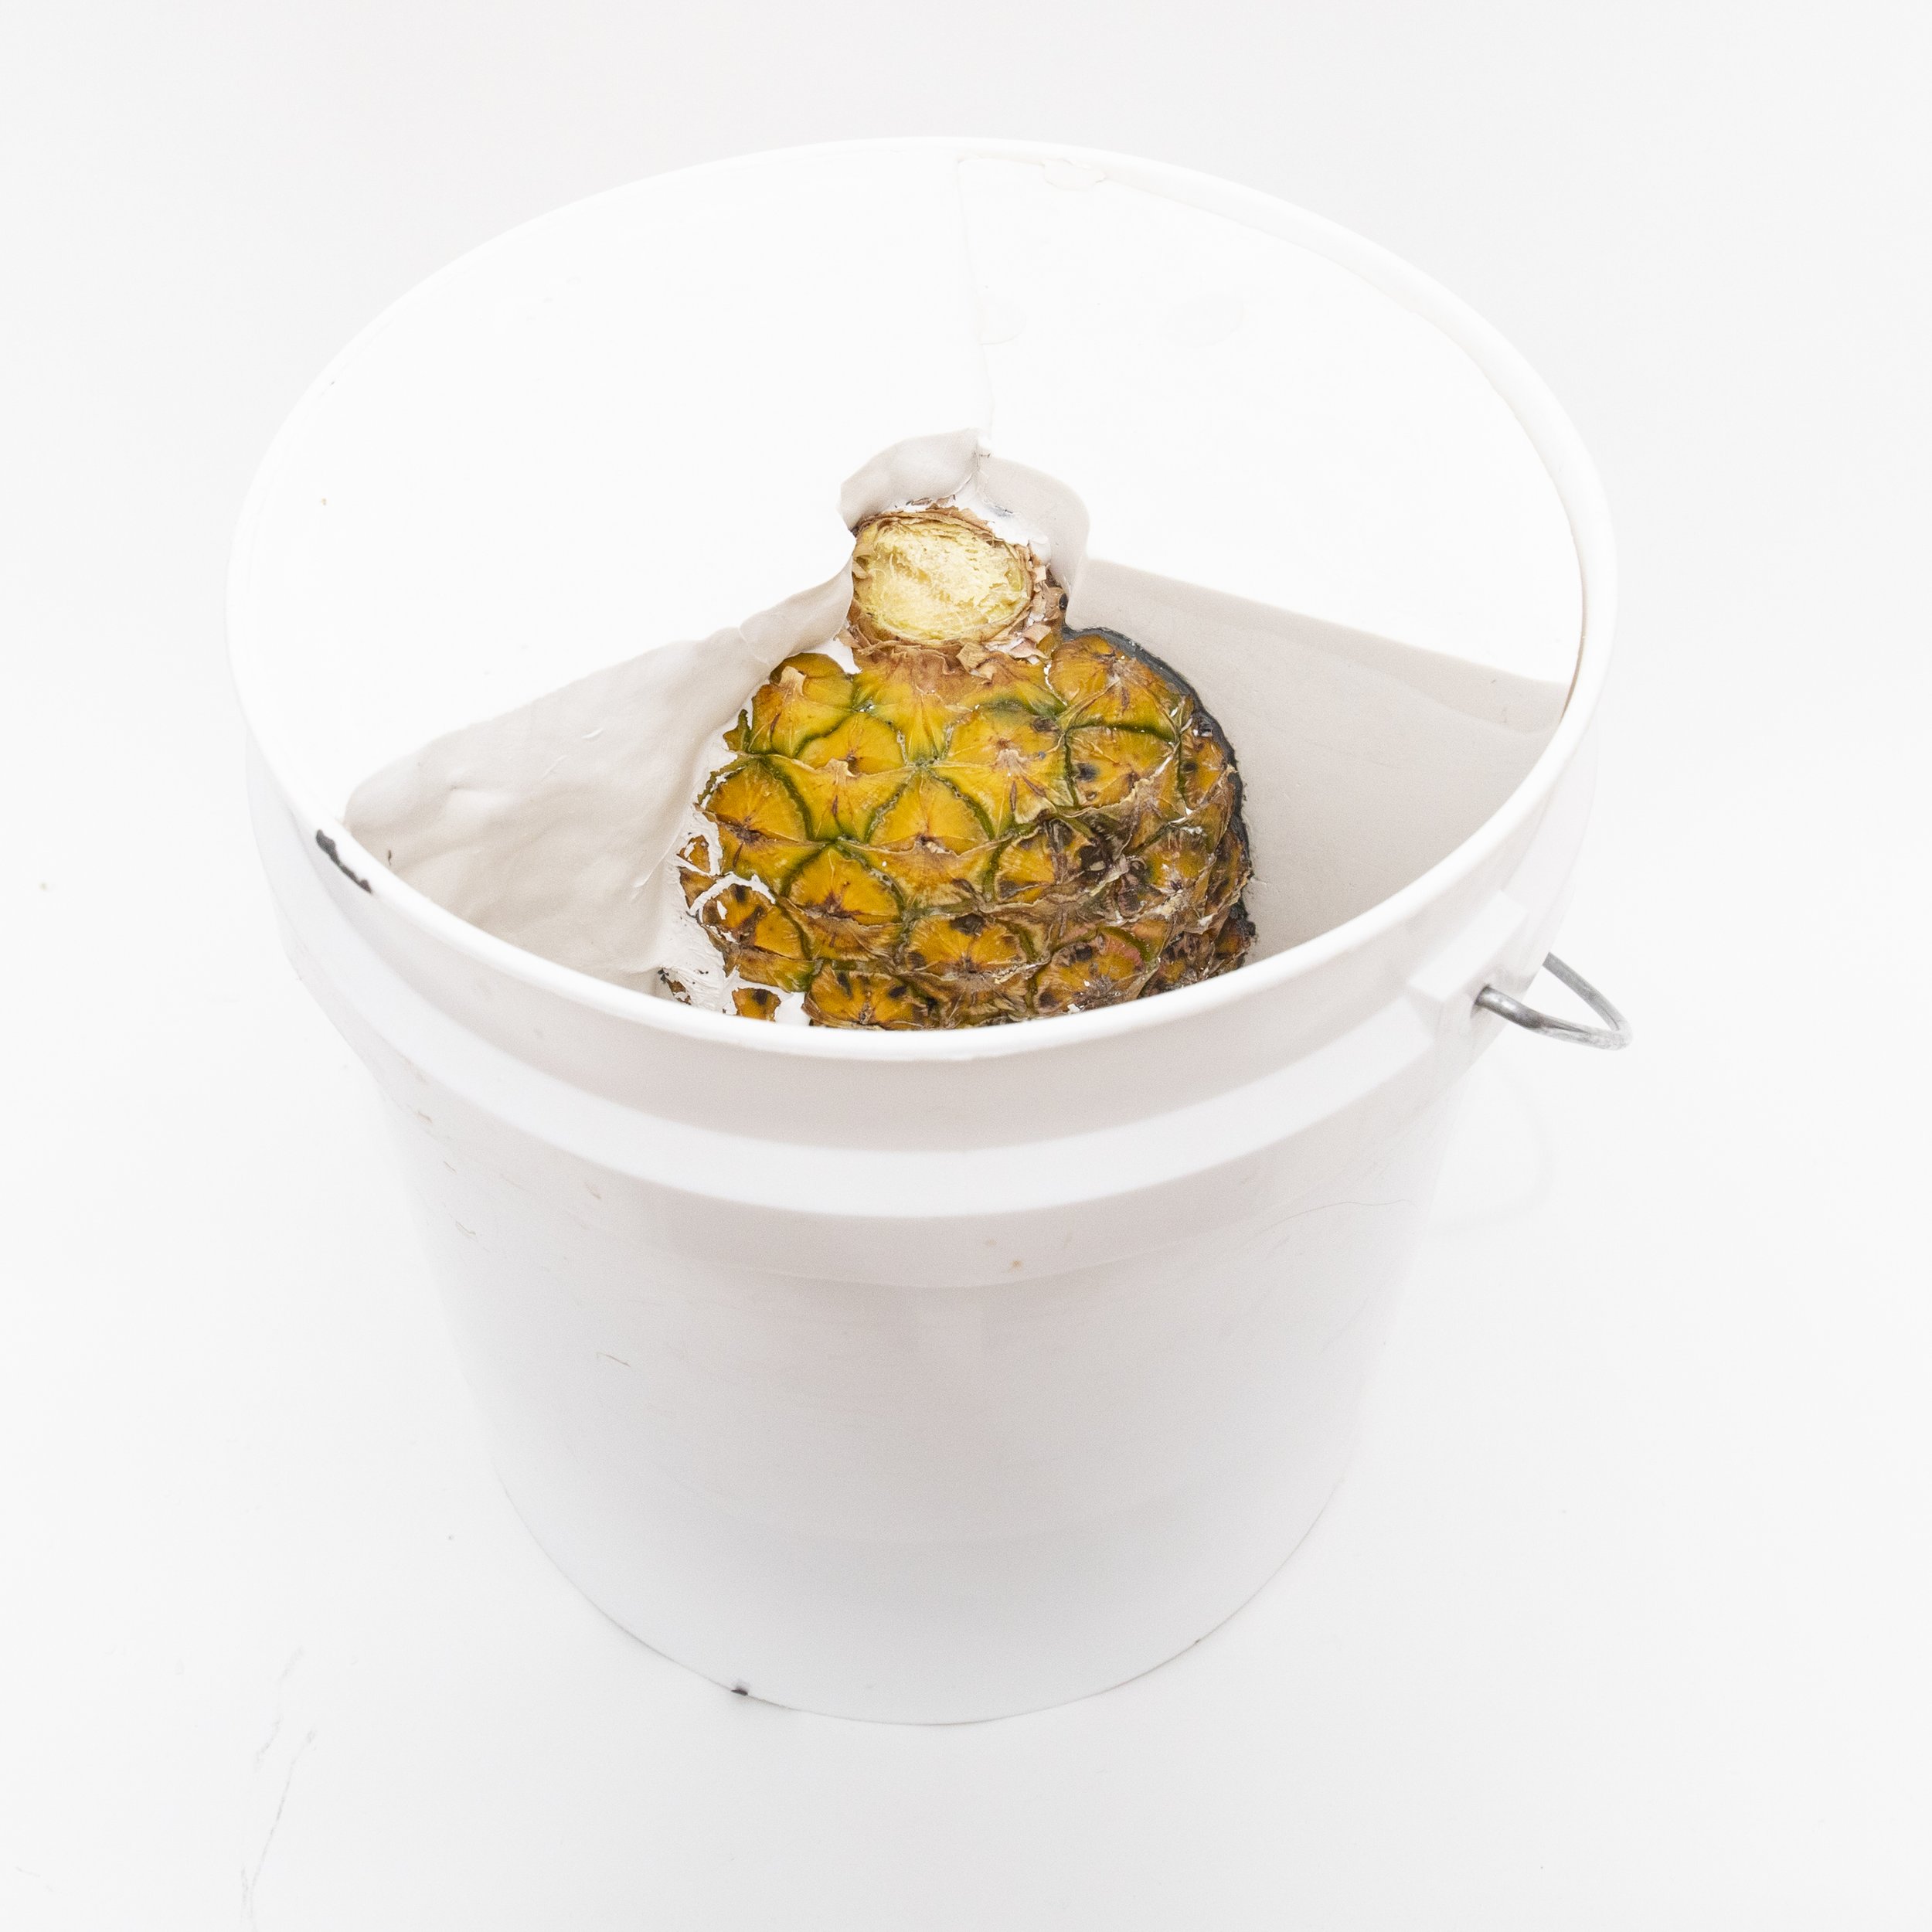
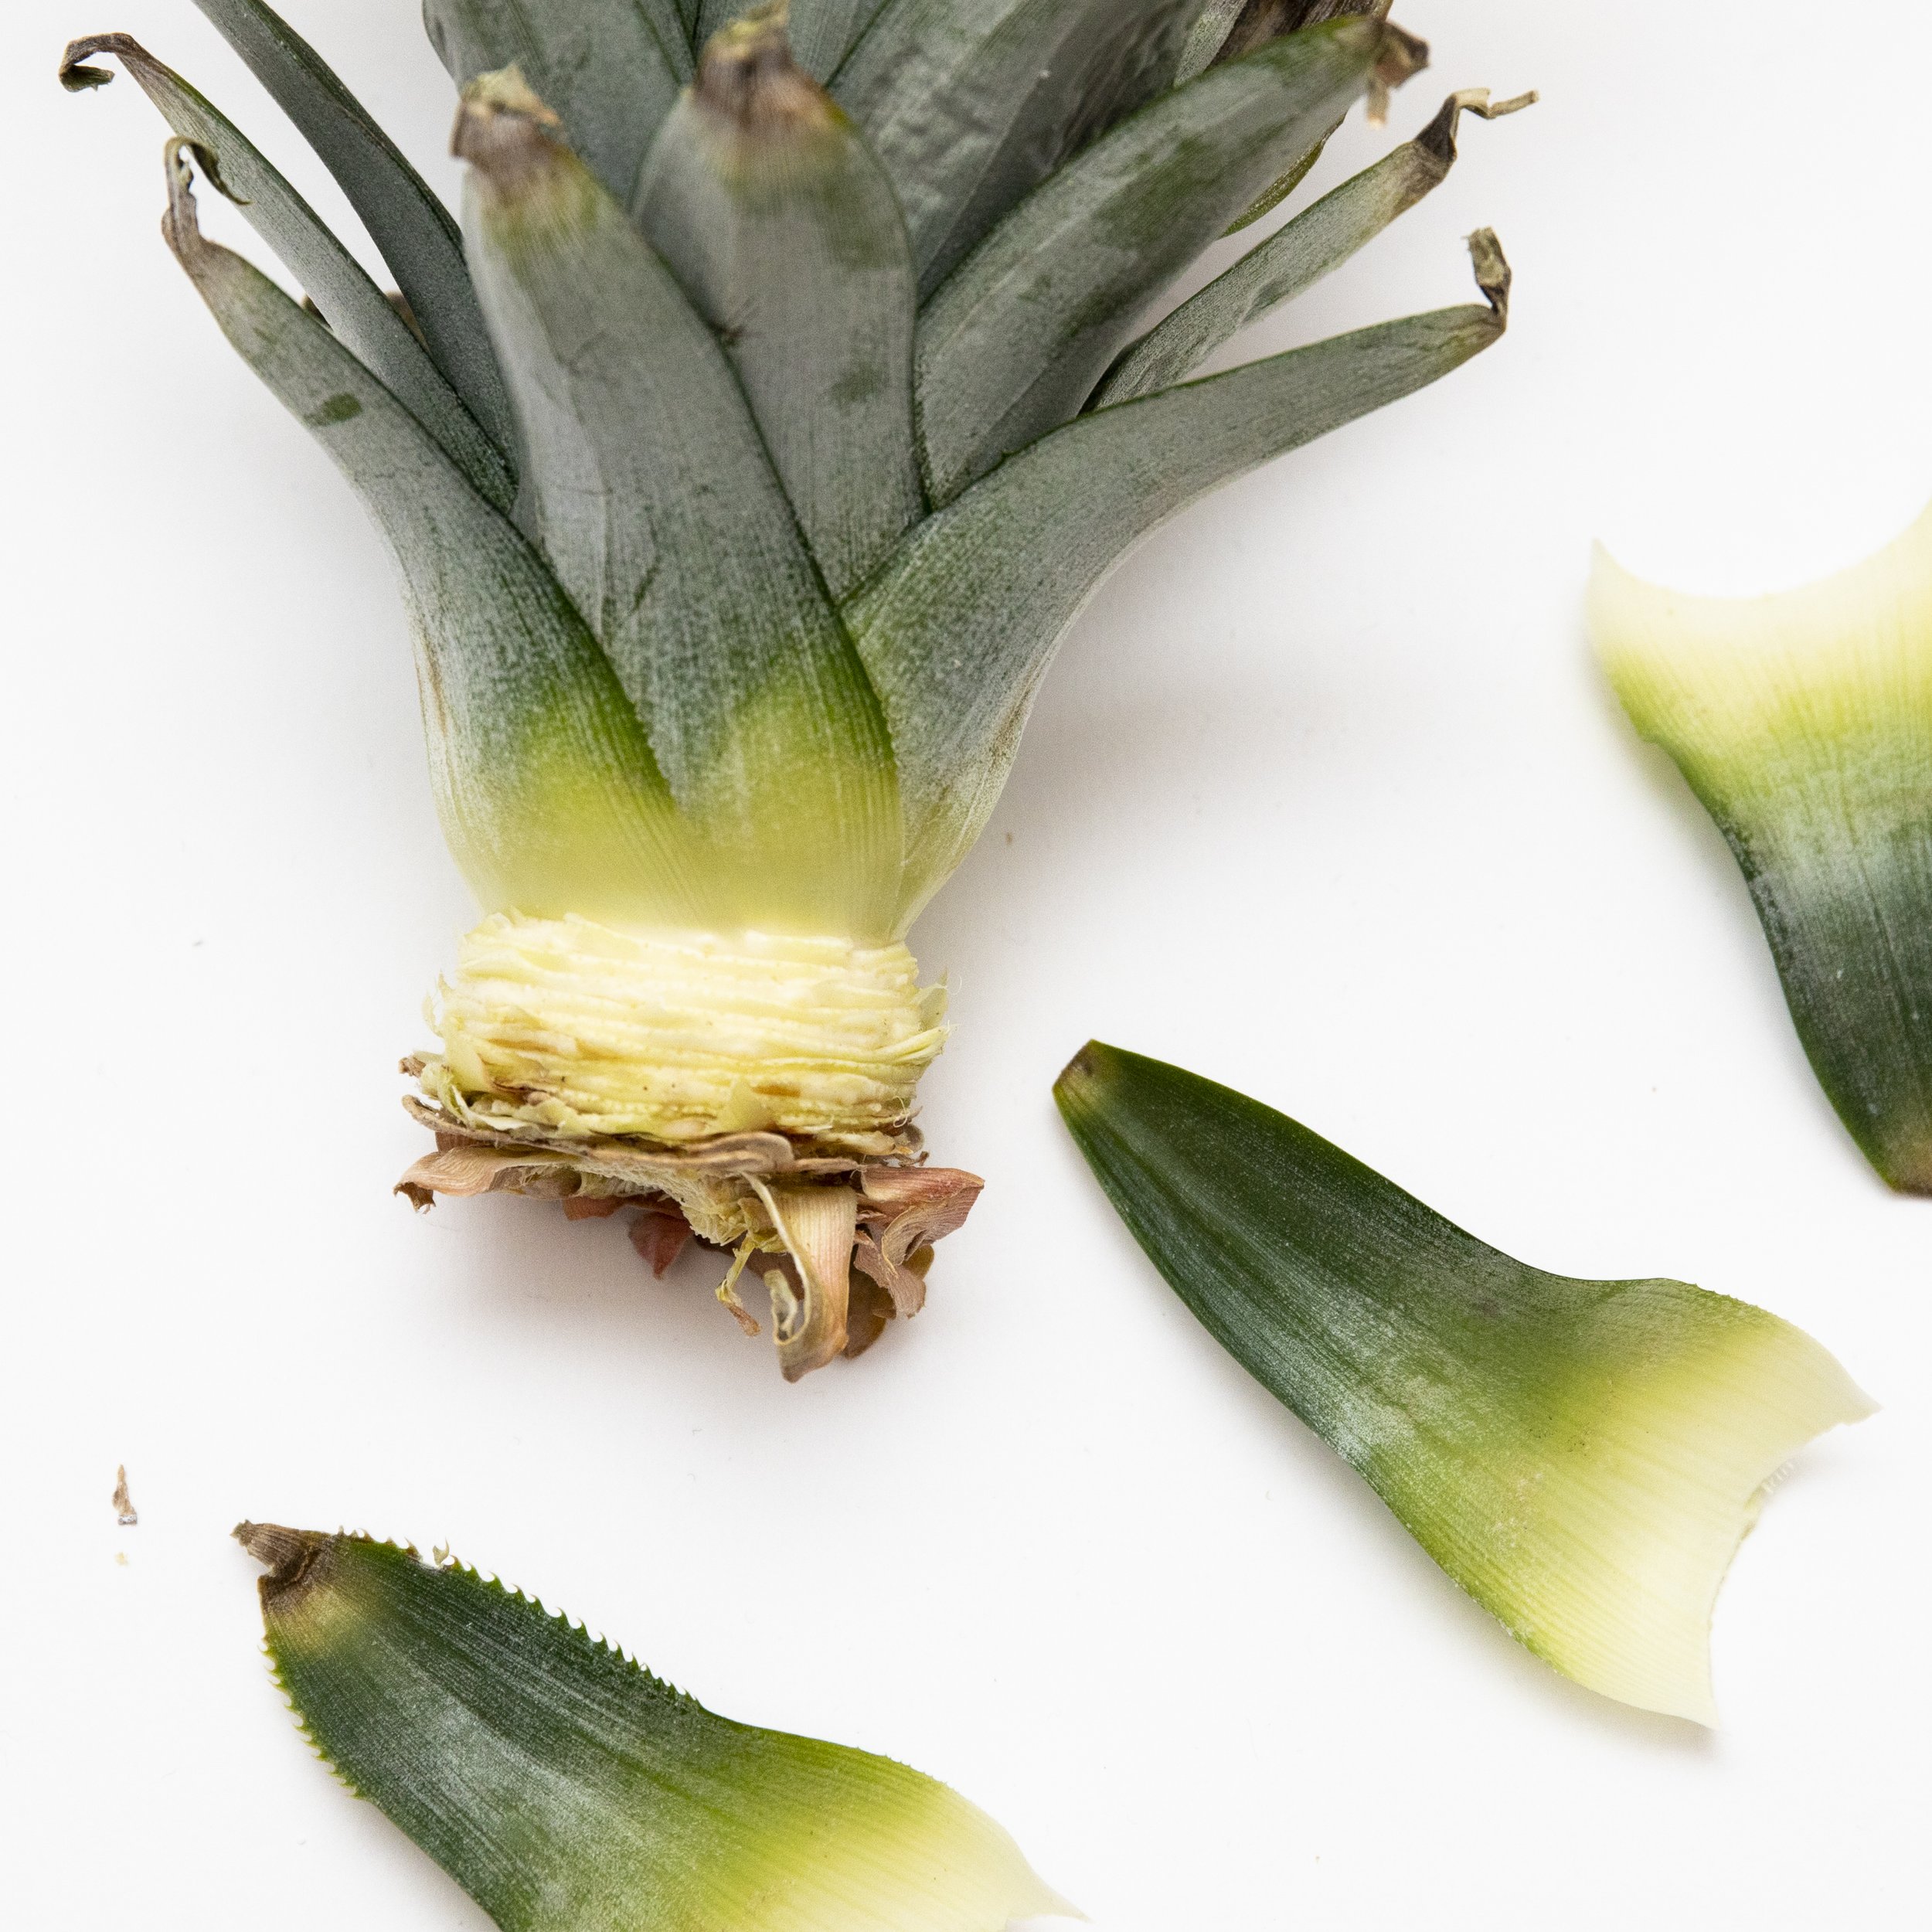
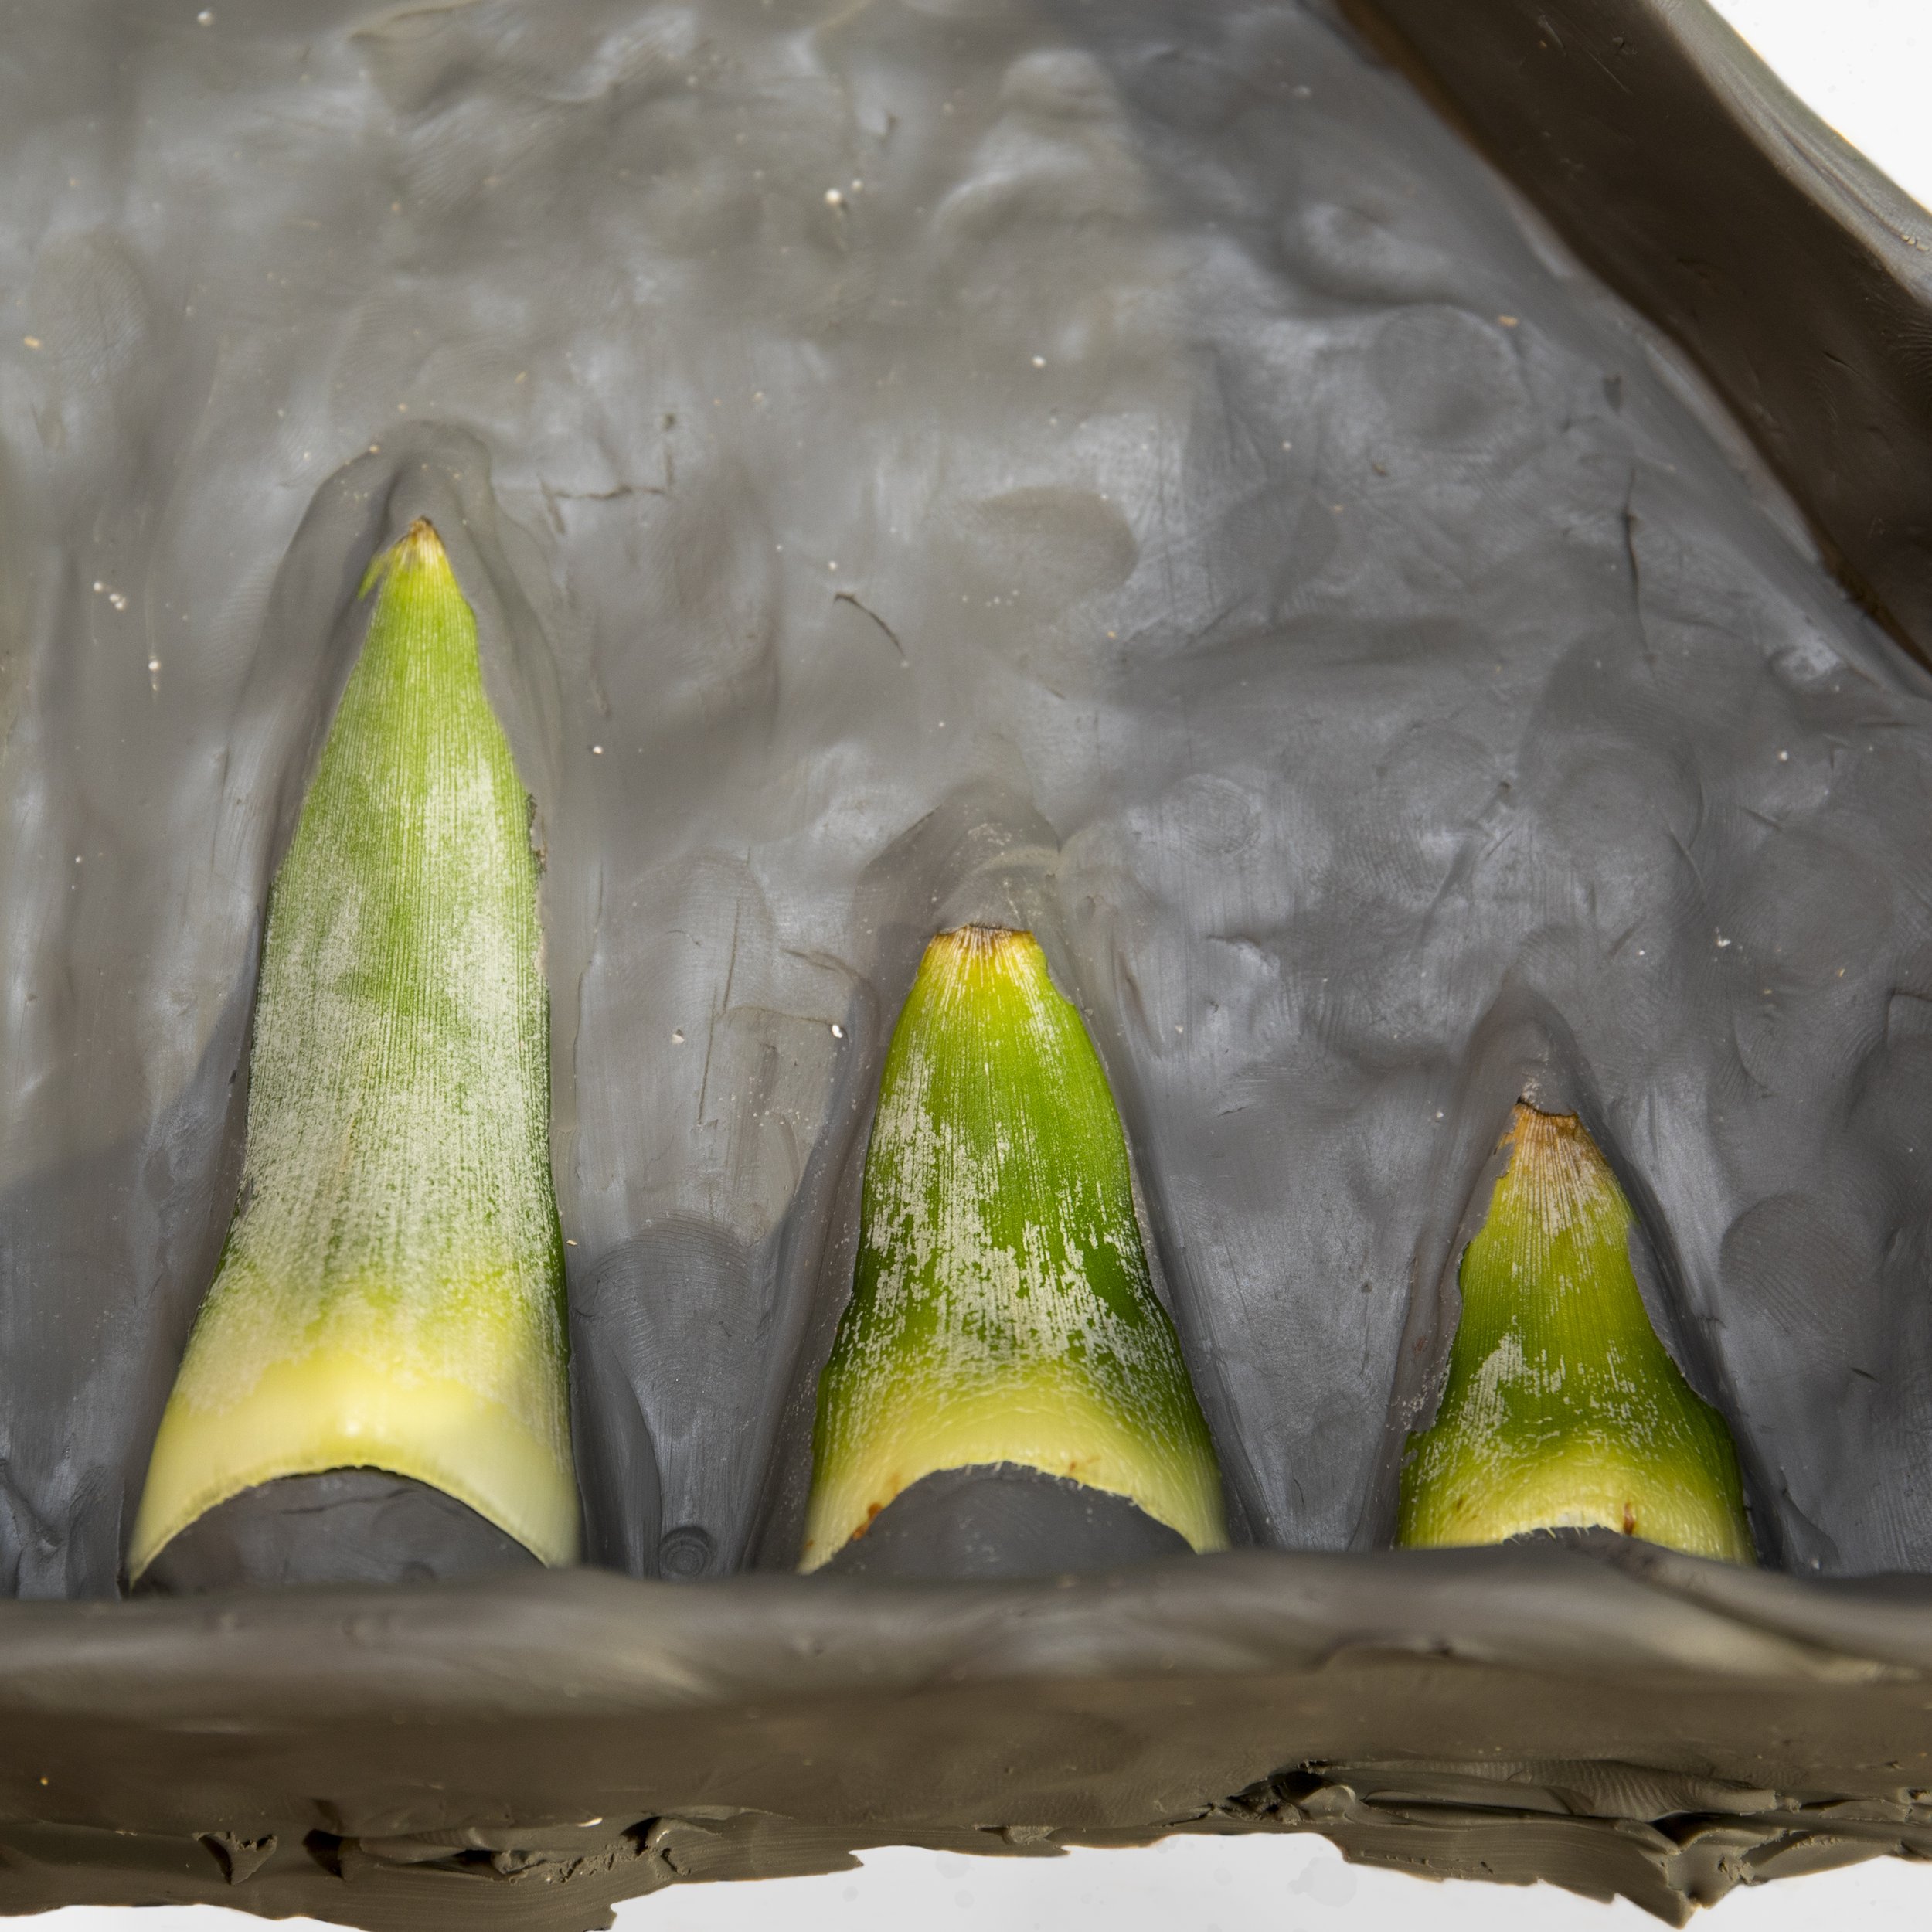
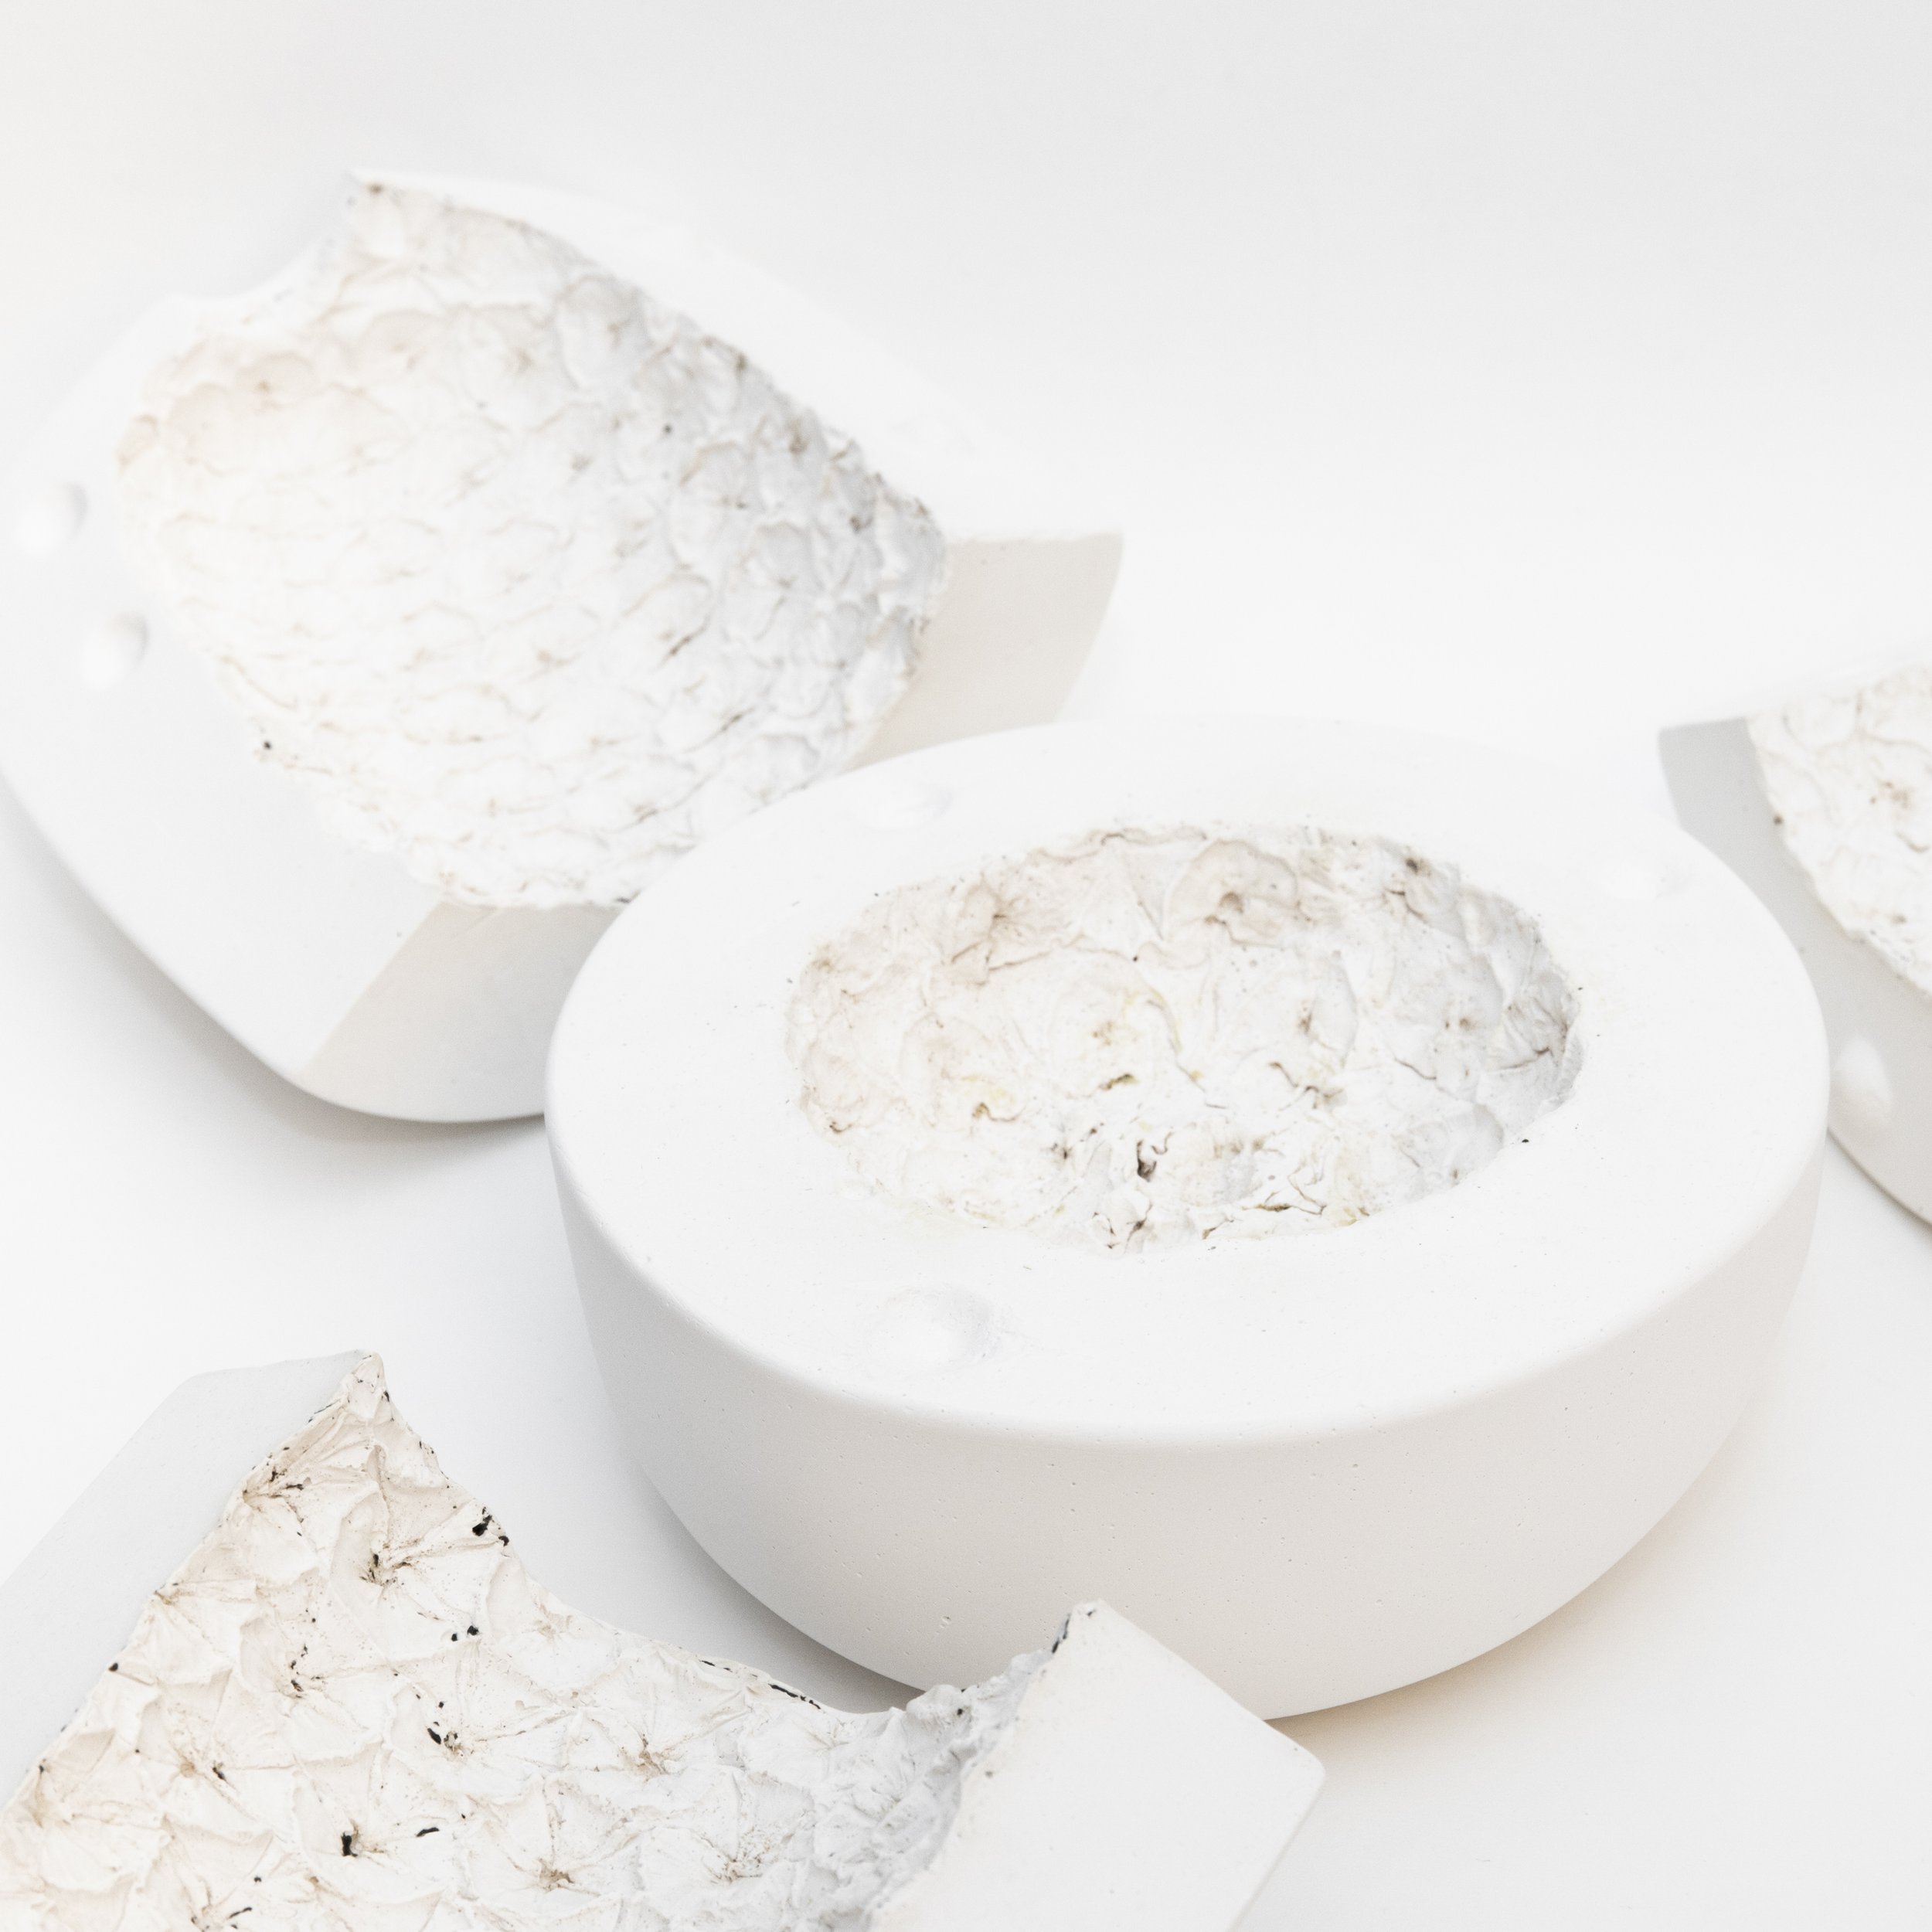
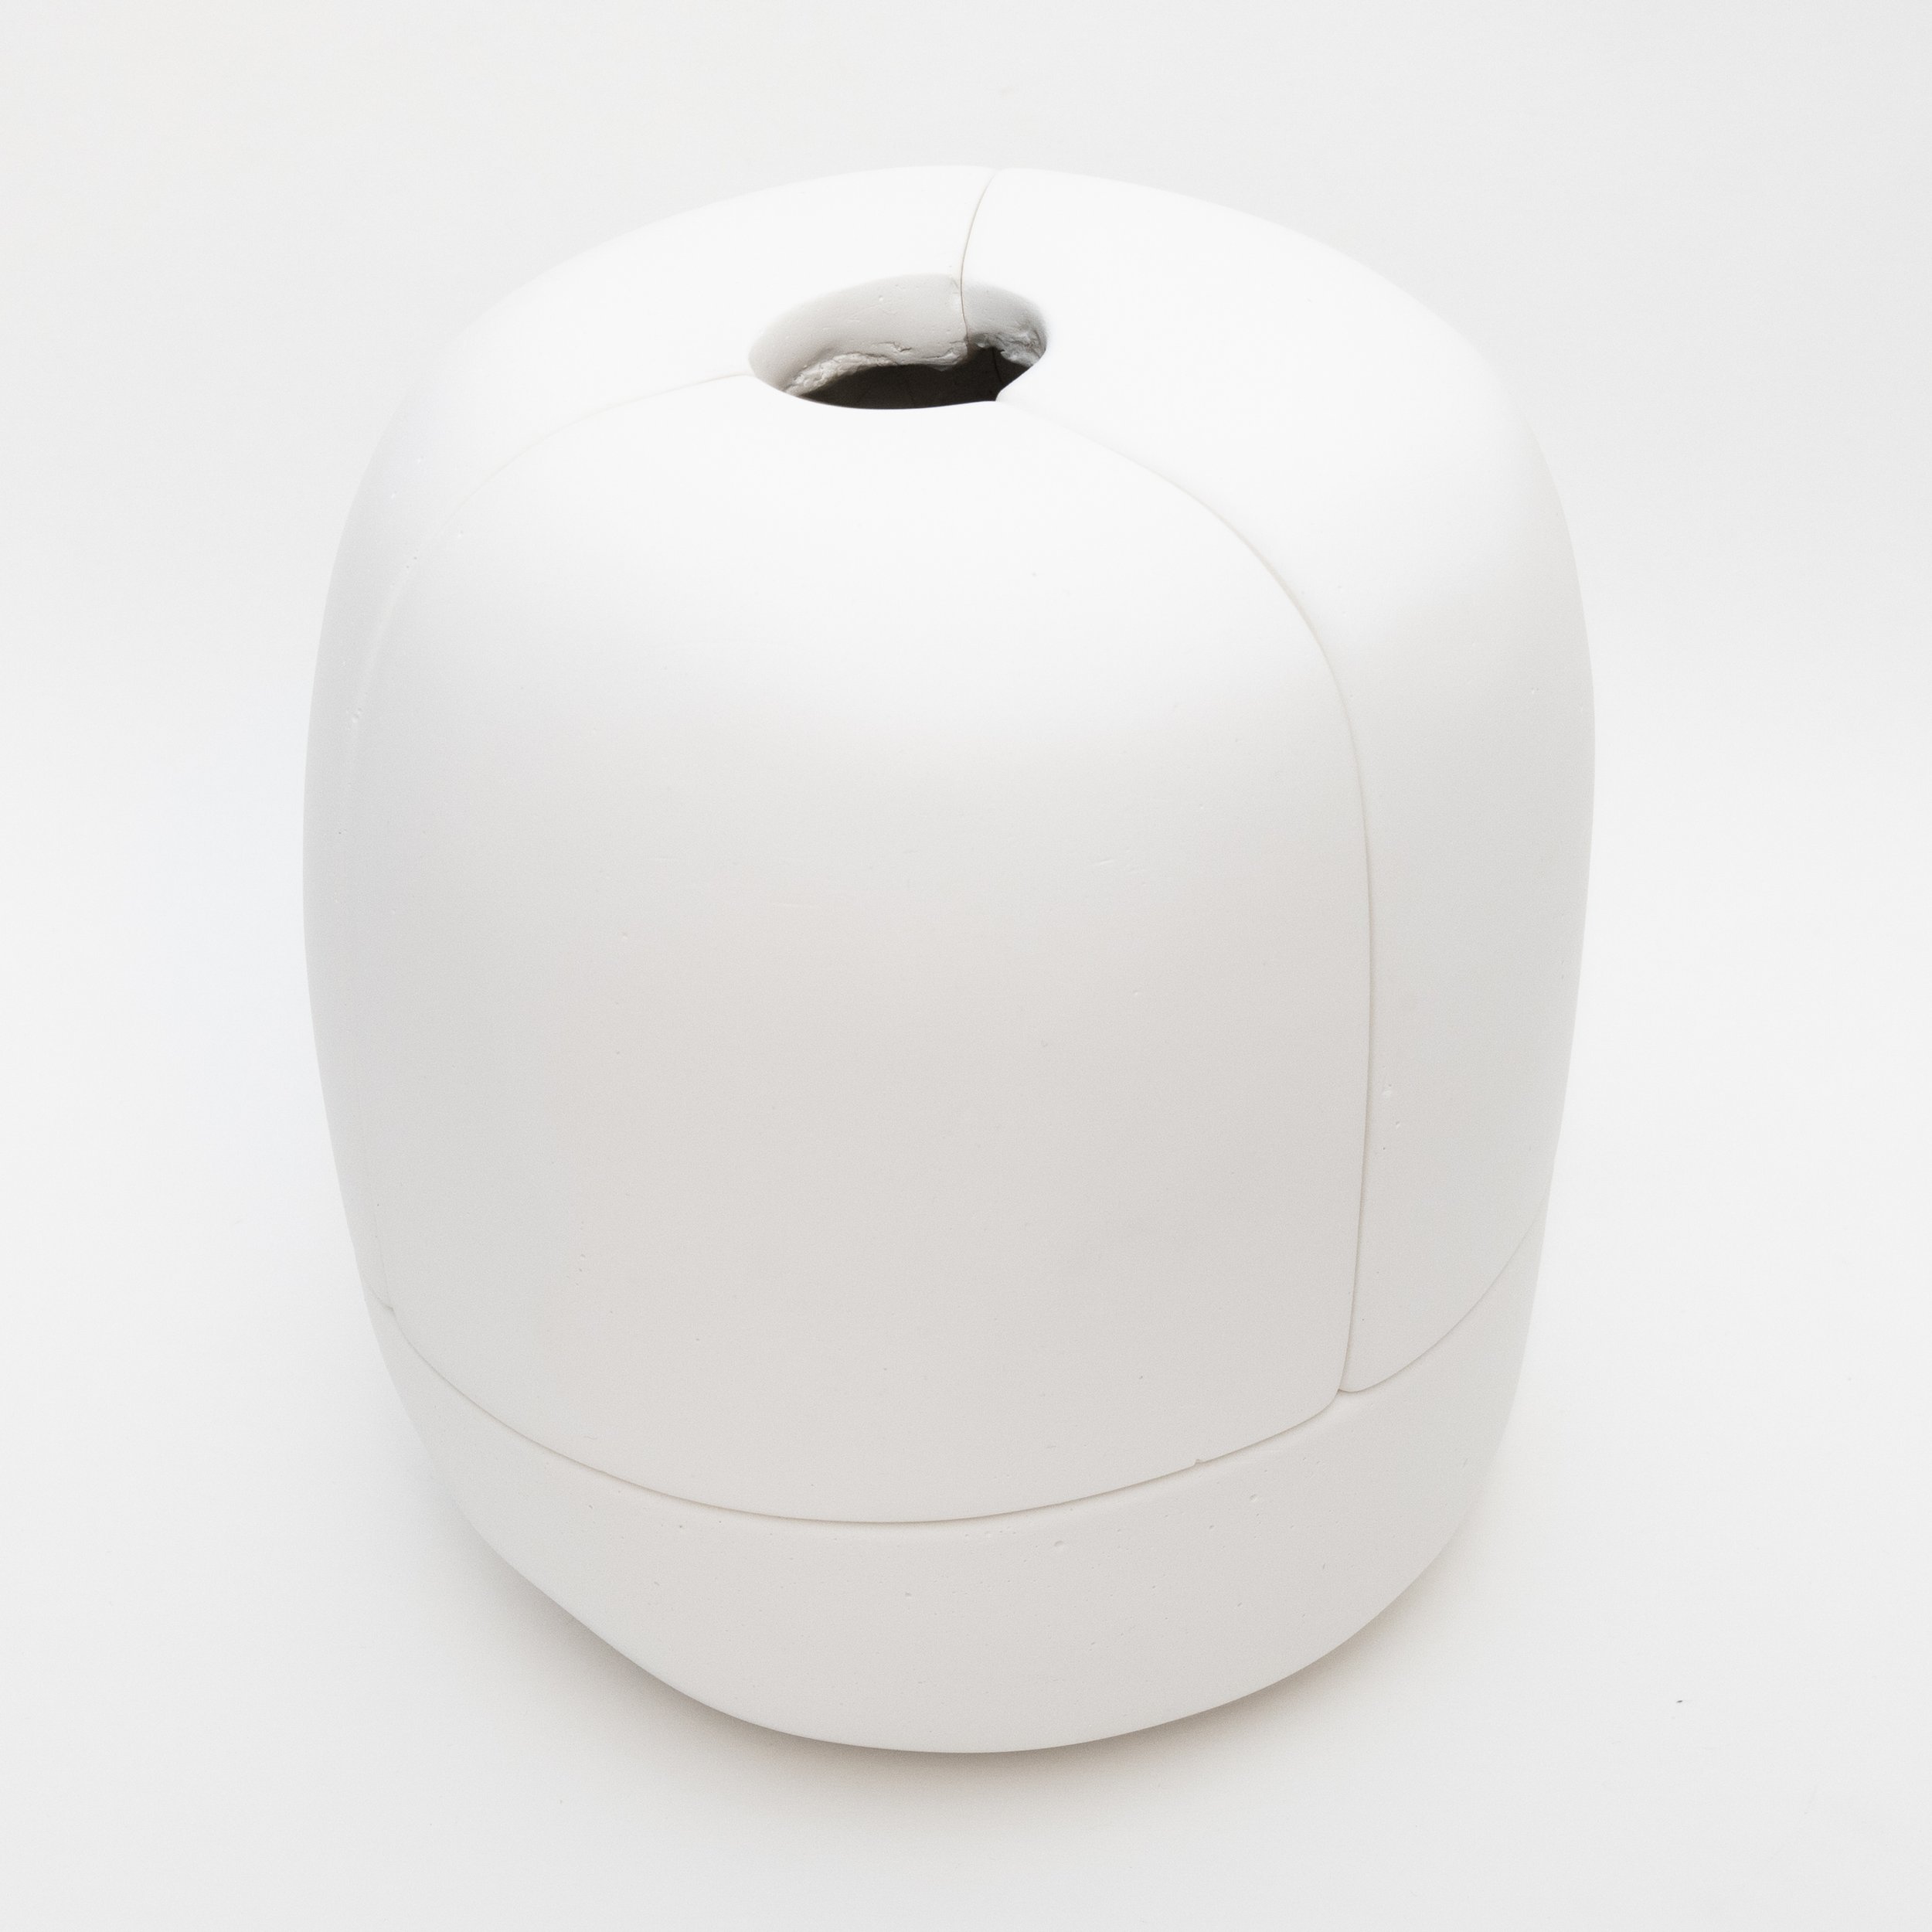
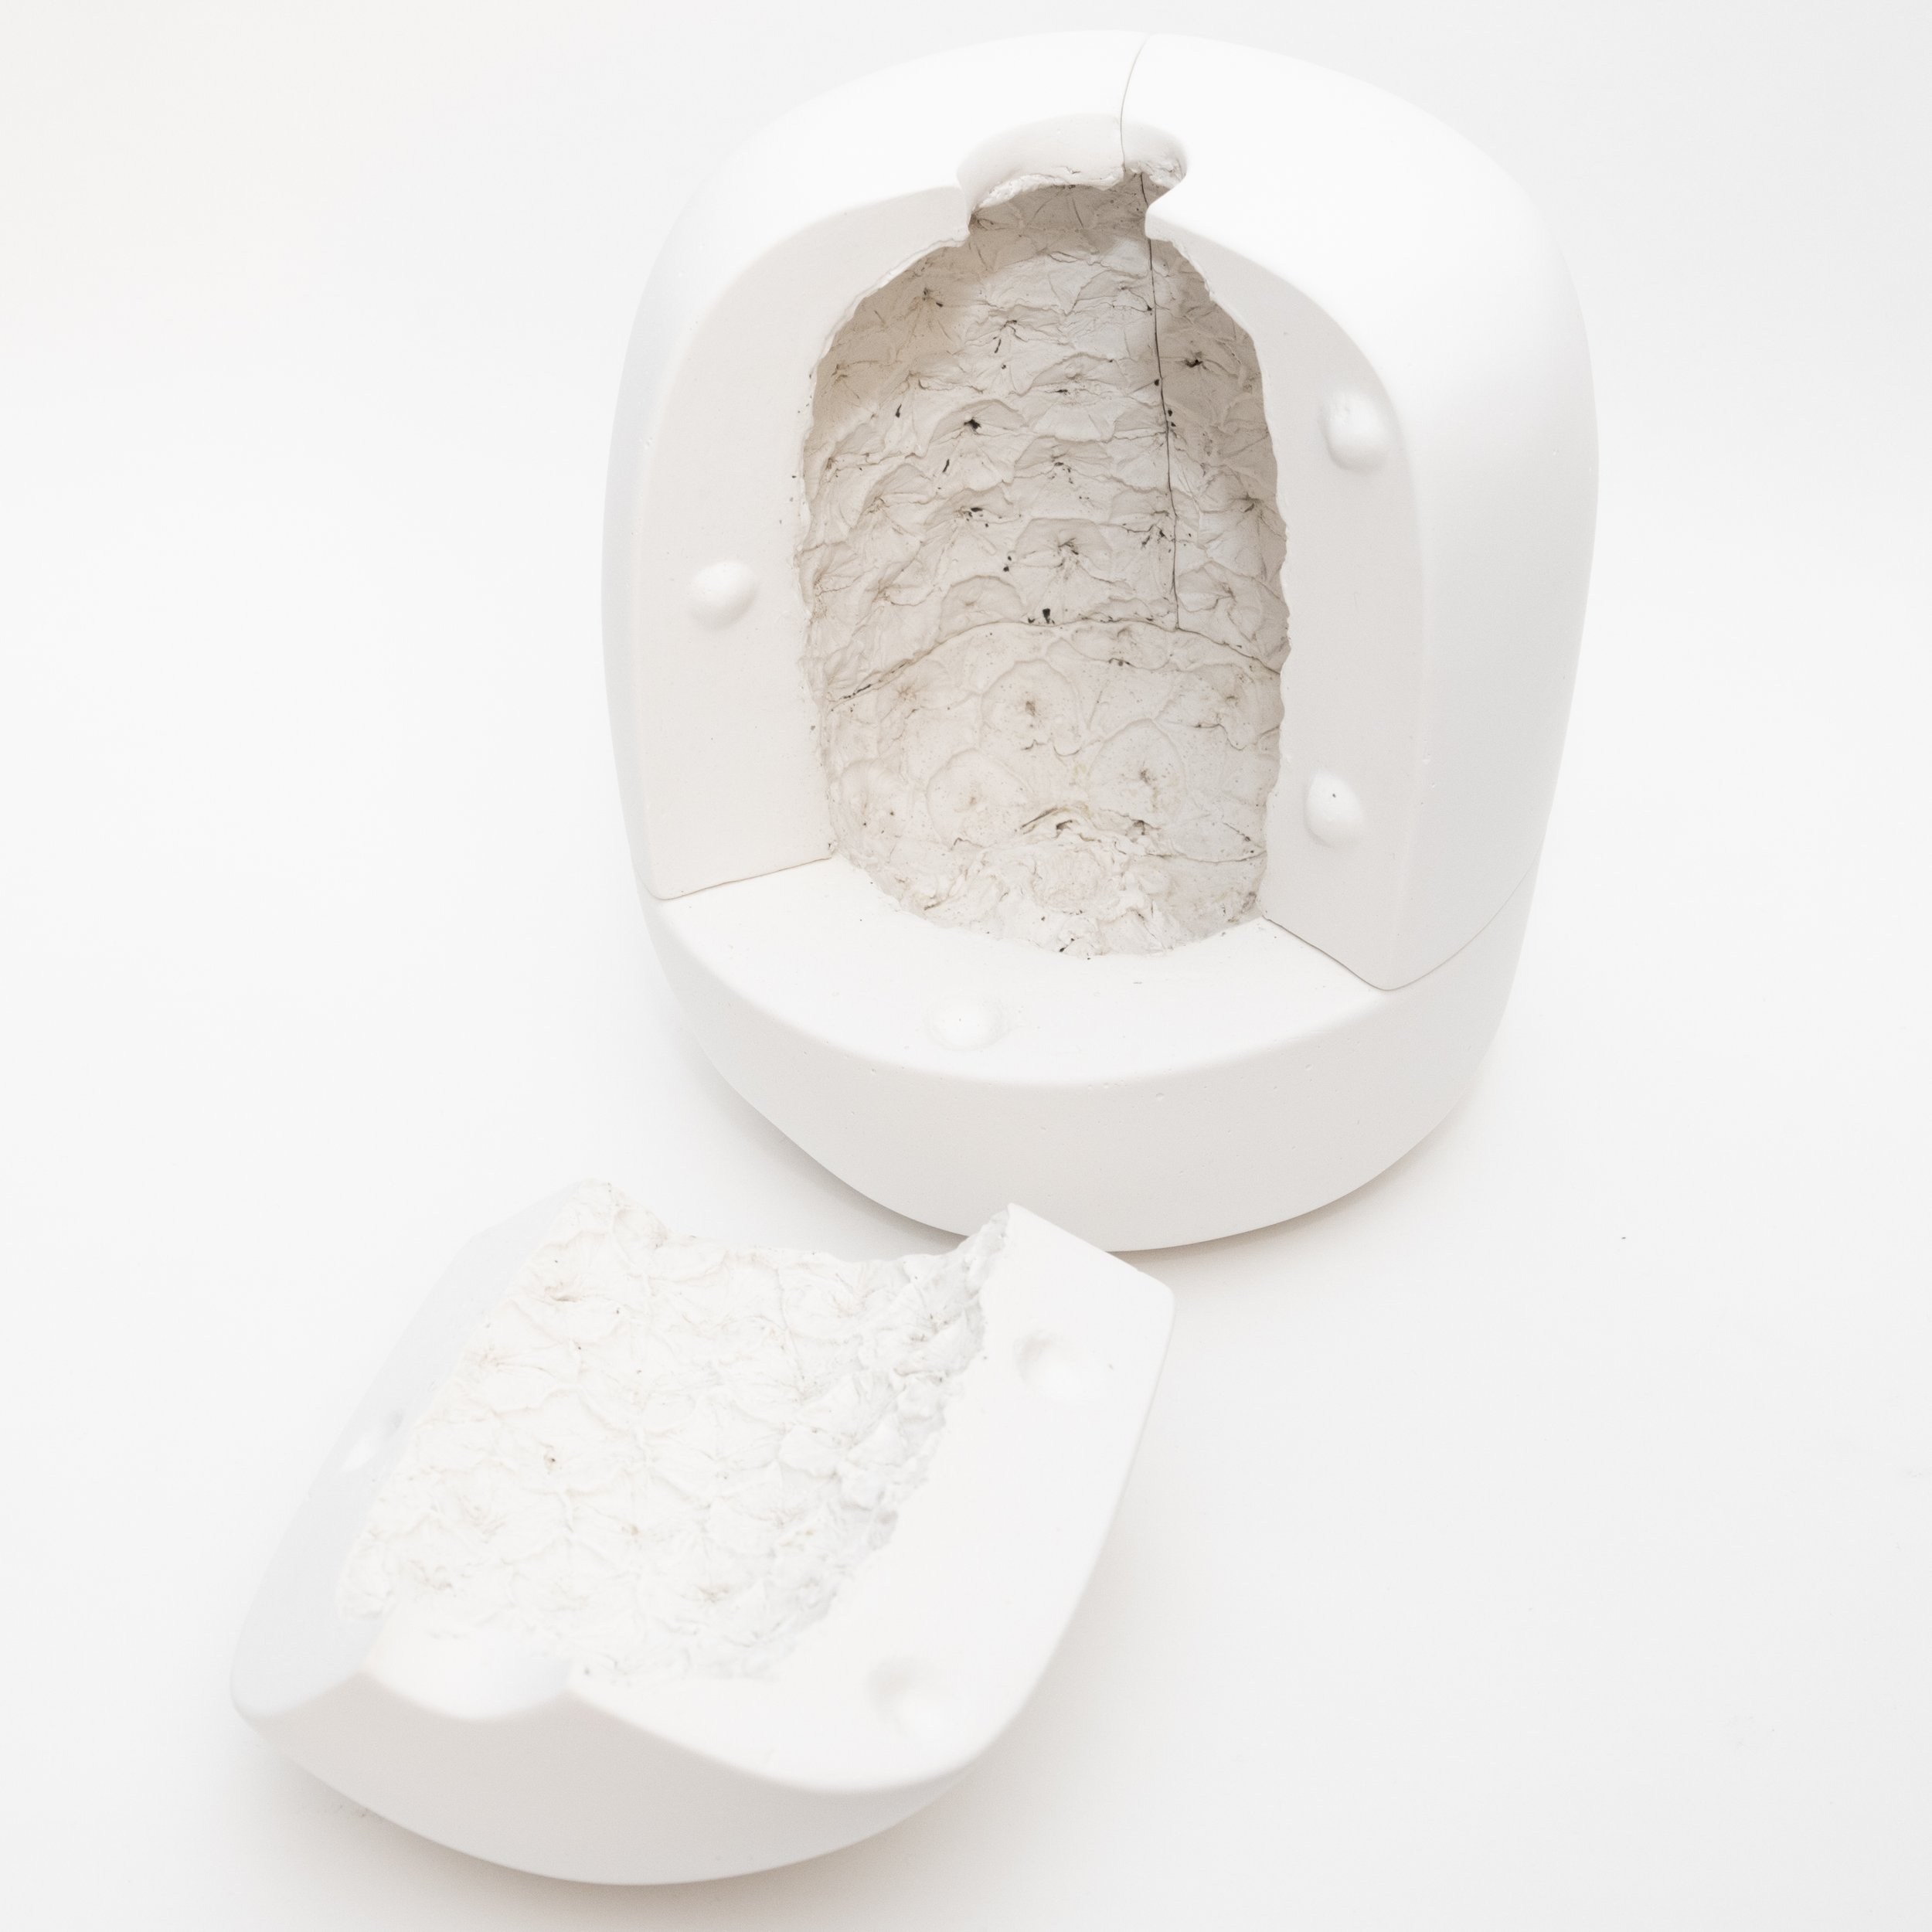
Description: This is by far one my favorite mold commission to date. So many fun problem solving such as the time restraint, with this being an organic item.
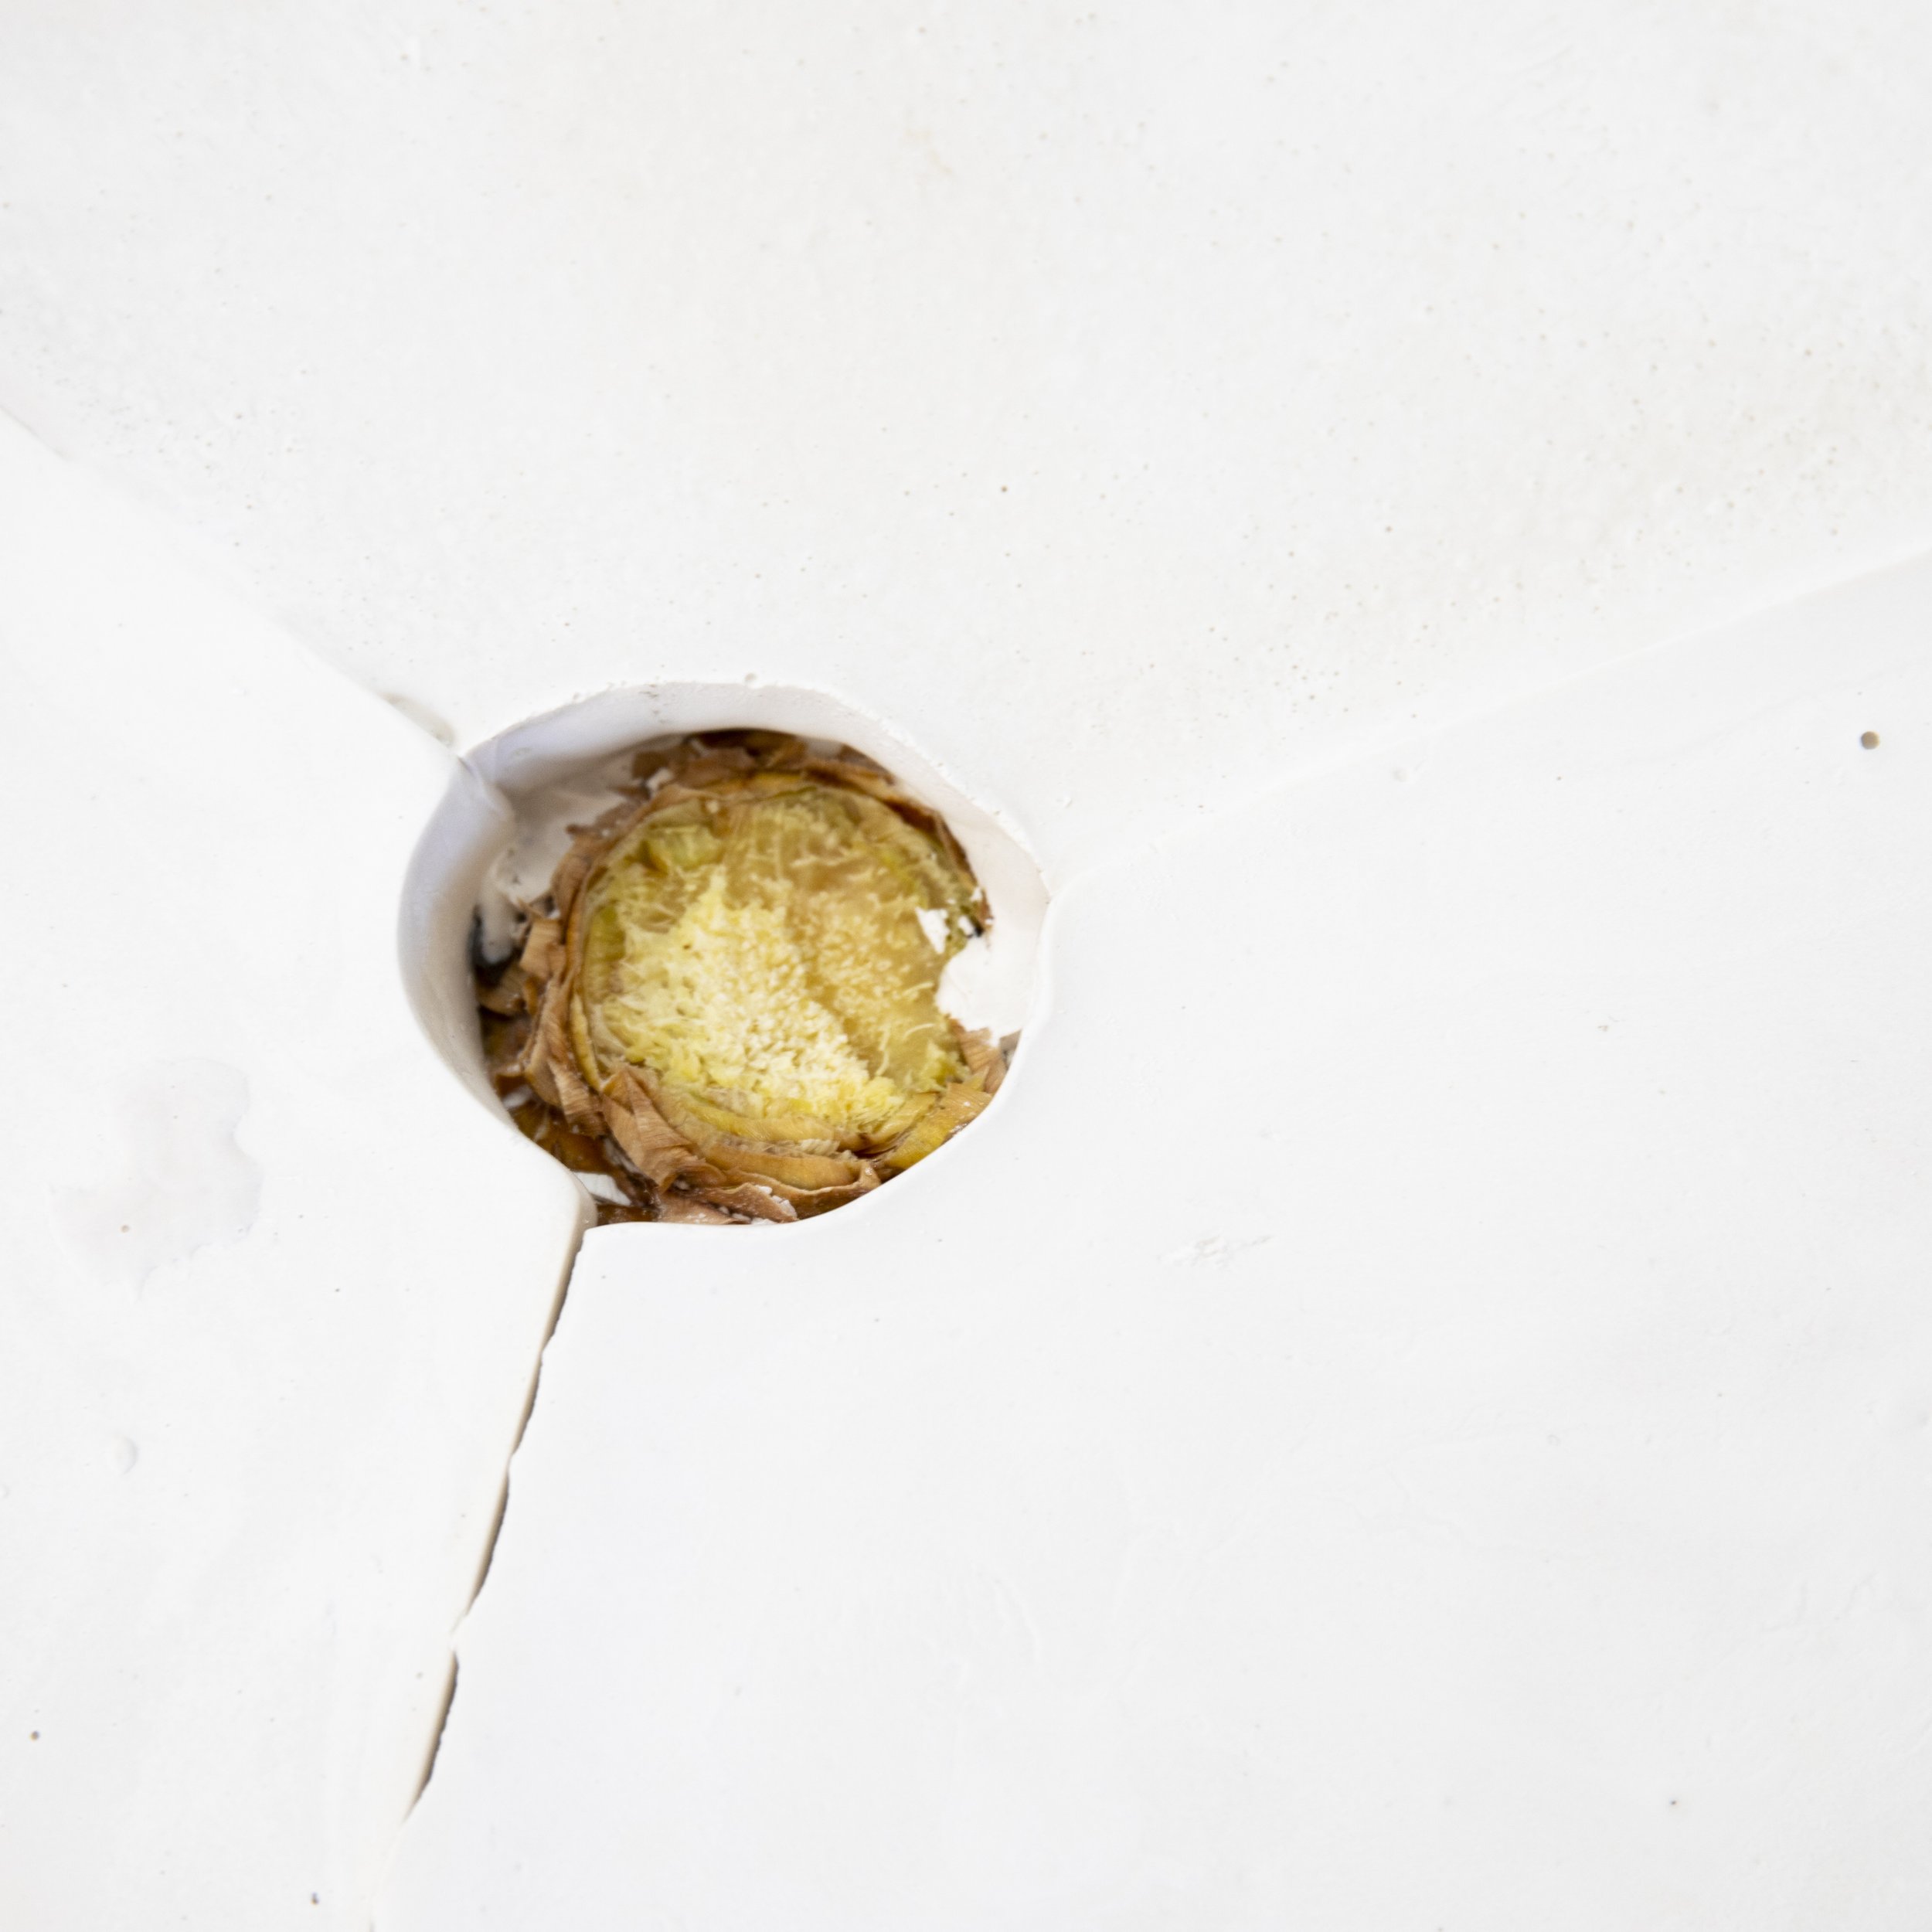
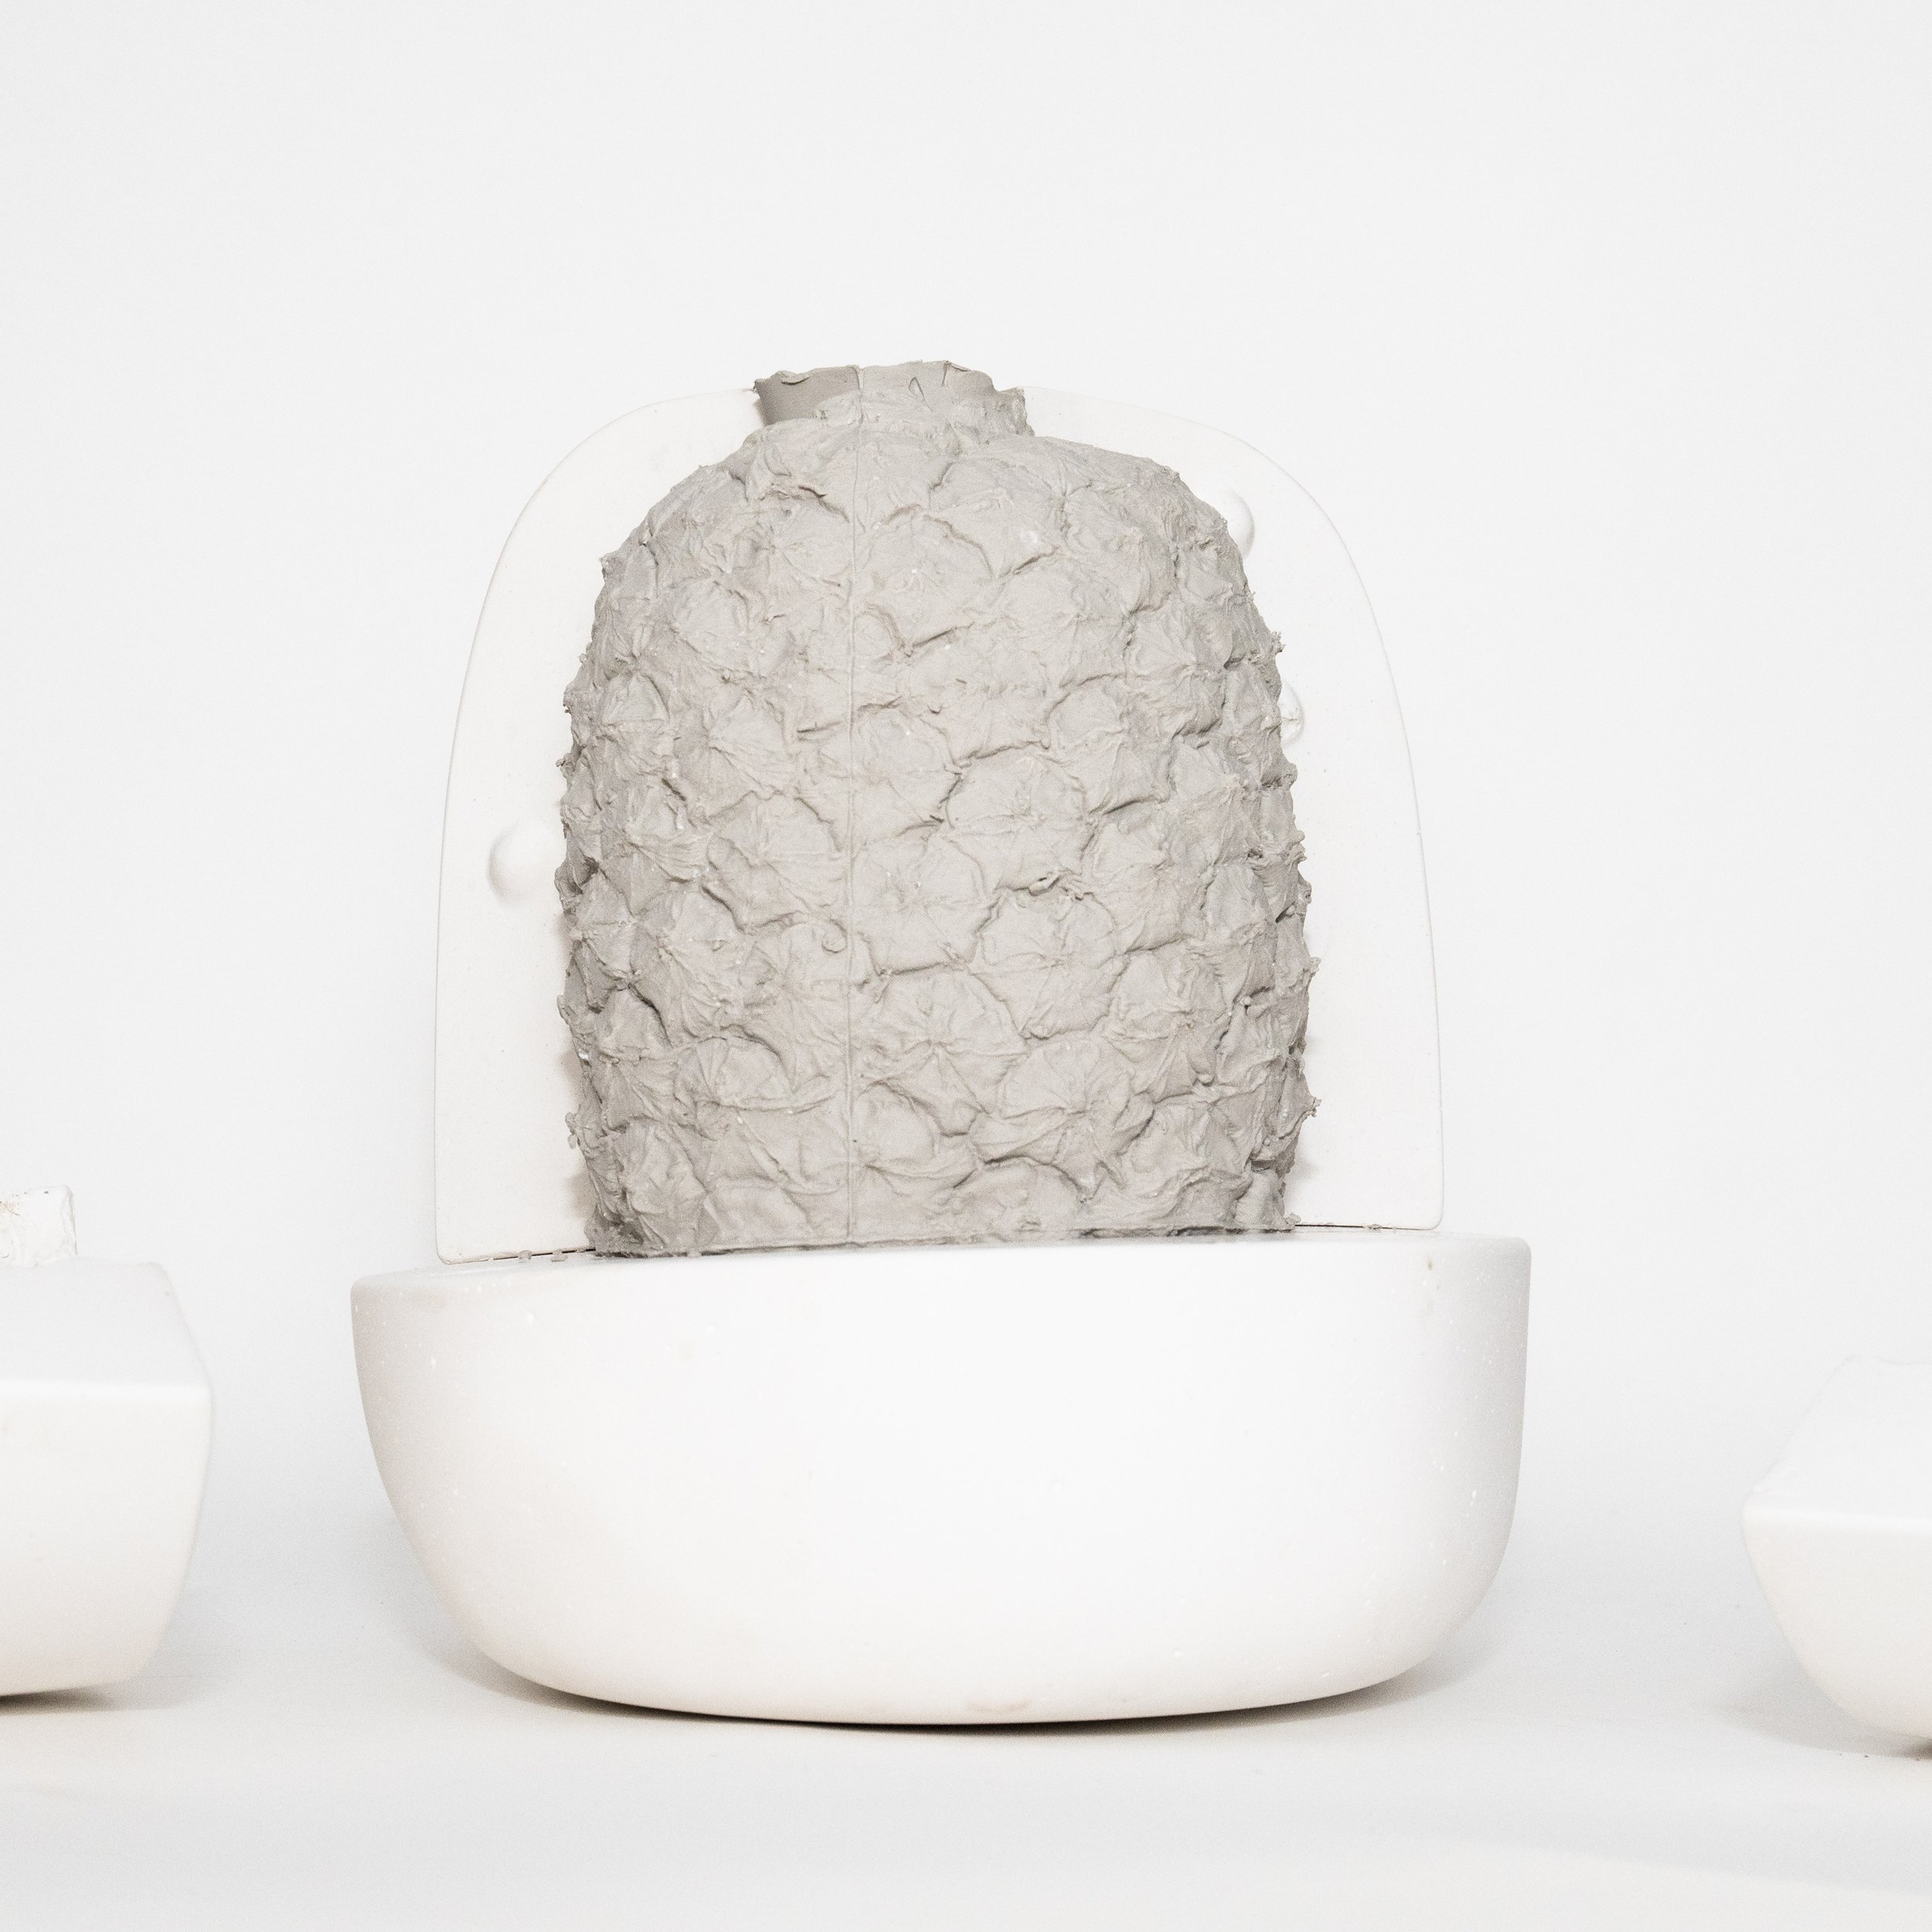
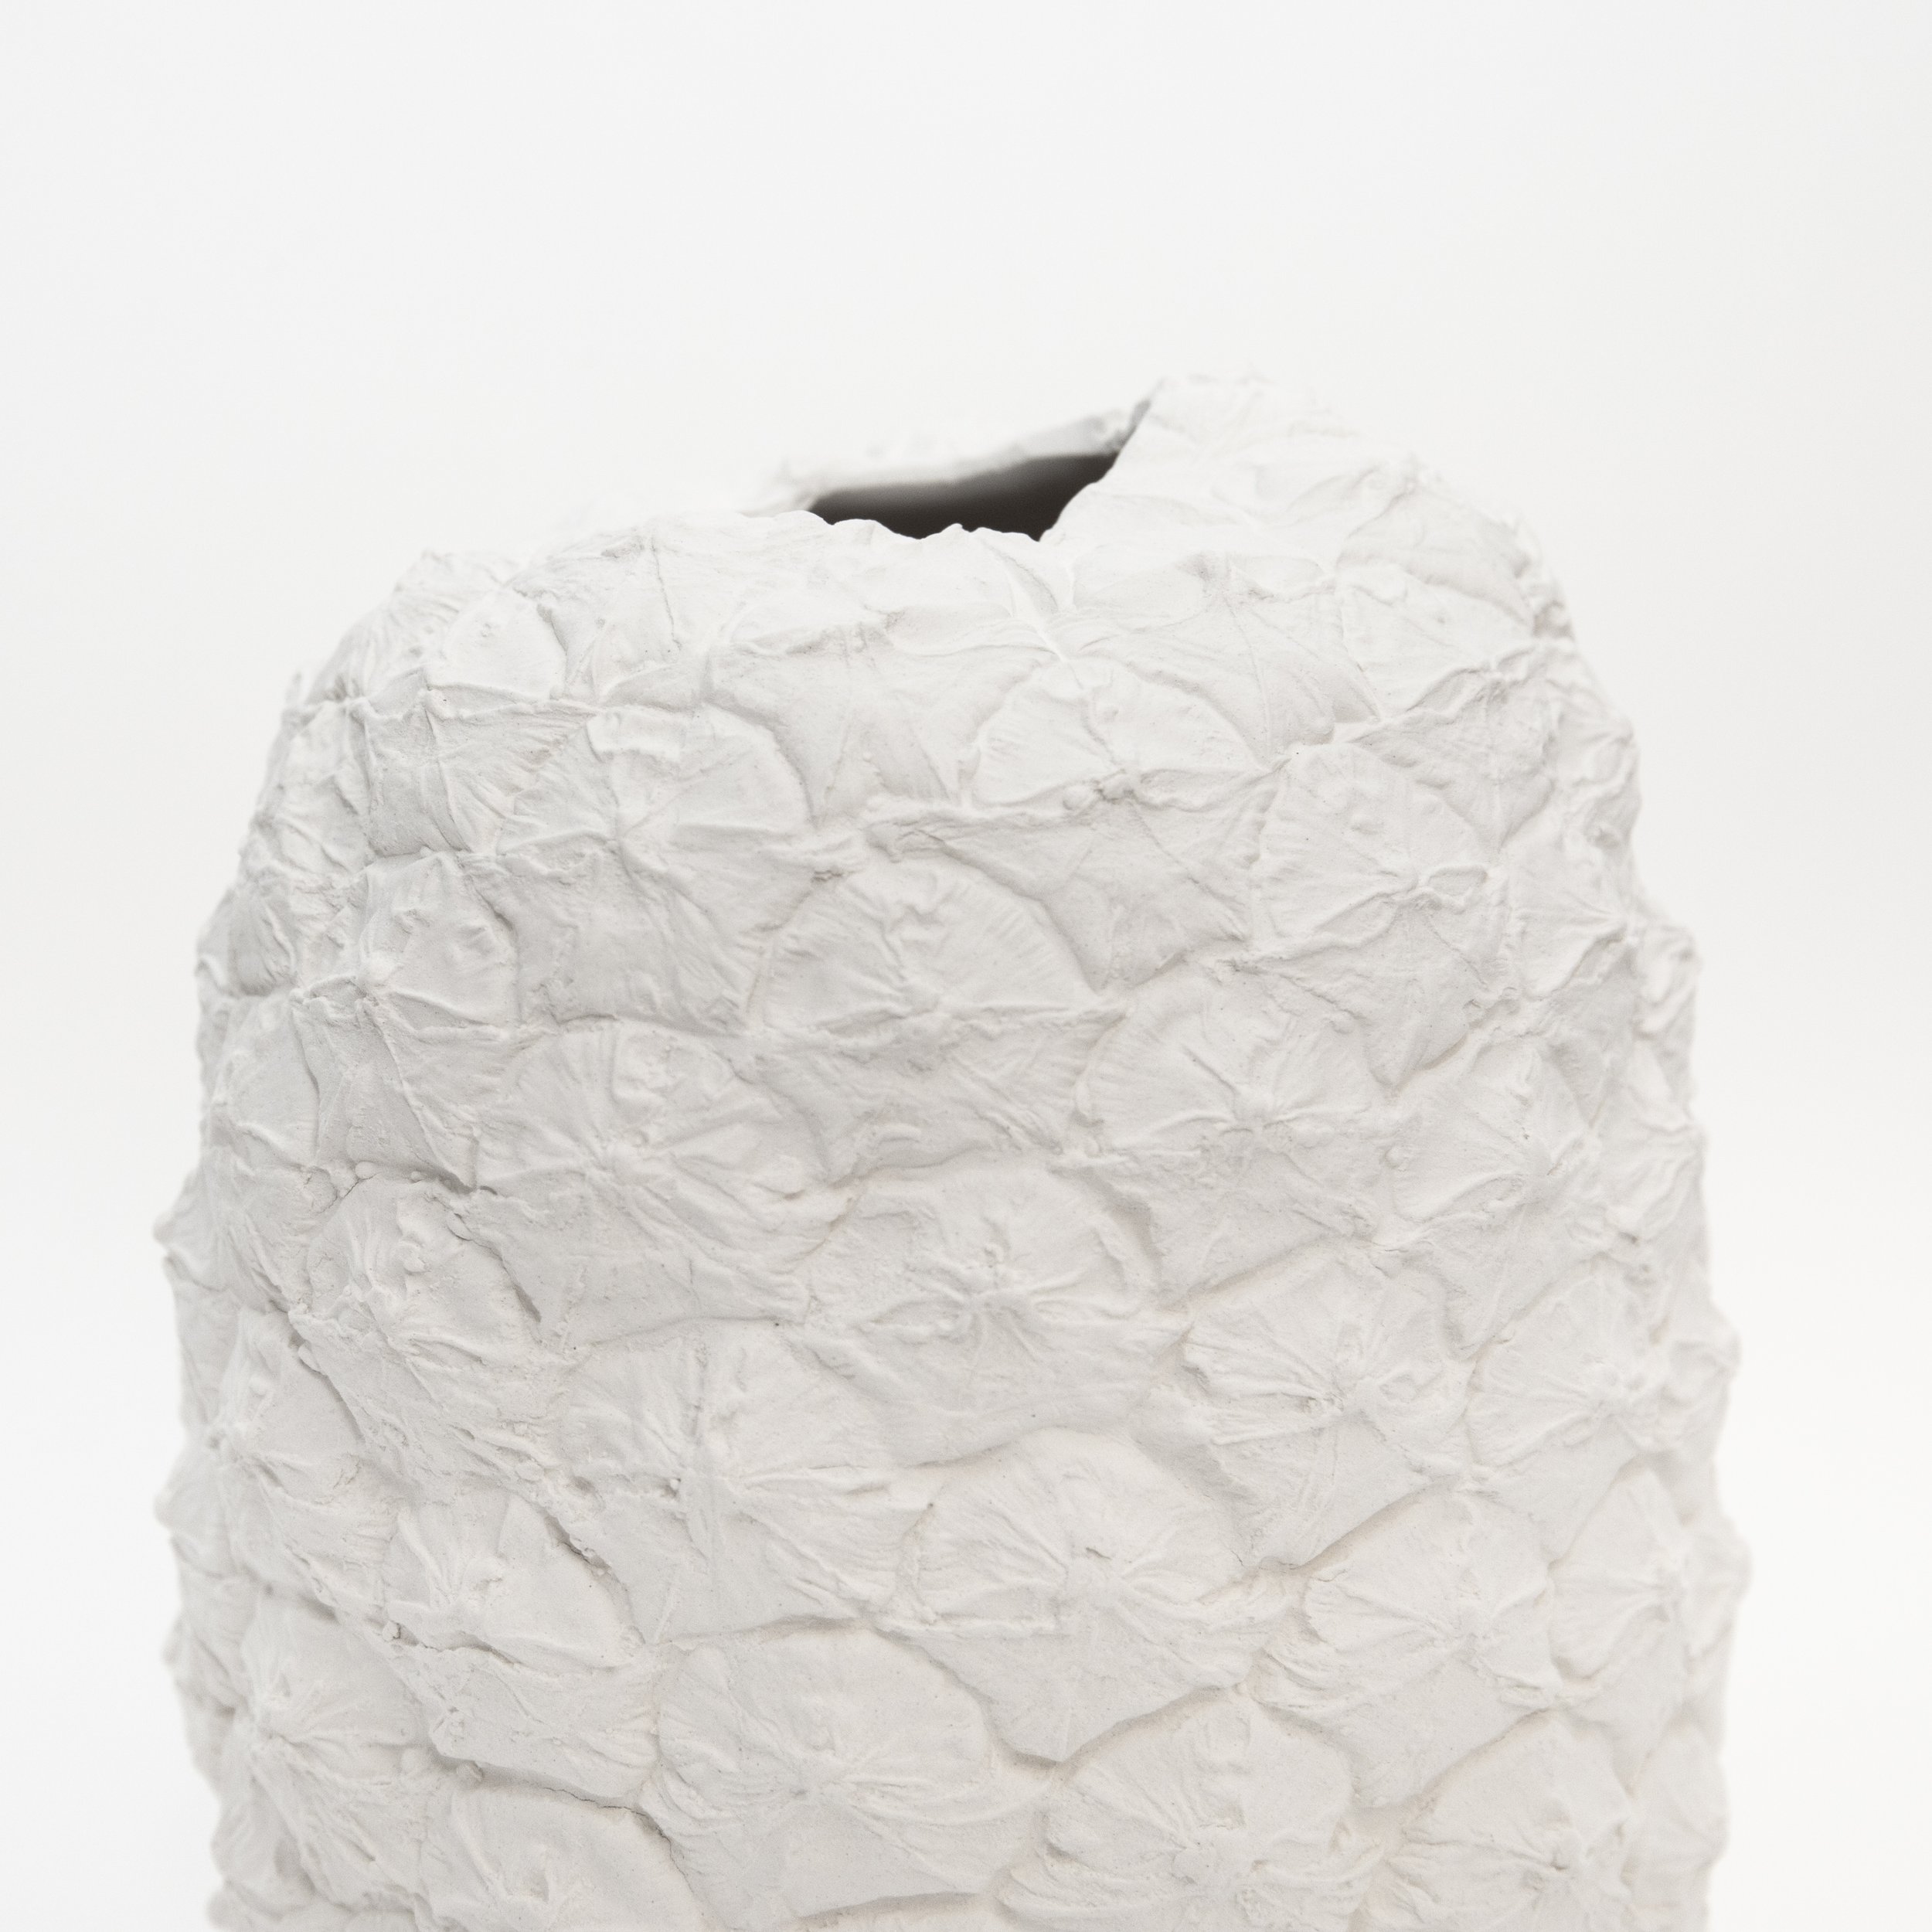
Unlike most other molds I made, I didn’t worry about all the smaller undercuts prior to making the mold (undercuts being where the castings might get stuck when de-molding). In order to preserve as much original texture of the pineapple as possible, I instead did slip casting tests to see where it got stuck, and then sanded down those few spots.
What I learned / changes I would make: This process created the most unique smell you ever could imagine. I also discovered the rind of the pineapple naturally released from the plaster. If I had more time, I would have made the parting lines more organic so they would be hidden by the details, otherwise I wouldn’t change anything.. besides using a less ripe pineapple to start!
