Ceramic Wall Mounts and Socket Covers
Production Details 2020 - Present

Project Overview
This project began with the client Katy Skelton, updating ceramic parts for her sconce designs in 2019. They were looking for local ceramic manufacturers to continue to be mindful of social responsibility. This project development was passed on to me in order to bring in my slip casting experience to create consistent ceramic parts. This particular lamp design required the creation of two different ceramic parts in 4 different finishes with different sized connection points.


Development
The major part of the development and testing took around 4 months, with check-ins and adjustments with the client.
The development stage was mostly spent on solving warping of the pieces during firing, and adjusting the size of the connection hole for the different metal attachments.
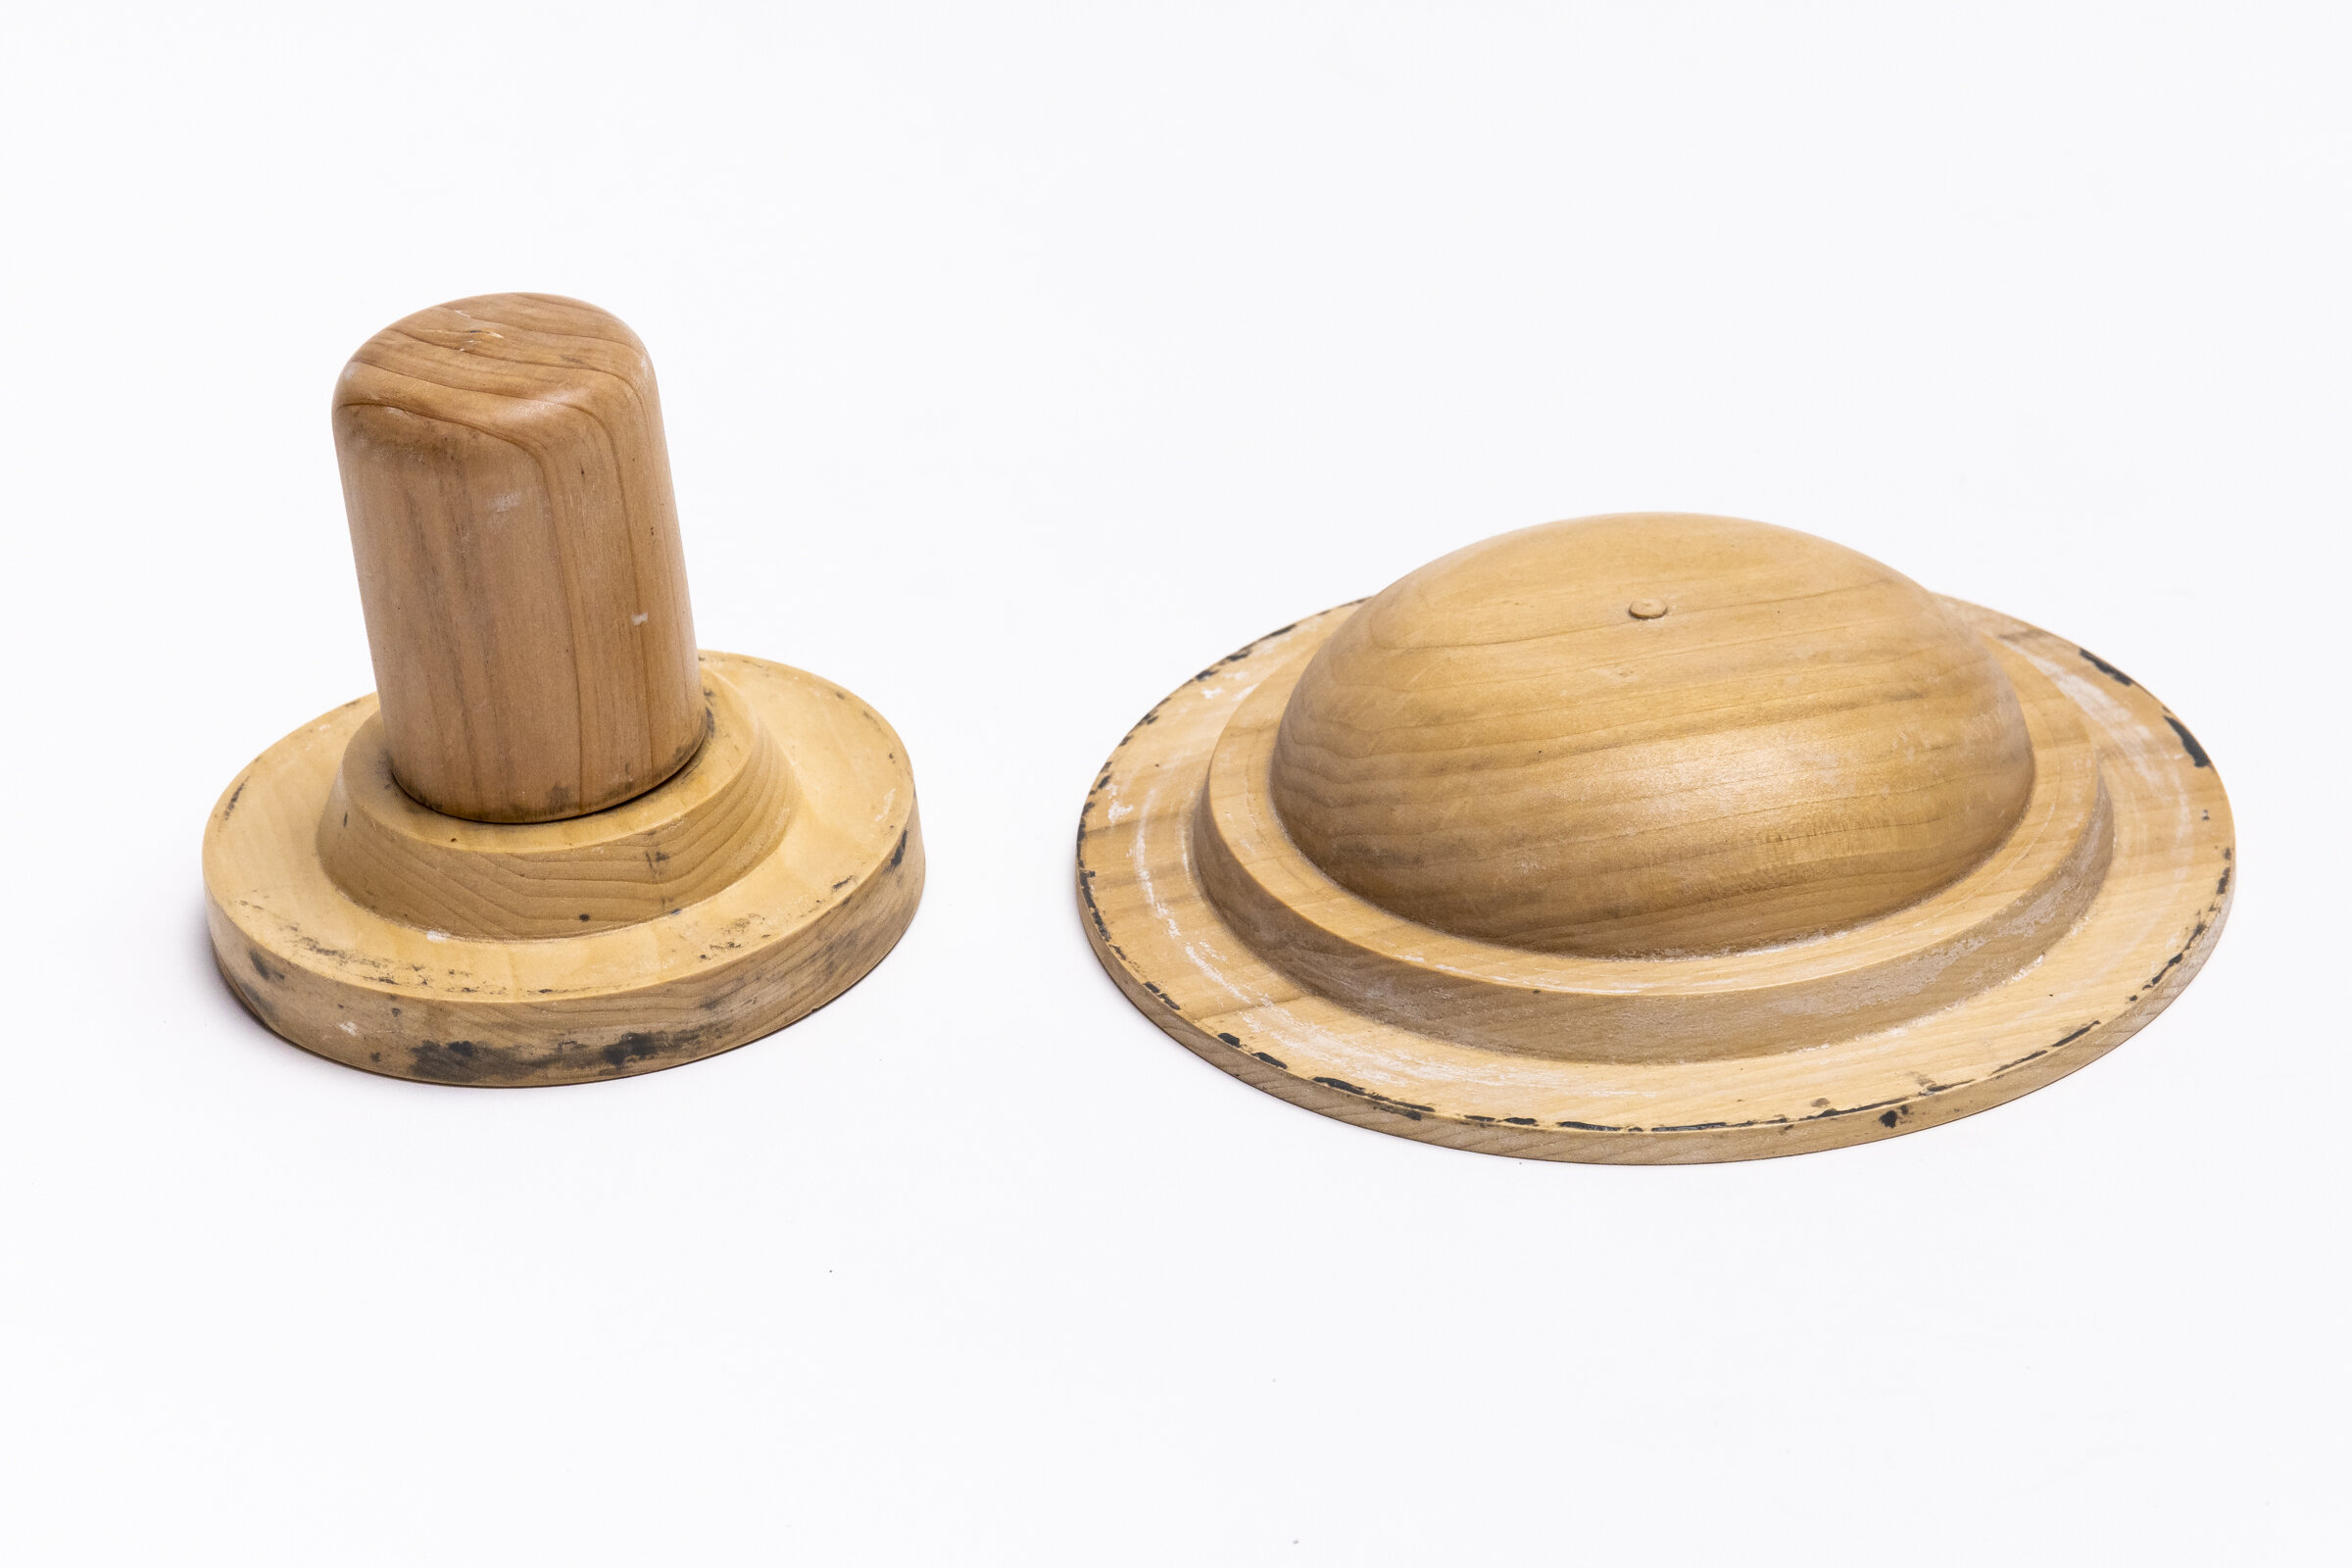

Plaster Mold Creation
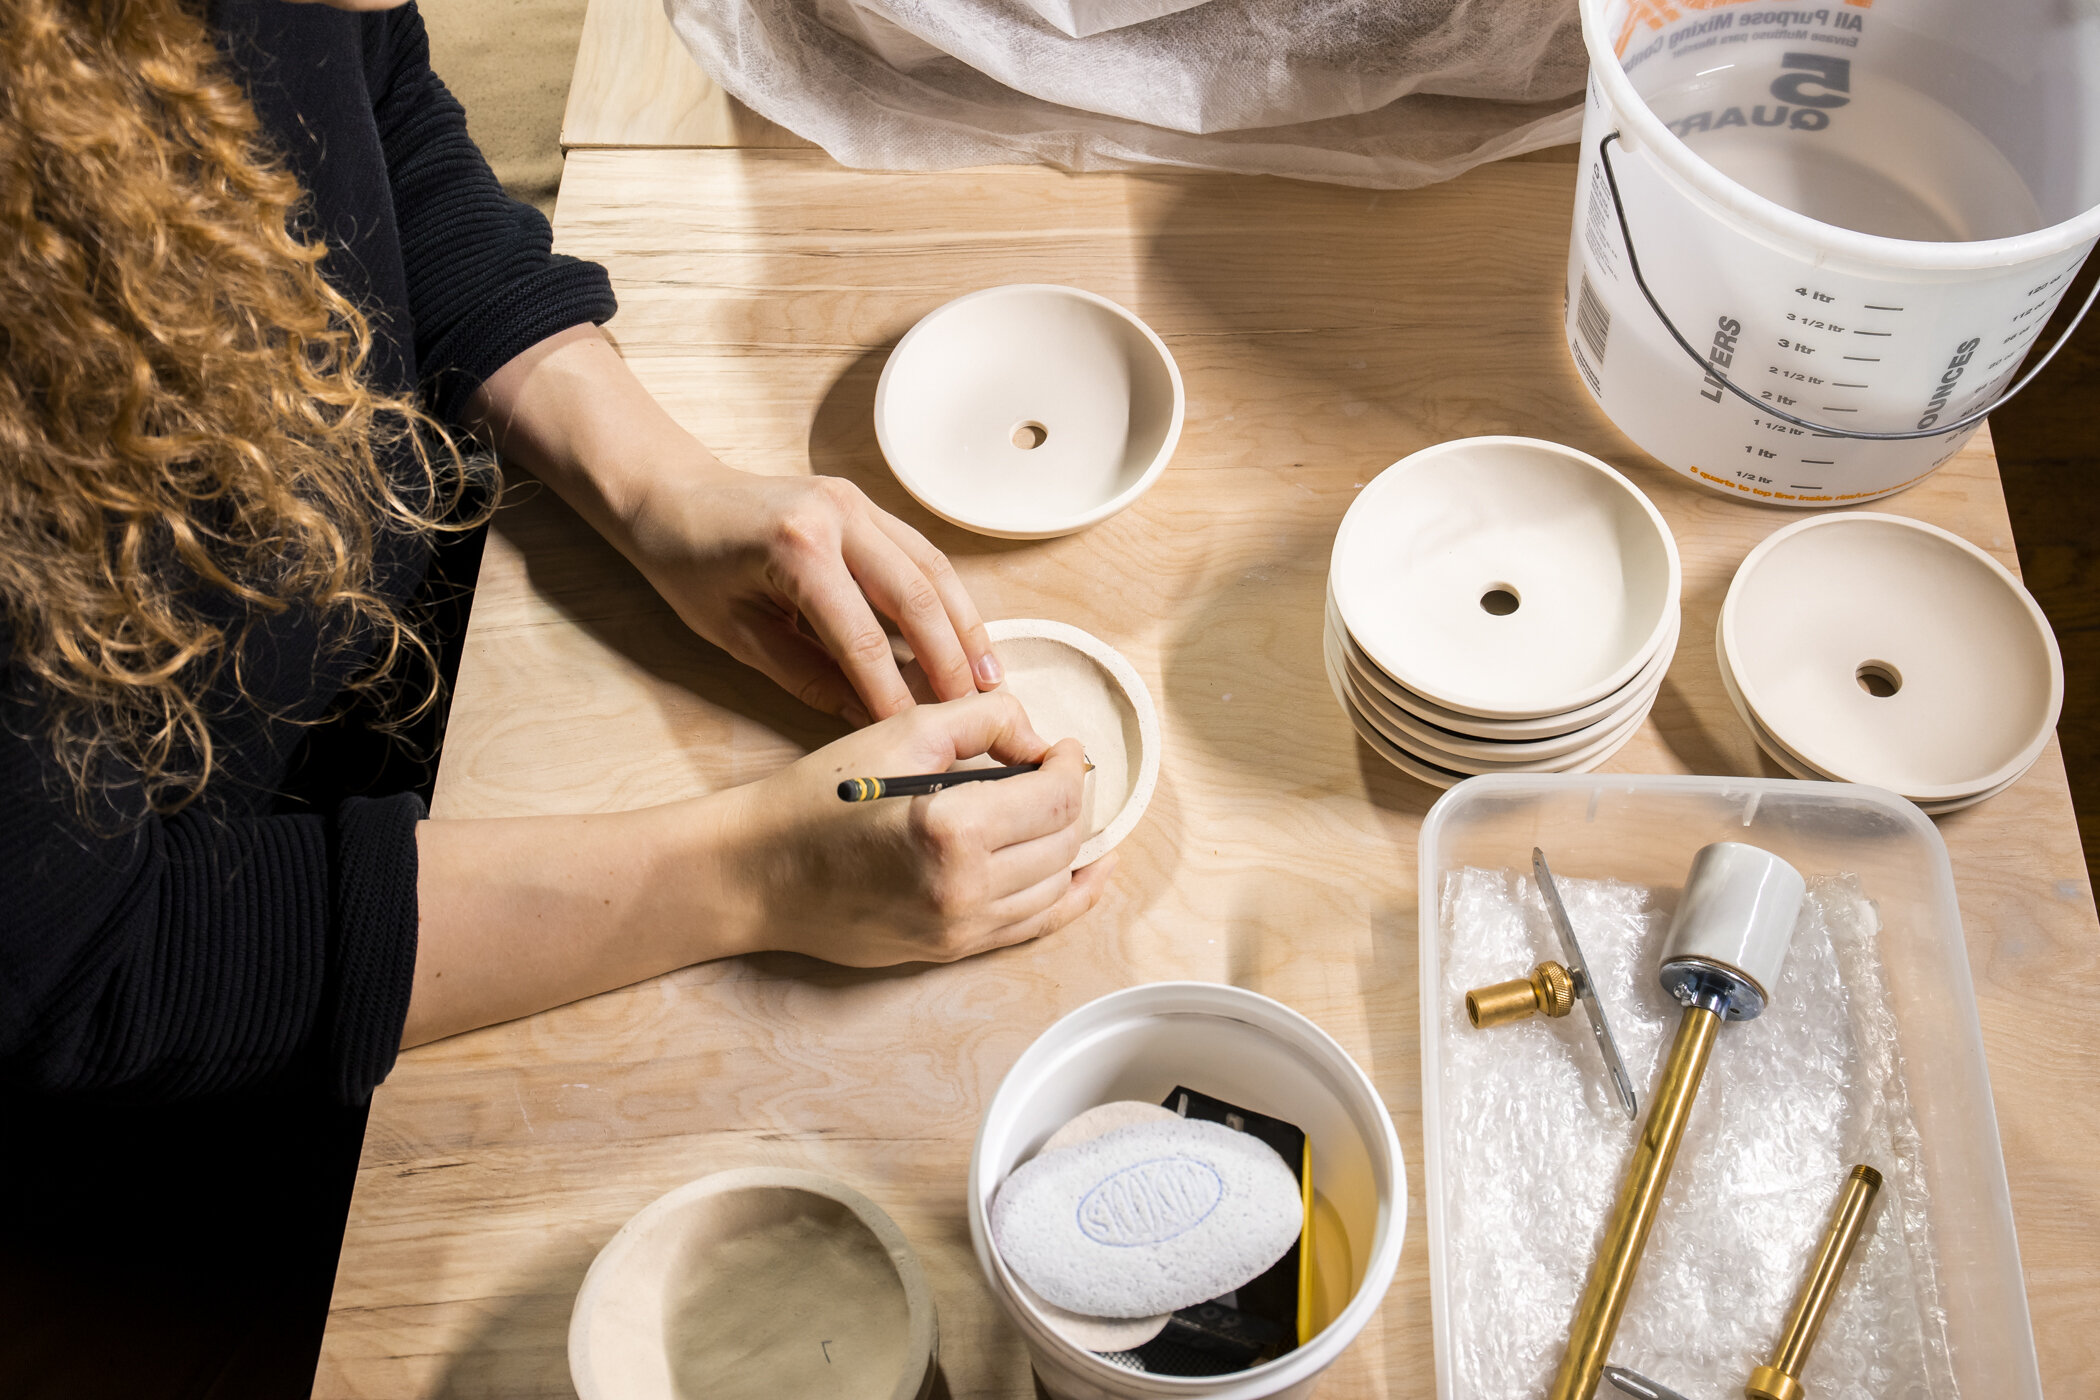
The first step involved in this project was creating the plaster mold, with attention to clay shrinkage rates and the clients desired part sizes. The positive forms to create the plaster molds were wood and formed on a lathe prior to my introduction to the project. The parts were designed to create a spare so the pieces can be cut in the same place each time.
Spares also reduce thickness inconsistencies as the slip level falls and the clay wall forms on the side of the molds. However, I often don't use it because it produces more clay to recycle which cuts down on production time.
Wood positives are not ideal for creating plaster molds, unless they are sealed and do not absorb any water. They do however create the ability to make additional molds as the previous ones reach their maximum casting point.


Sizing
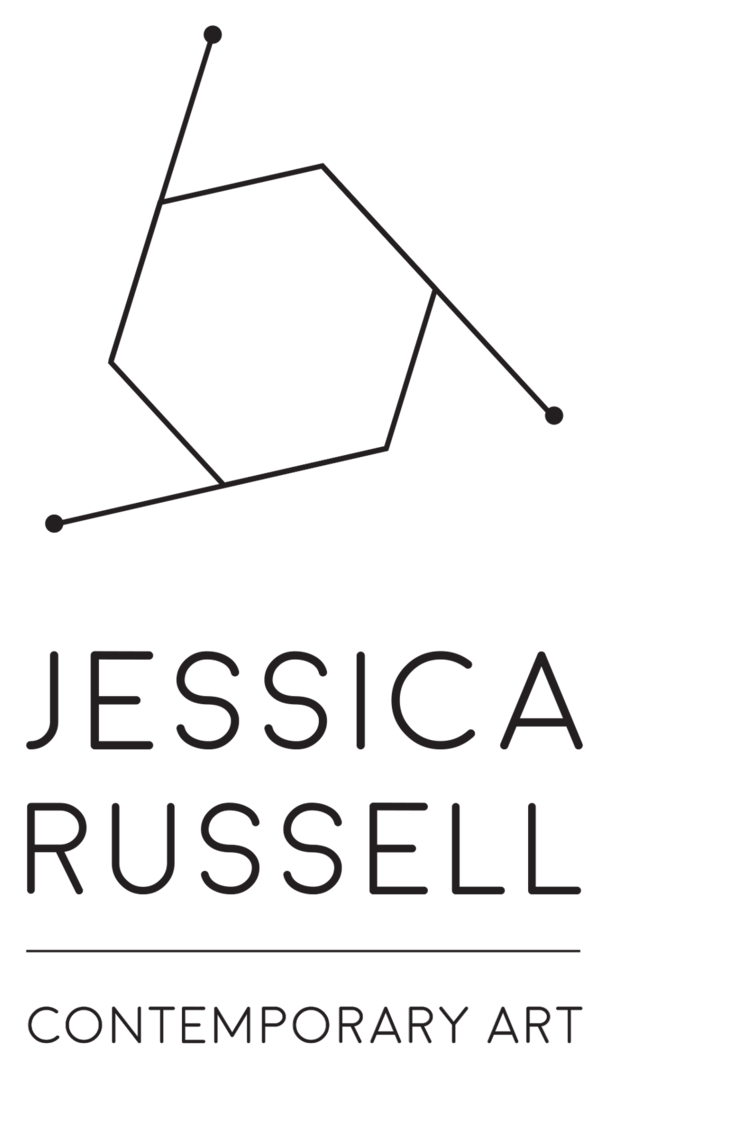
Once consistent clay parts could be produced, the focus went on the sizing of the connection points. Sizing can be tricky with ceramics because the clay shrinks at every stage of the process. So it is not only important to calculate the correct percentage of shrinkage of the clay from the start to end of the process, but it is important to cut the connection holes at the same stage each time.
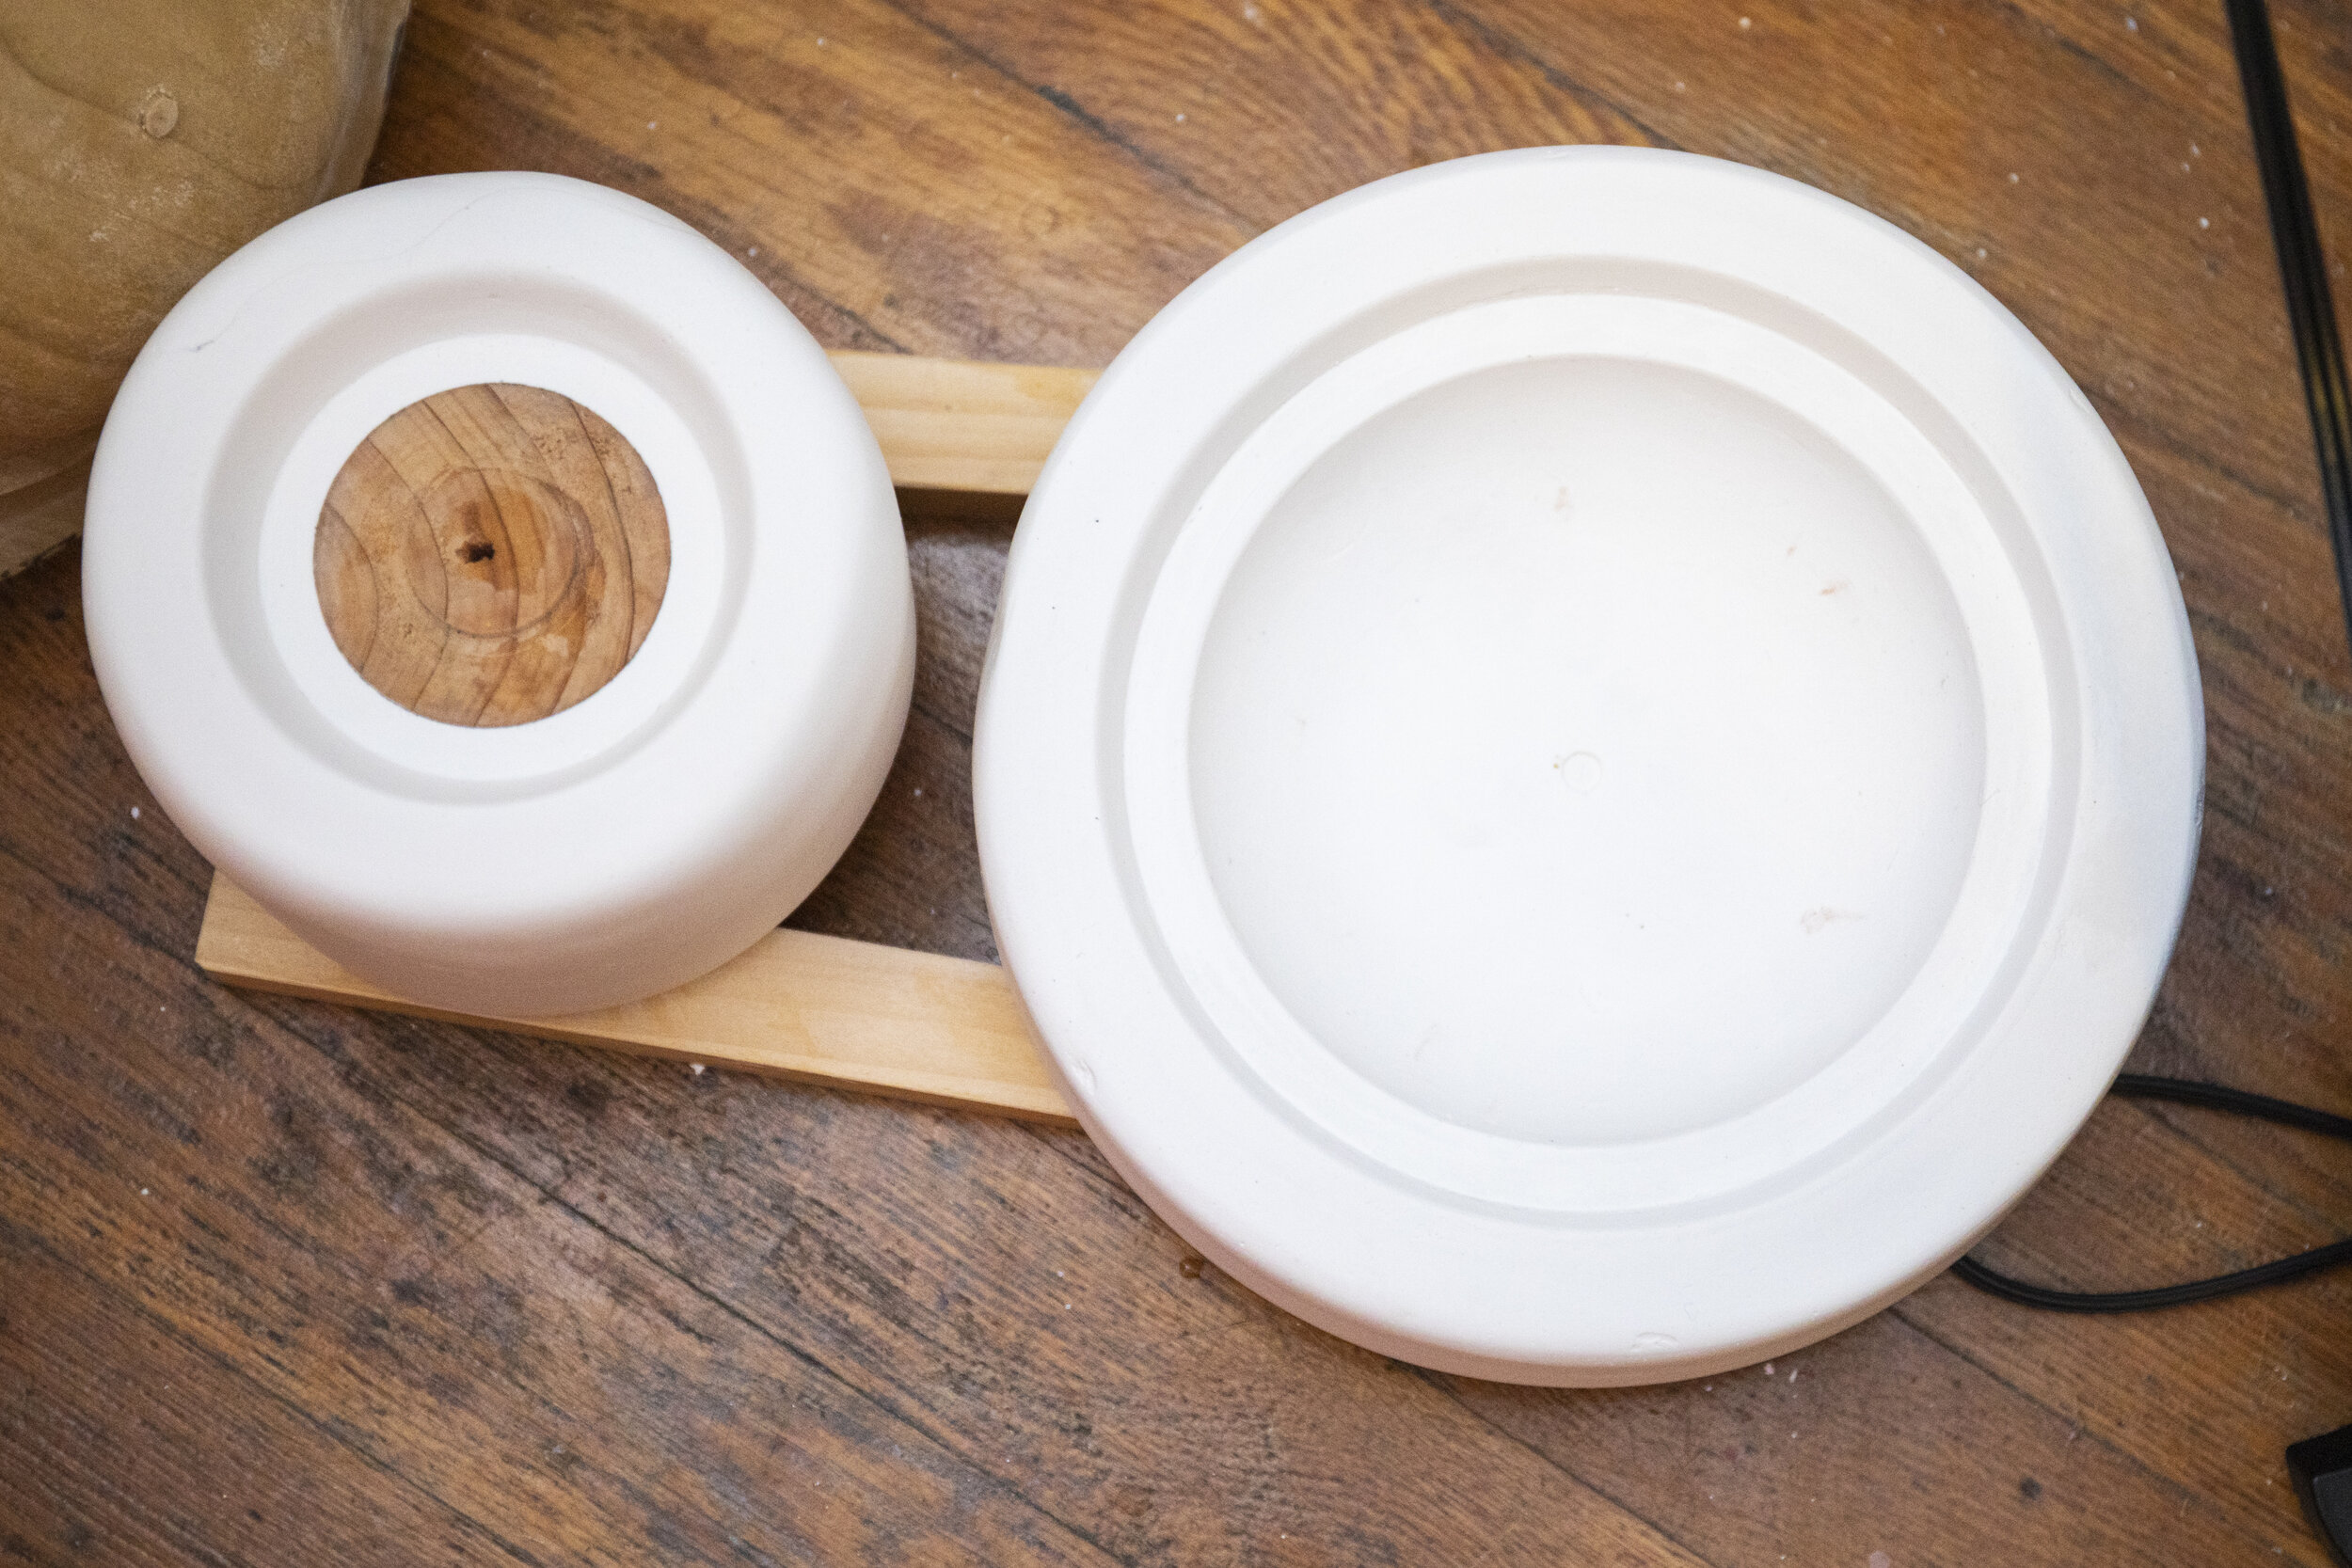
After doing clay shrinkage calculations for the slip I use, I found small pipes labeled at the fractions I needed to use as cutters. I soon realized that the sizes were not accurate due to the thickness of the pipe wall. So I made my own cutters from thin pieces of flashing I use for mold making.
There was a lot of trial and error with this stage because I was using different kilns and cutting the connection holes at different stages which led to a lot of inconsistencies in the hole sizes. Once I made sure the pieces reached a perfect Cone 6 temperature each firing and cut the holes at the wet side of leather hard for every casting, the hole size inconsistencies became negligible.


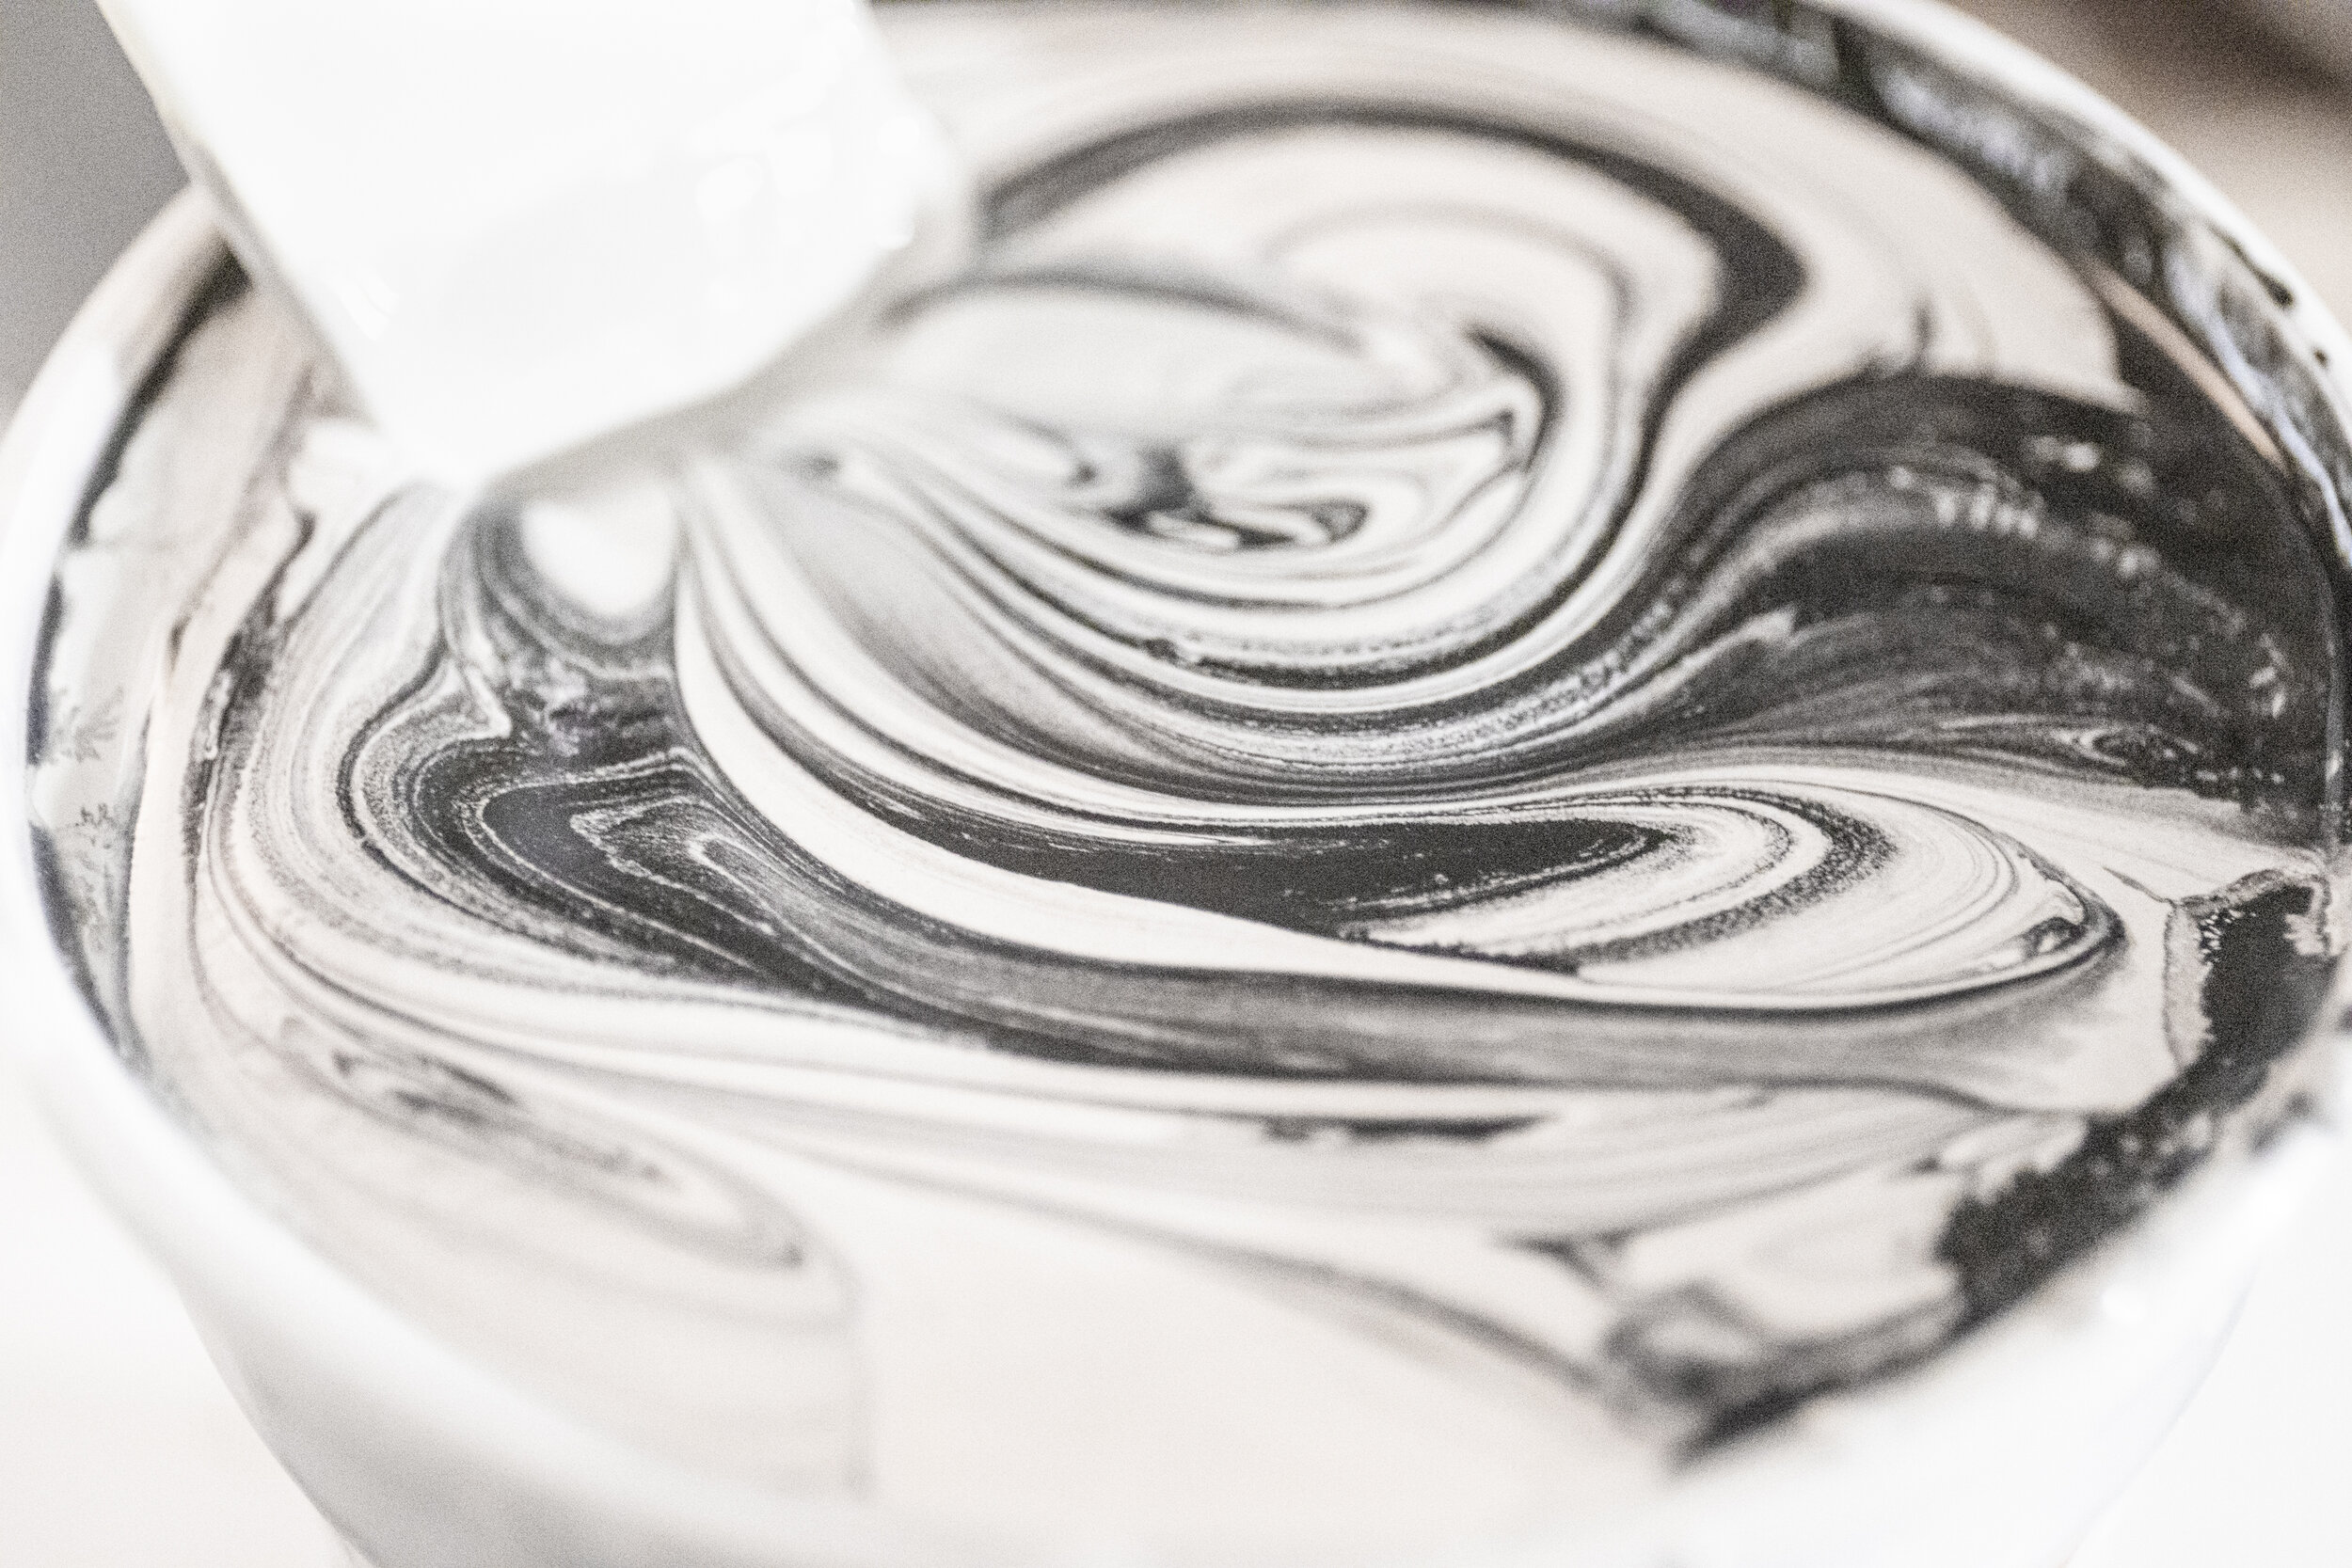
Tinting
Previously I worked on a wide variety of tinting tests that proved useful in matching the stain for the client desired color swatches. Keeping in mind that the natural clay color will influence the stain tints.
For past and personal projects I have been testing the casing slip I use with various Mason stains, so selecting the wanted stain amount was an easier a part of the process. The only color that I had to develop additionally was the teal blue.
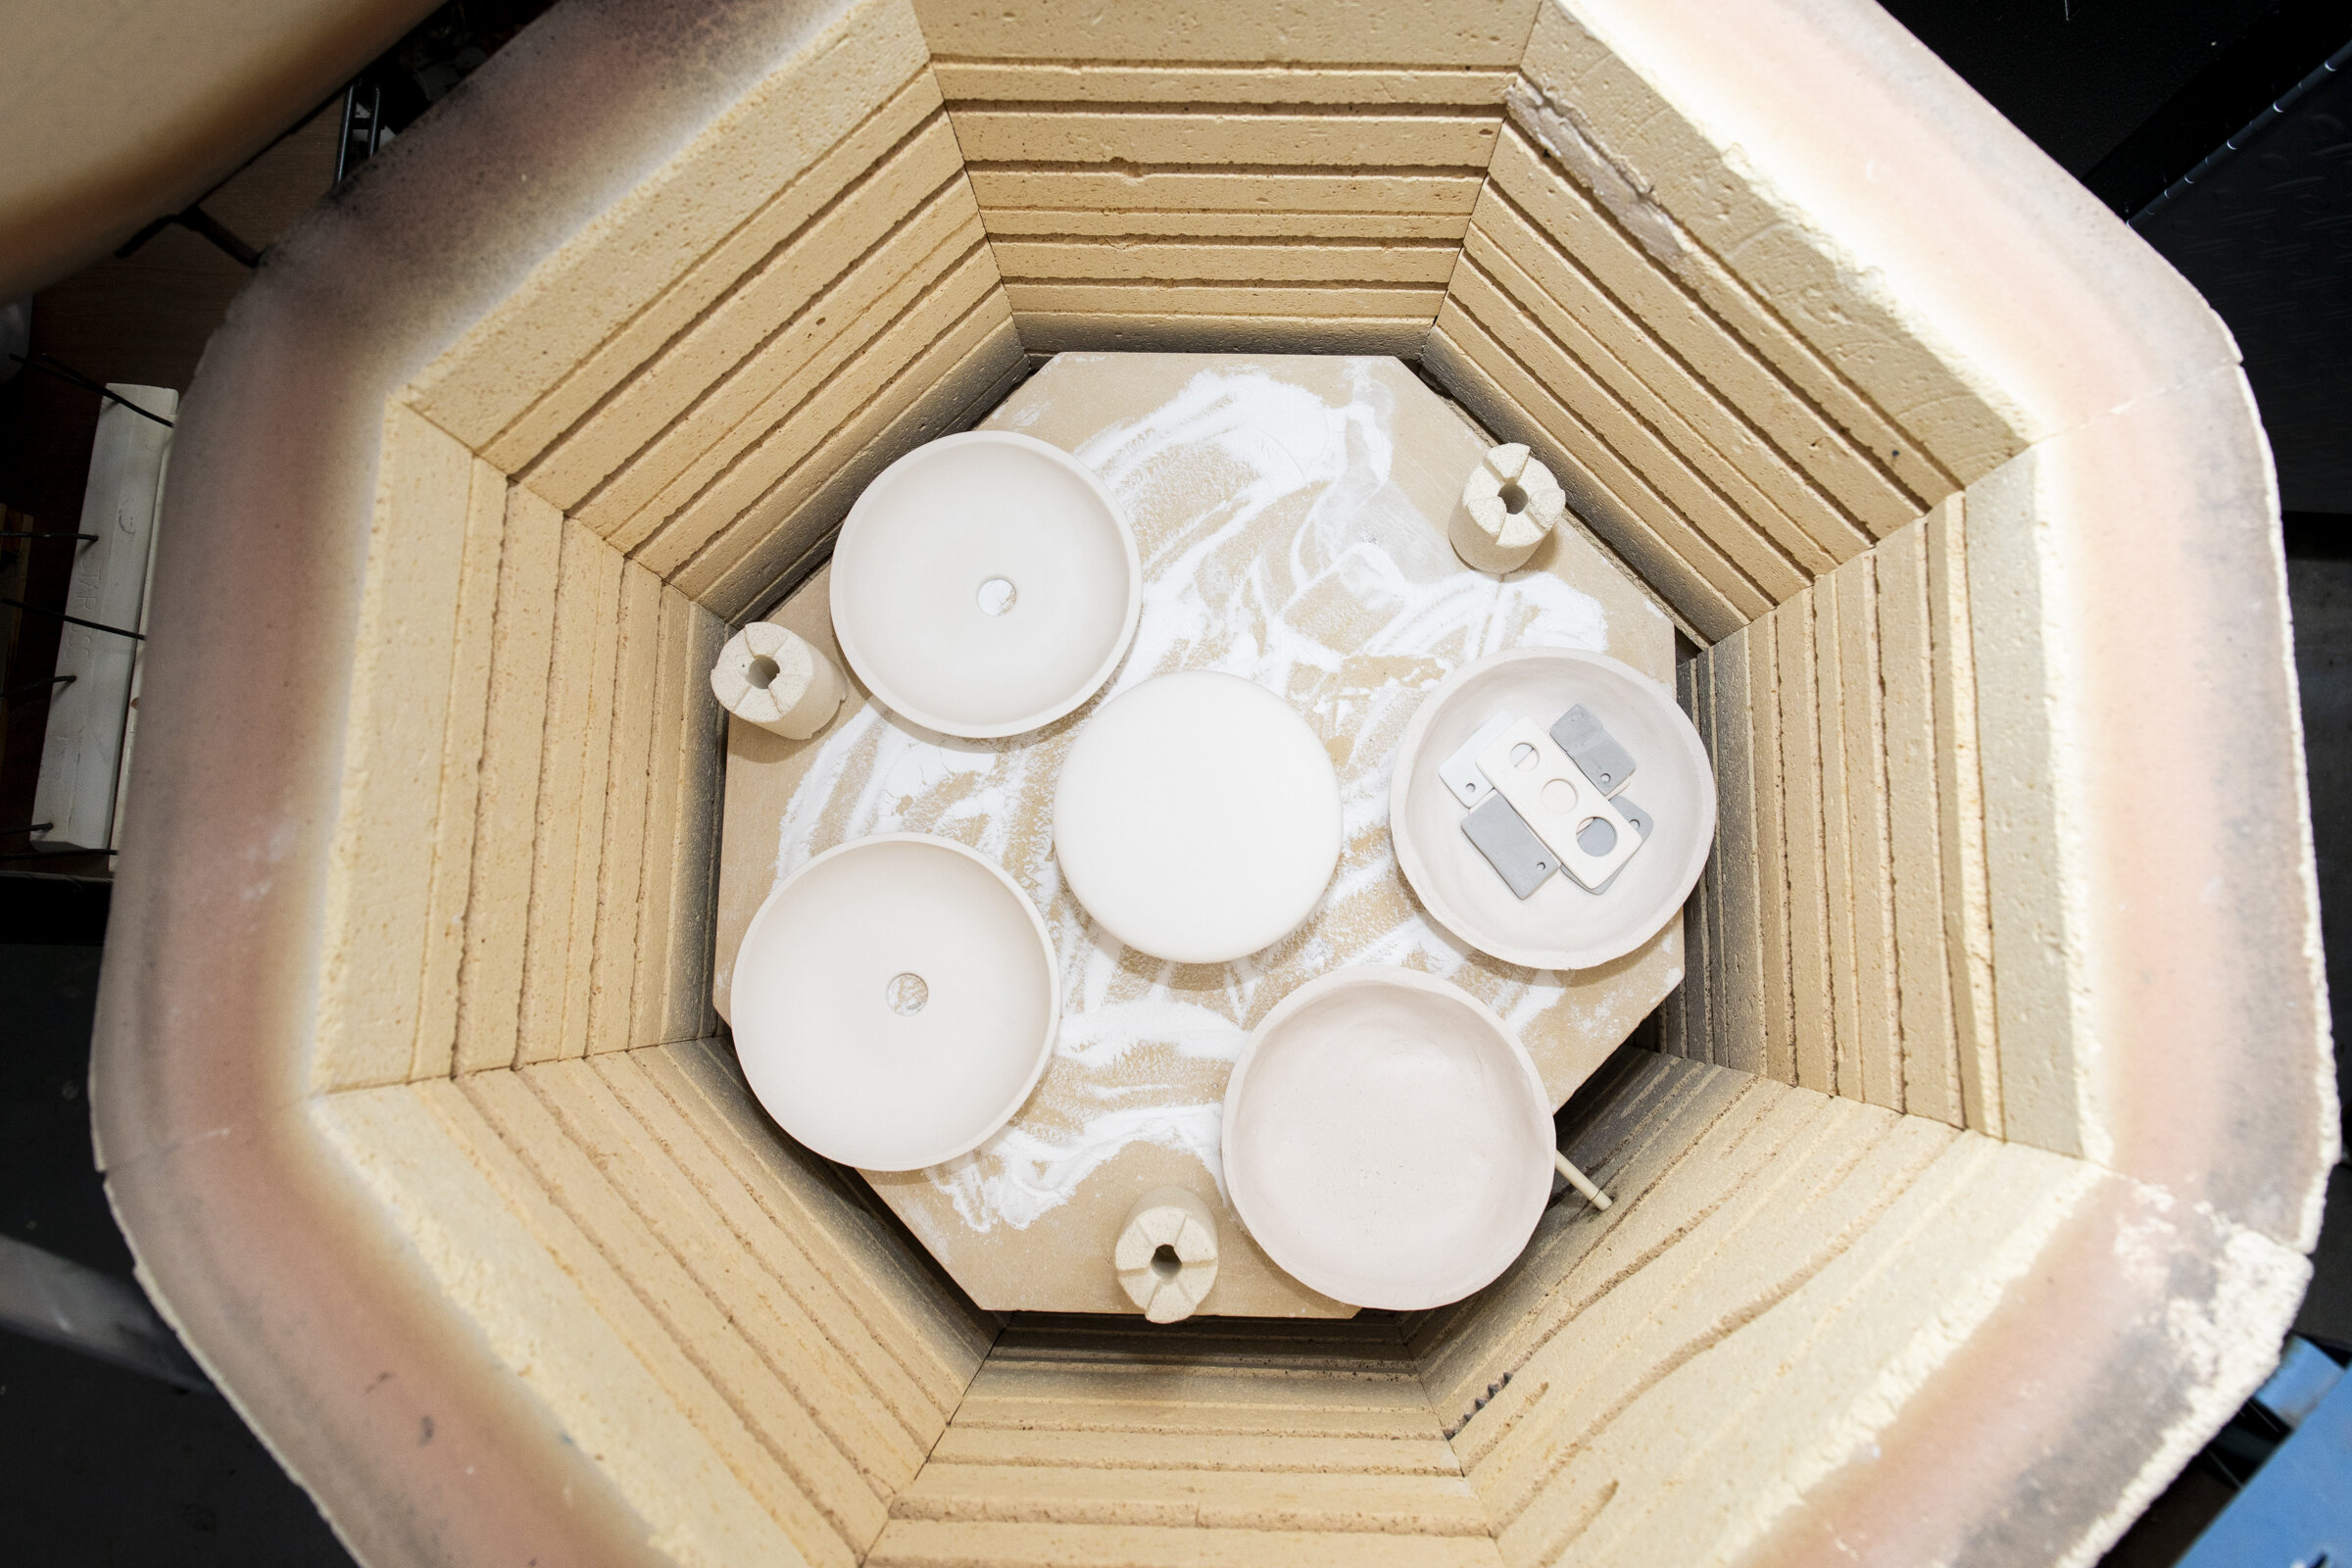
Firing Mold
Warping in the firings would often create too much space between the wall and ceramic piece which houses electrical wires. This space exceeded electrical code for the wiring of the lamps so fixing this issue was a priority. After doing multiple firing tests with the pieces in different positions, the only thing that significantly reduced warping was to fire the pieces around a firing mold and slowing down the greenware drying process.


